“If I ever go looking for my heart’s desire again, I shouldn’t look any further than my own backyard.” – Dorothy of Oz
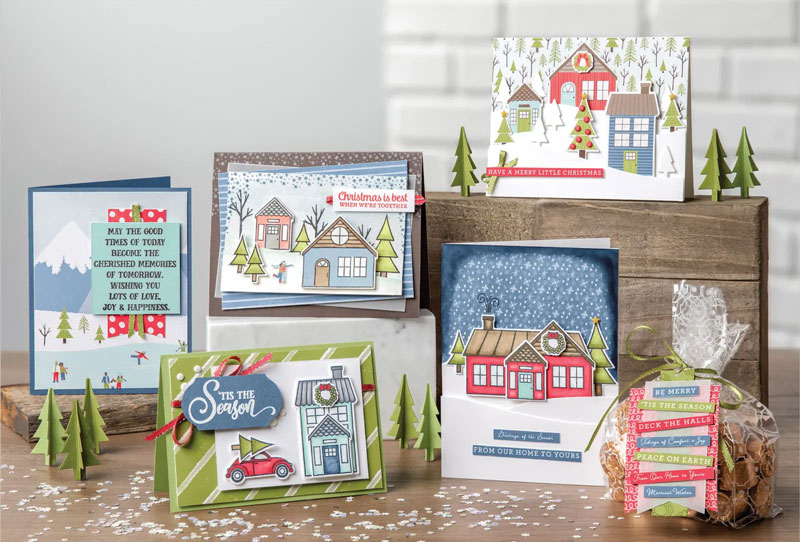
Since there is “No Place Like Home”, I have two fun fold (and fairly simple) cards to share with you today using the Stampin’ Up! Coming Home bundle (which is retiring SOON!):
Use the tree and hill die (shown below) to cut off the top third of the front of your side-fold card, then stamp the houses in black on various colors of card stock, cut out and layer on the front of your card.
Coming Home Bundle
The second card is the same layout with different colors for a thoughtful welcome home card for a new neighbor:
The card opens to reveal the message, so you could change the sentiment and say “Welcome Home” for a missionary or someone coming home from a long time away.
I’ve created a .pdf tutorial for you to download with instructions and the supplies listed:
Introducing my December “Three for Free” kit: Featuring the Curvy Celebrations Early Release Bundle! When you order the Quite Curvy Early-Release bundle (from the January-June Catalog) OR the Quite Curvy Variety bundle (which includes the limited-release Curvy Christmas stamp set and Classic Christmas Designer Series Paper), I will send you a .pdf tutorial for THREE fabulous cards AND the supplies to create those cards in the mail!
Whether you are a “simple stamper” or a “sensational stamper”, you’ll find yourself reaching for these new stamping supplies when you want to send a sweet card or greeting! These are two extra ideas for you:
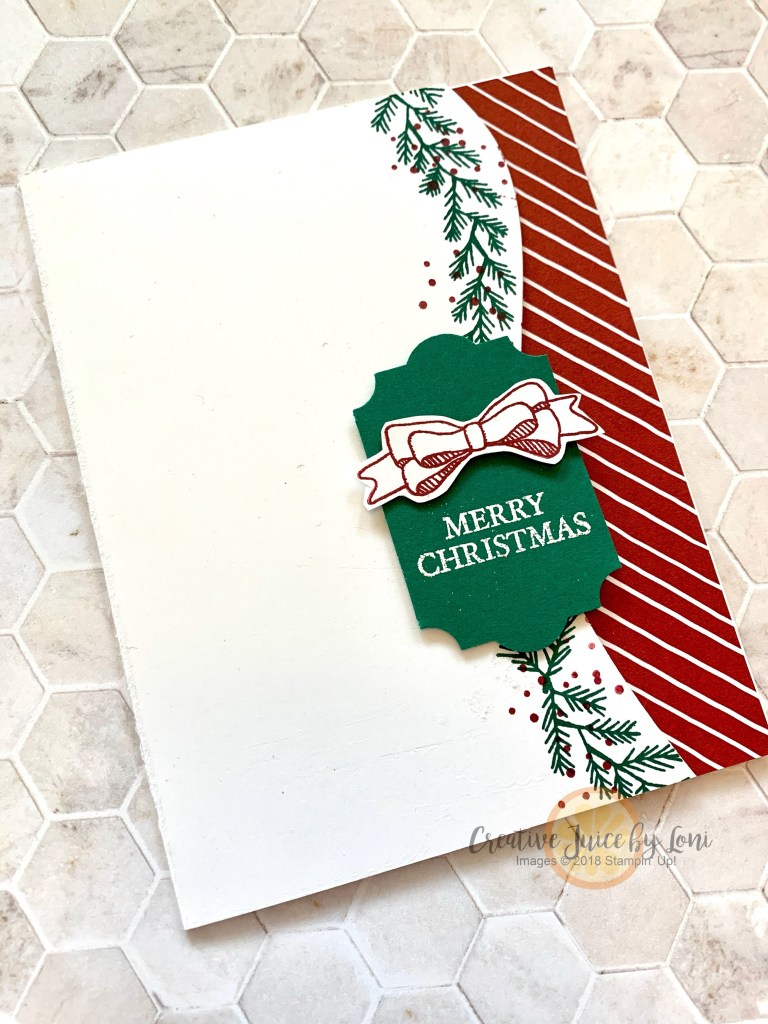
This next card is a mash-up of card elements I borrowed from other cards I had seen:
The label (from the Wild Rose Dies) was a lovely background for the spray of flowers
Warm Holiday Wishes~ We are a group of Stampin’ Up! demonstrators from around the world who are Hoppin’ with Holiday Crafting ideas to share with you!
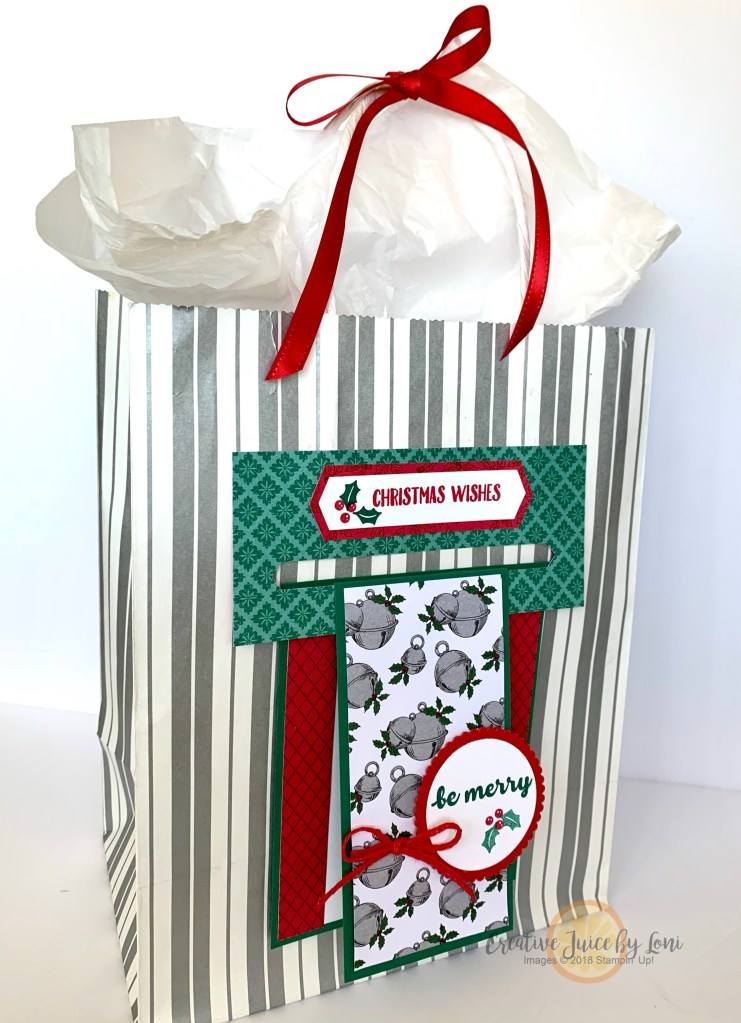
During GIFTING season, use your stampin’ supplies to package a pretty present:
Adding a card to the outside of a gift bag dresses it up and this one really rings with good cheer.
Did you know Stampin’ Up!’s “Tis the Season” Designer Series Paper (DSP) has patterns that match many of the stamps in our Holiday Catalog that don’t have their own coordinating papers? While the jingle bell paper is perfect for the Cherish The Season bundle, I paired it with the Banner Year bundle and it’s petite holly image.
To make the tab to hang the card from: you’ll need a piece of 2-1/2′ x 5-1/2″ Designer Series Paper and the Classic Label Punch: Push the paper all the way into the punch (with the edge of the punch lining up with the short edge of the paper) and punch all the way across until the other edge of the paper lining up with the other side of the punch. Adhere the *top* of the Designer Series Paper to the bag with Tear & Tape, leaving the punched side unattached so as to slide your card through.
NOTE: The card needs to open from the top hinge to be able to hang from the tab!
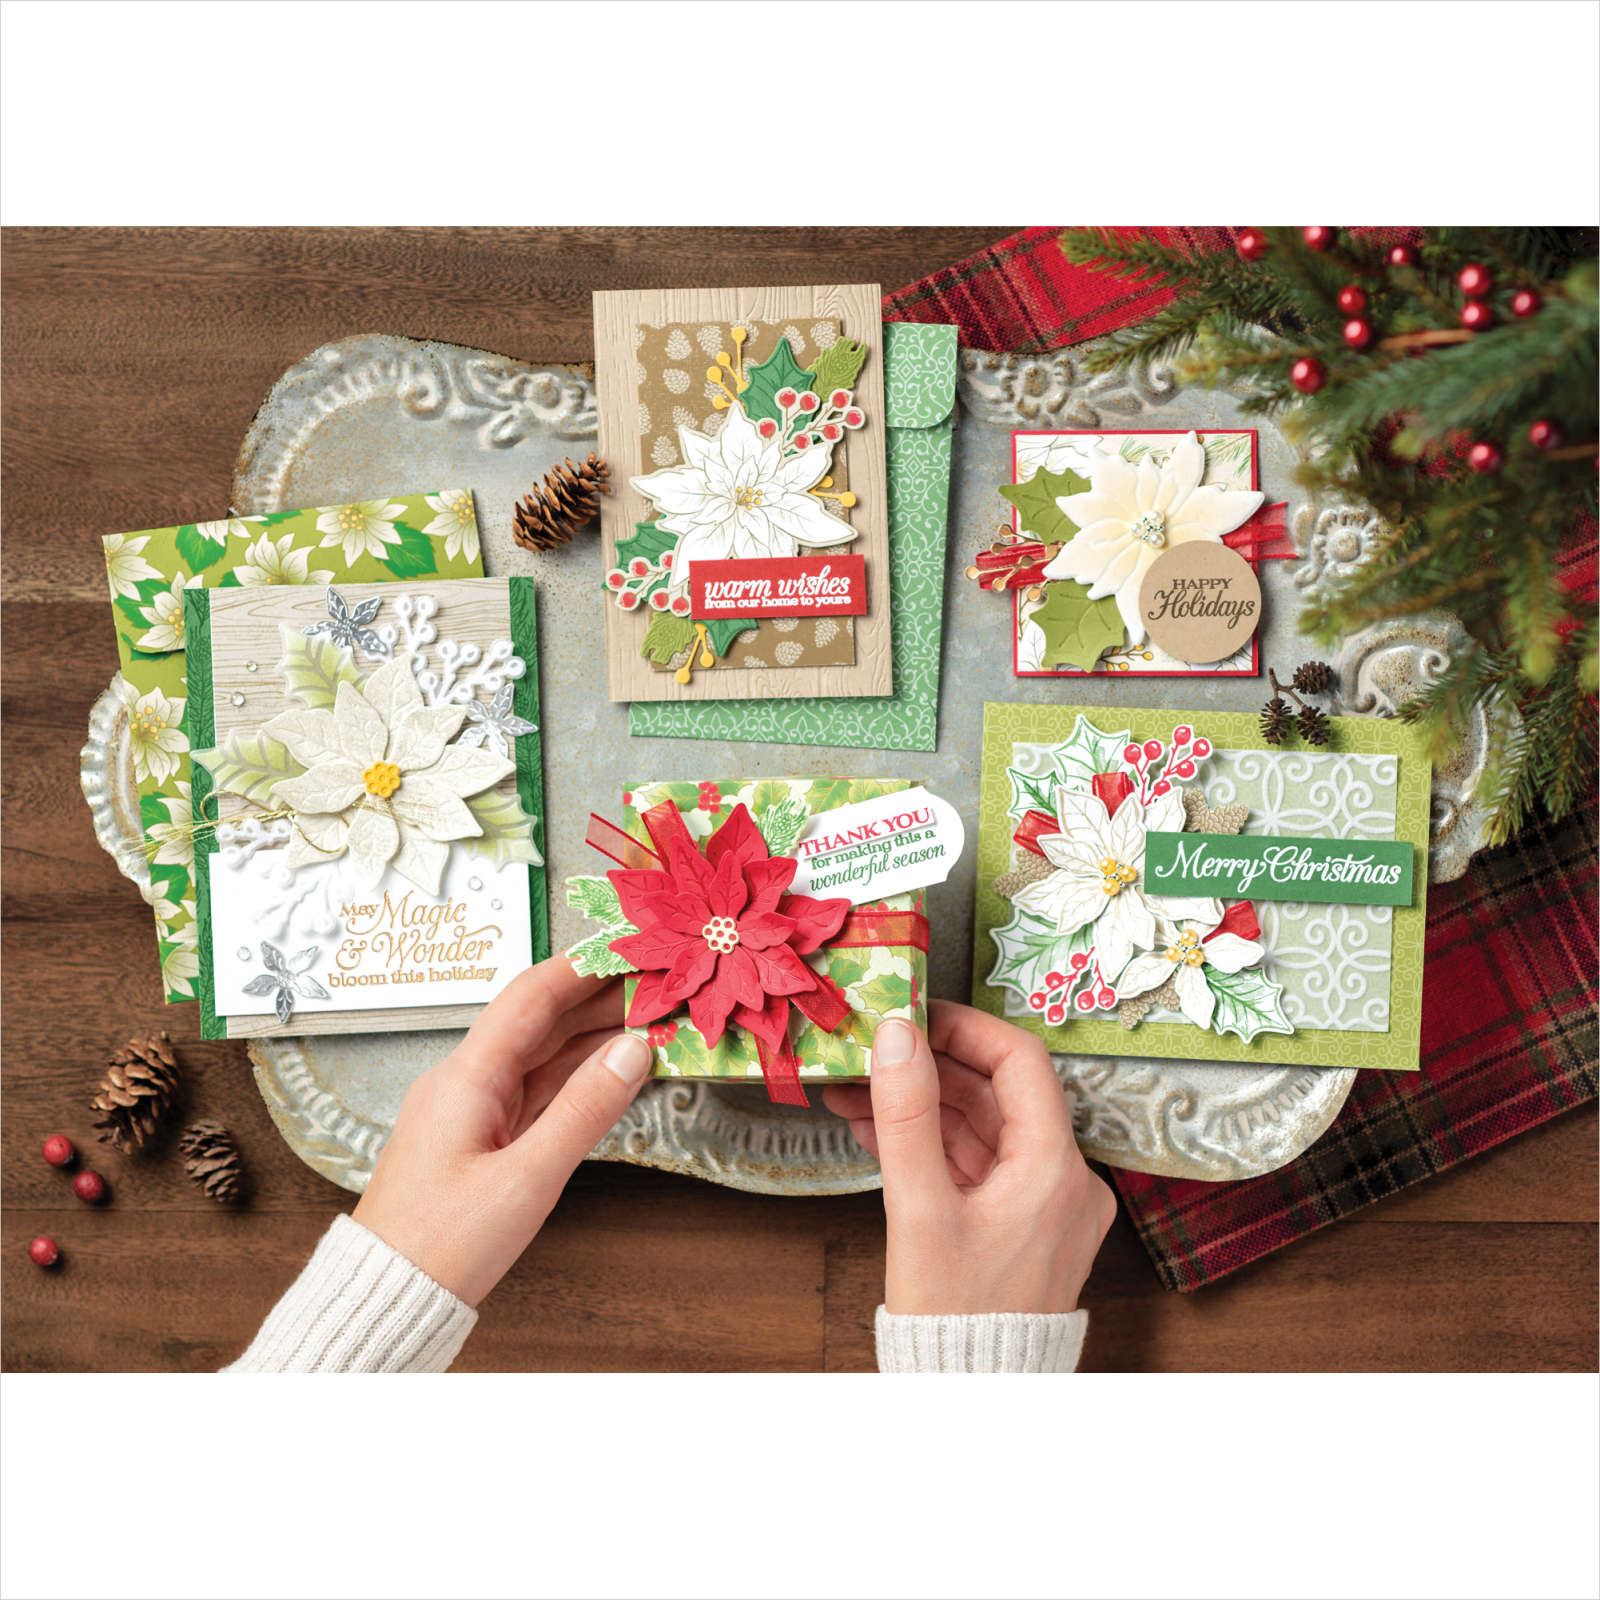
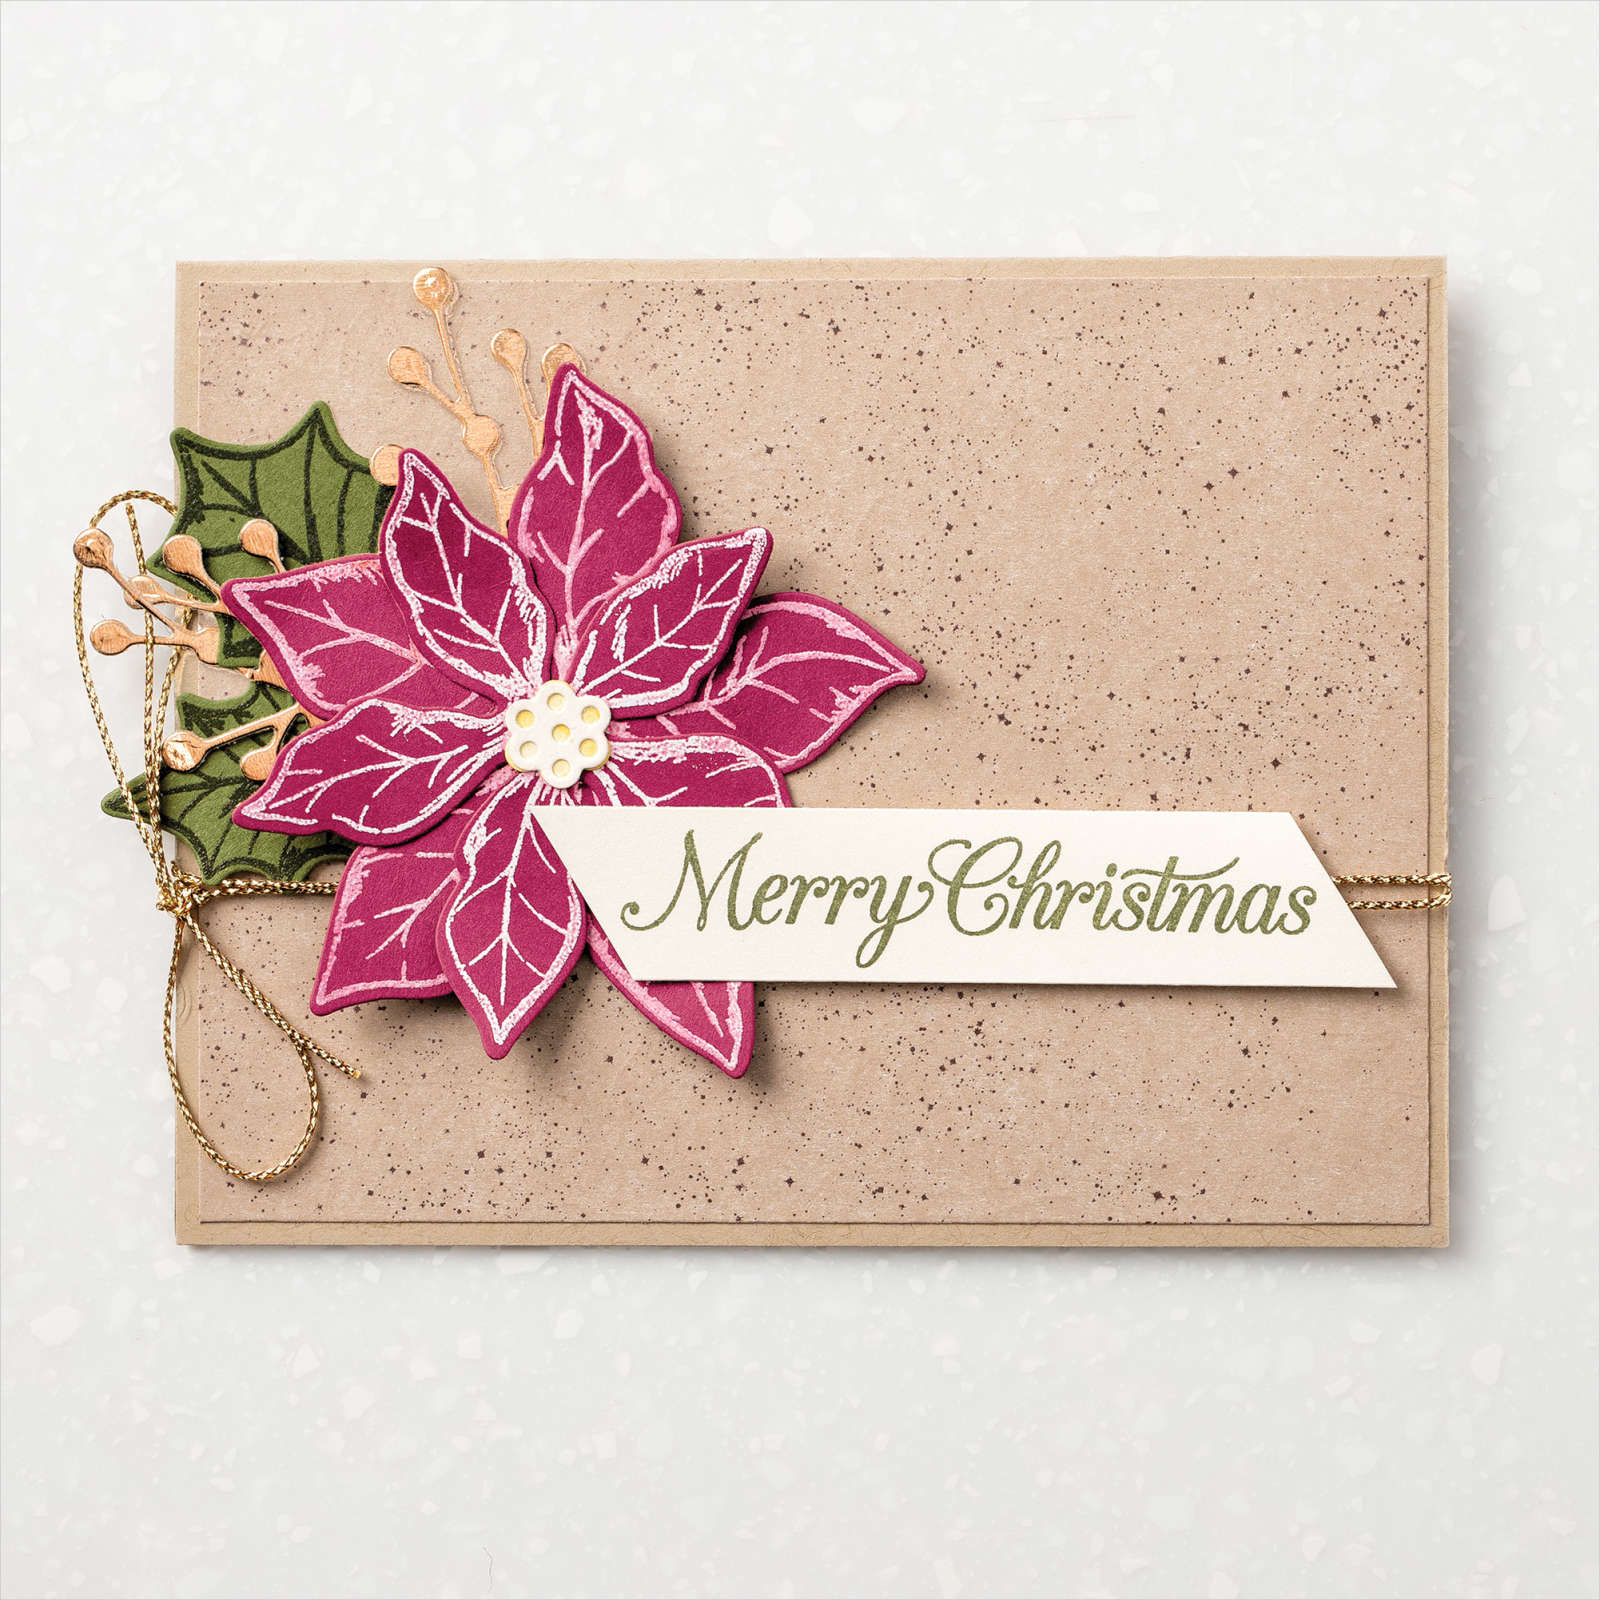
The ICONIC flower of the holidays, a poinsettia looks as elegant on your cards as it does on your table!
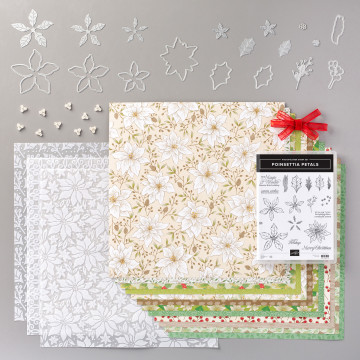
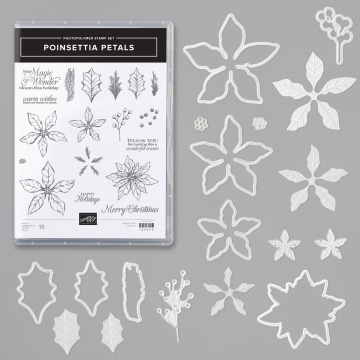
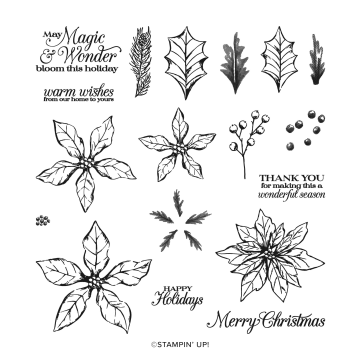
Special touches like the flocked vellum in the Plush Poinsettia Specialty Paper (#153486), the dazzling Beaded Pearls (#153534), and the elegant Real Red Sheer Ribbon (#153535) make this suite stand out and shine. I also love that the Poinsettia Dies (#153522) have duplicates of several dies. That means when you stamp the layering poinsettia and leaf images from the coordinating Poinsettia Petals stamp set (#153475), you can save time by cutting out two of each at one time. We all love to save time!
From traditional colors to modern, monochrome elegance you’ll be amazed at all the different styles you can create with this suite
————————————————–
Poinsettia Petals Rustic Heat Embossed Card
Join my Email Newsletter List and receive my tutorials by email. With each mailing you will receive a picture of the finished project, a supply list, card layout, and a step-by-step tutorial.
PAPER
Very Vanilla (#101650)
Crumb Cake (#120953)
Mossy Meadow (#133676)
Merry Merlot (#146979)
Gilded Autumn Specialty Designer Series Paper (#153520)
Brushed Metallic Cardstock (#153524)
INK
VersaMark Pad (#102283)
Mossy Meadow (#147111)
TOOLS
Heat Tool (#129053)
Paper Snips (#103579)
ADHESIVE
Stampin’ Dimensionals (#104430)
Stampin’ SEAL (#152813)
Glue Dots (#103683)
EMBELLISHMENTS
Stampin’ Emboss Powder Clear (#109130 )
Stampin’ Emboss Powder White (#109132)
Wonder Of The Season Ribbon Combo Pack (#153537)
TIPS: Use the Scoring Tip of Take Your Pick Tool (#144107) to hold cardstock in place when heat embossing to avoid burning your fingers or smudging the image.
Embrace your CURVES: Especially in your craft room! These NEW curvy stamps and dies are the perfect twist to take your projects beyond the ordinary.
You can begin creating NOW with the early-release of the Quite Curvy Variety Bundle, part of which will be available January 5th… but you don’t want to wait and here’s why:
Through January 4th only, you can get the Quite Curvy Variety Bundle that includes two additional, exclusive, coordinating Christmas themed goodies and save 10% on it all!
Taking the curves into Christmas, I used the coordinating “Classic Christmas” Designer Series Paper stack to pull the theme all the way through, even though it stays with a monochromatic (Shaded Spruce) palette.
Another holiday card: The decorated edges really dress up the edge of a card…or make a pretty banner!
You won’t be able to get the Curvy Christmas stamp set or Classic Christmas 6″ x 6″ Designer Series Paper once it goes live with the 2021 January-June Mini Catalog; They are only available as part of this special pre-order period (or while supplies last) so don’t delay~ add a curvy touch to your Christmas projects while you can.
With a new month comes a new class in the mail: November’s 3 for Free class showcases some fancy typography in the Peace & Joy Bundle!
When you order the bundle from my Stampin’ Store during November 2020, you’ll receive 3 tutorials via email along with the consumable supplies to make the projects in your mail box!
What else will you need to make the cards this month?
Stampin’ Up! Ink Pads: Versamark or white craft ink, Highland Heather, Shaded Spruce, Granny Apple, Poppy Parade and Cherry Cobbler (some other colors can be substituted if needed)
I demonstrated this card as a bonus idea yesterday! It’s a good overview of what is included in the bundle, so take a moment to watch:
You are really going to enjoy creating the projects I’m sure there will be some you want to make in multiples, so grab your Peace & Joy bundle and message me with your favorite project!
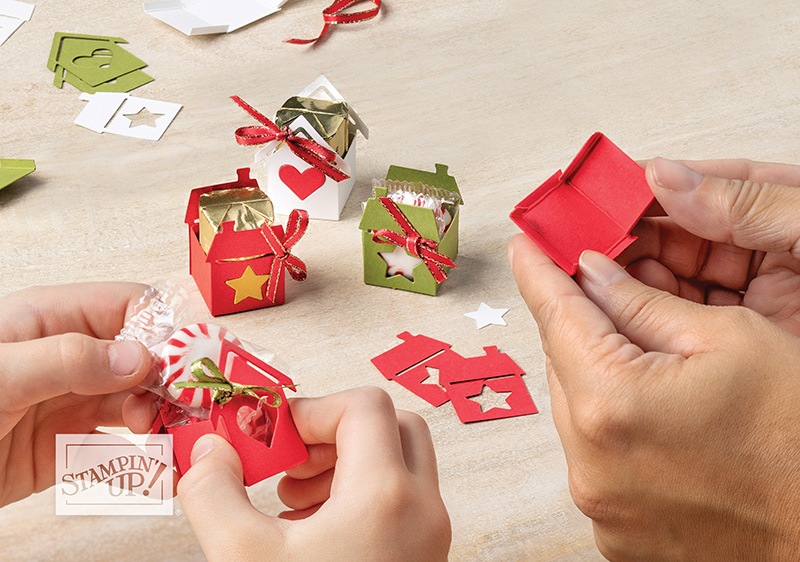
Now is a great time to make something adorable and make a difference! The Coming Home stamp set (#153500) is part of the popular Trimming The Town suite and is the August-December 2020 Mini Catalog Making a Difference stamp set.
When you purchase the Coming Home stamp set you’ll be a part of supporting adoption, foster care, and infertility charities.
The Home Together Dies coordinate with both the stamps and the Trimming the Town Designer Series Paper (#153491) and makes it simple and fast to create layered scenes on card and decor projects.
————————————————–
Trimming the Town Treat Boxes
Join my Email Newsletter List and receive my tutorials by email! With each mailing you will receive a picture of the finished project, a supply list, card layout, and a step-by-step tutorial.
SUPPLIES:
STAMPS
Coming Home (#153500)
*these coordinating stamps are optional for this project but are great for accents and coordination PAPER
Old Olive (#100702), Whisper White (#100730), Poppy Parade (#119793), Bumblebee (#153077) TOOLS
Home Together Dies (#153515), Paper Trimmer (#152392), Simply Scored Scoring Tool (#122334) ADHESIVE
Multipurpose Liquid Glue (#110755), Mini Glue Dots (#103683) EMBELLISHMENTS
All The Trimmings Ribbon Combo Pack (#153541)
TIPS: You can make the house treat box longer to fit bigger candies or gifts. Keep the 1-1/4″ width the same and increase the 2-1/2″ length to your preferred size. The score lines measurements will remain the same at 1/8″ along the long sides and 3/4″ along the 1-1/4″ sides.
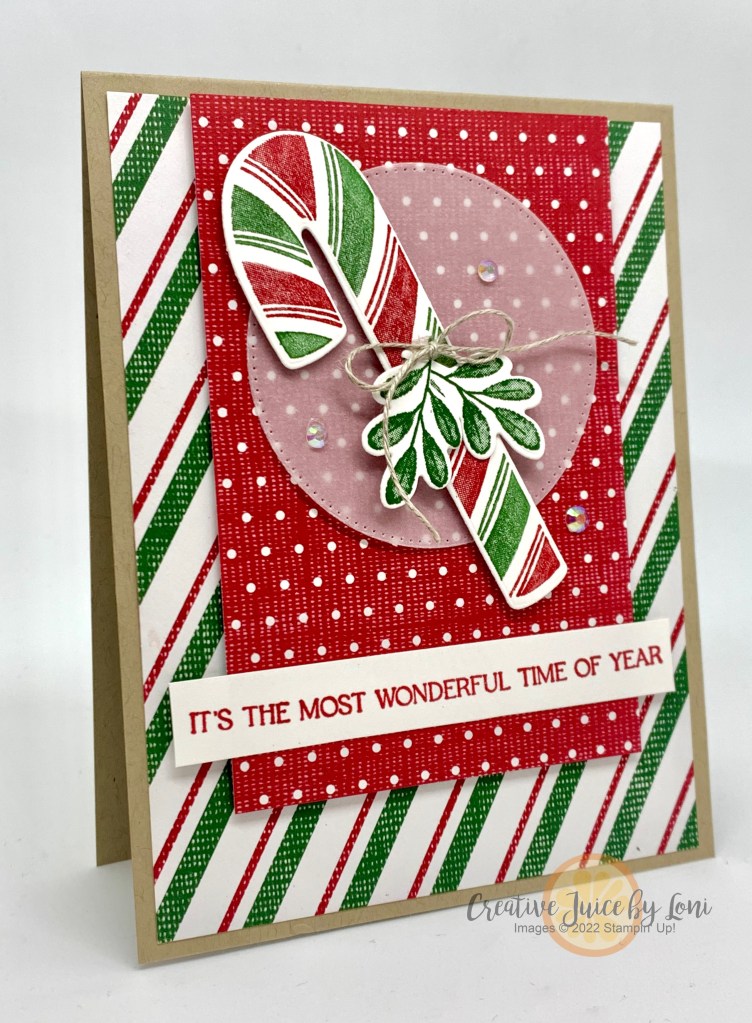
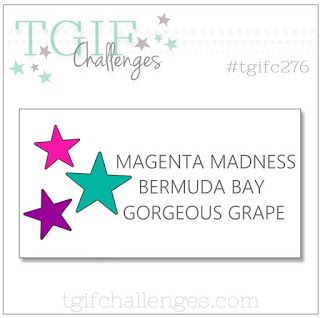
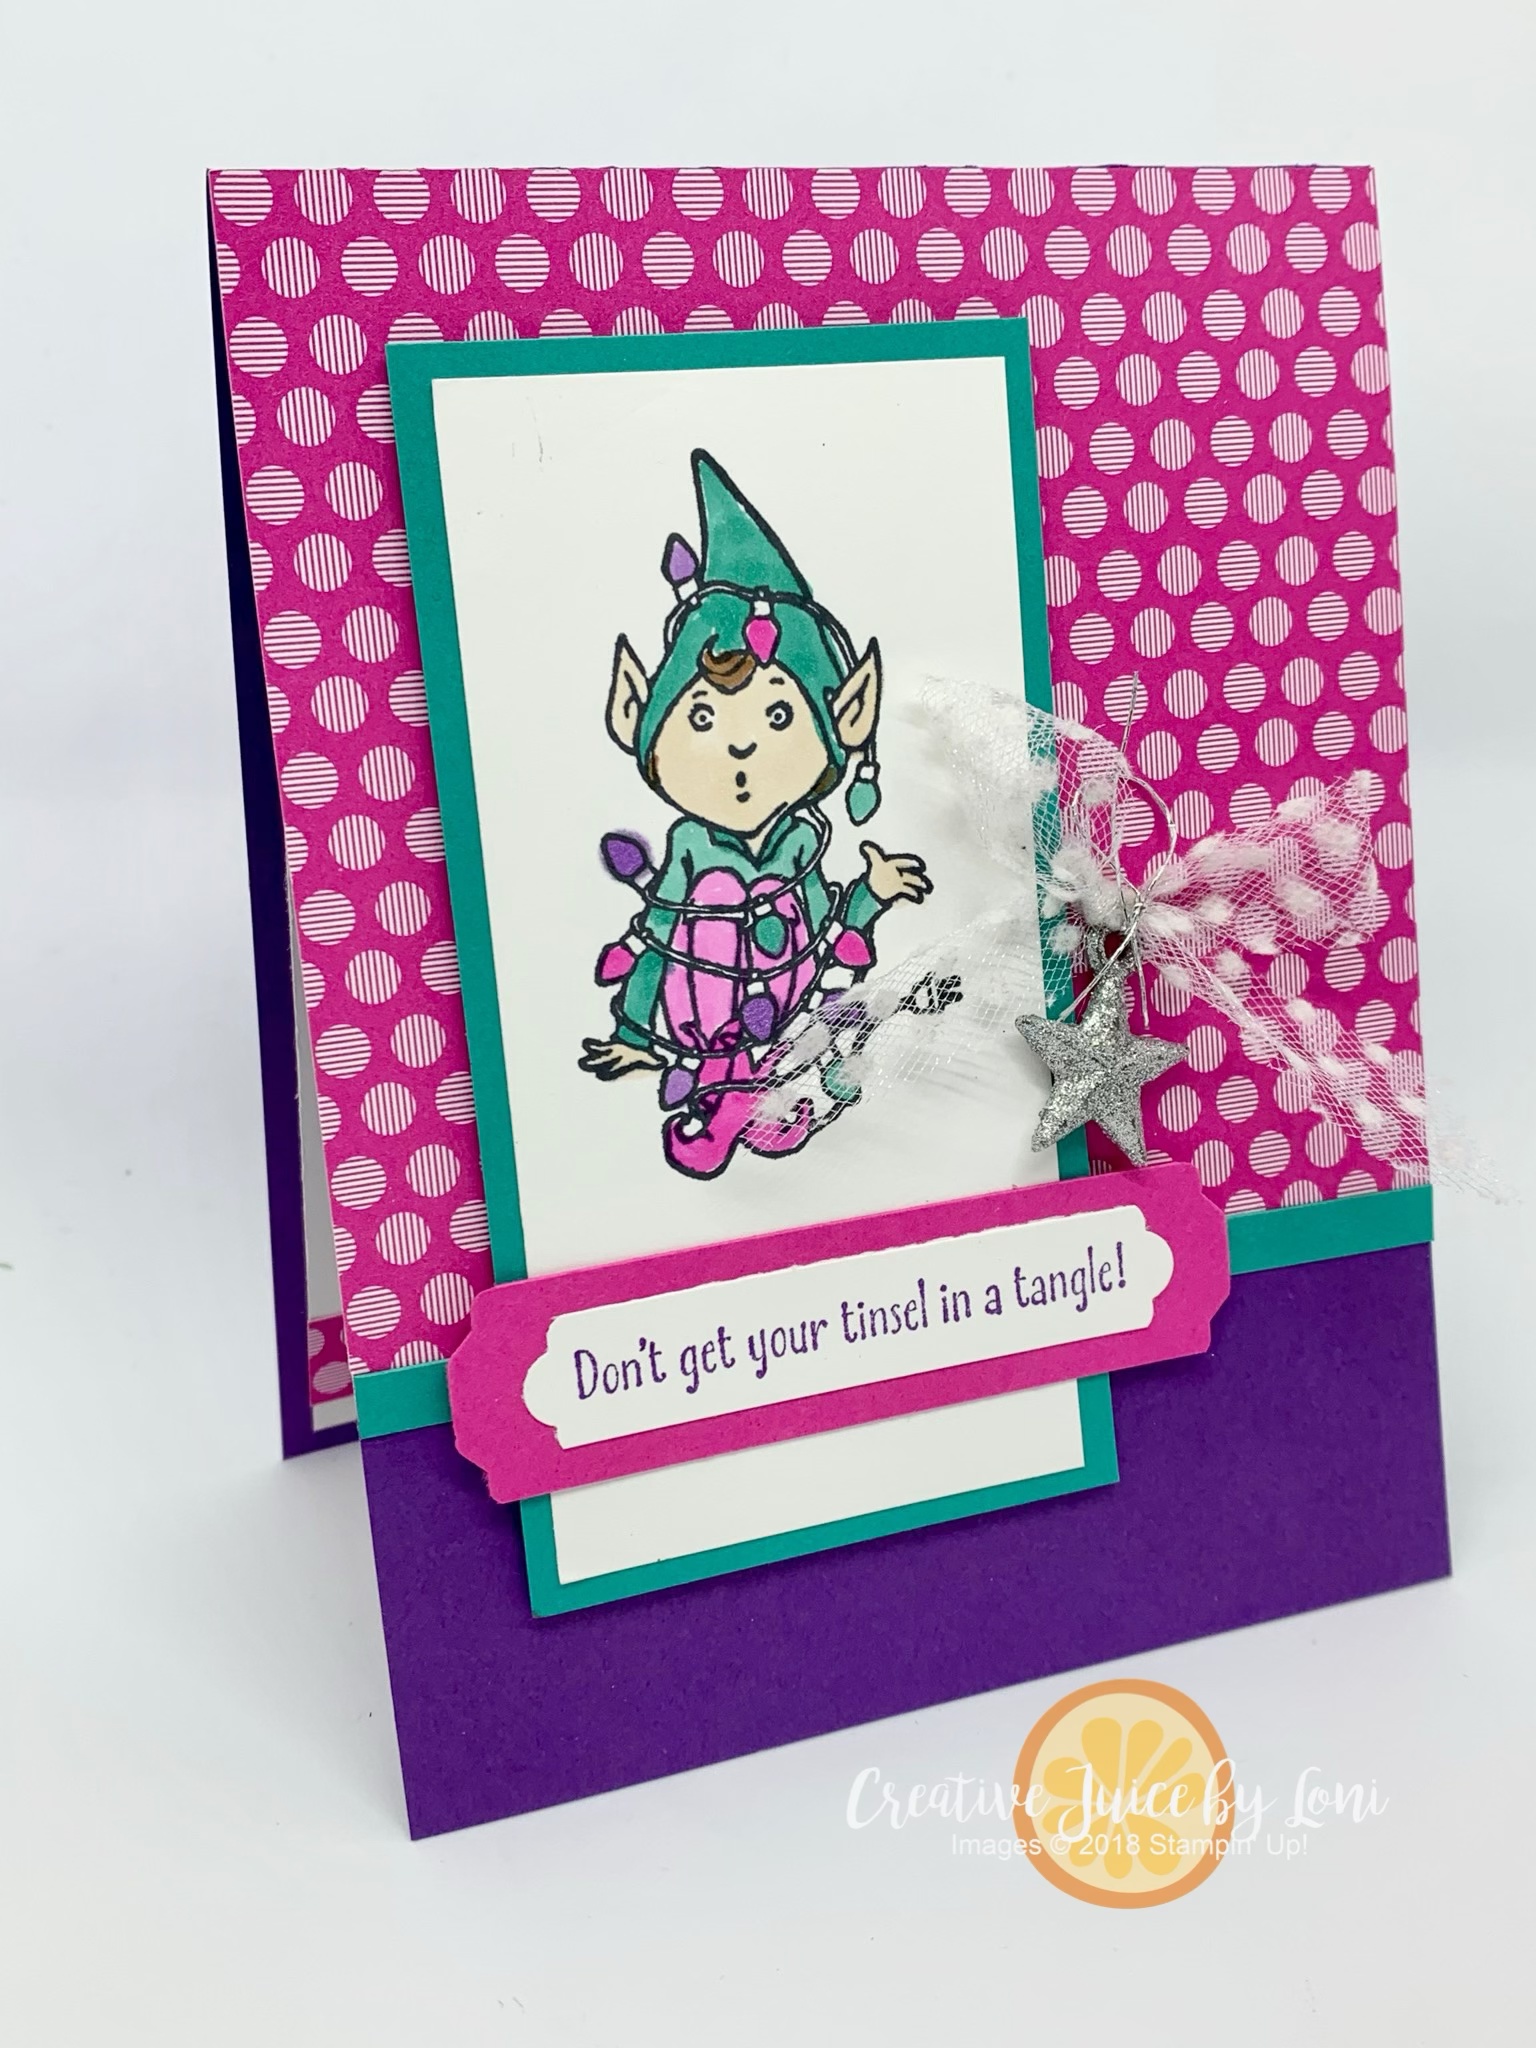
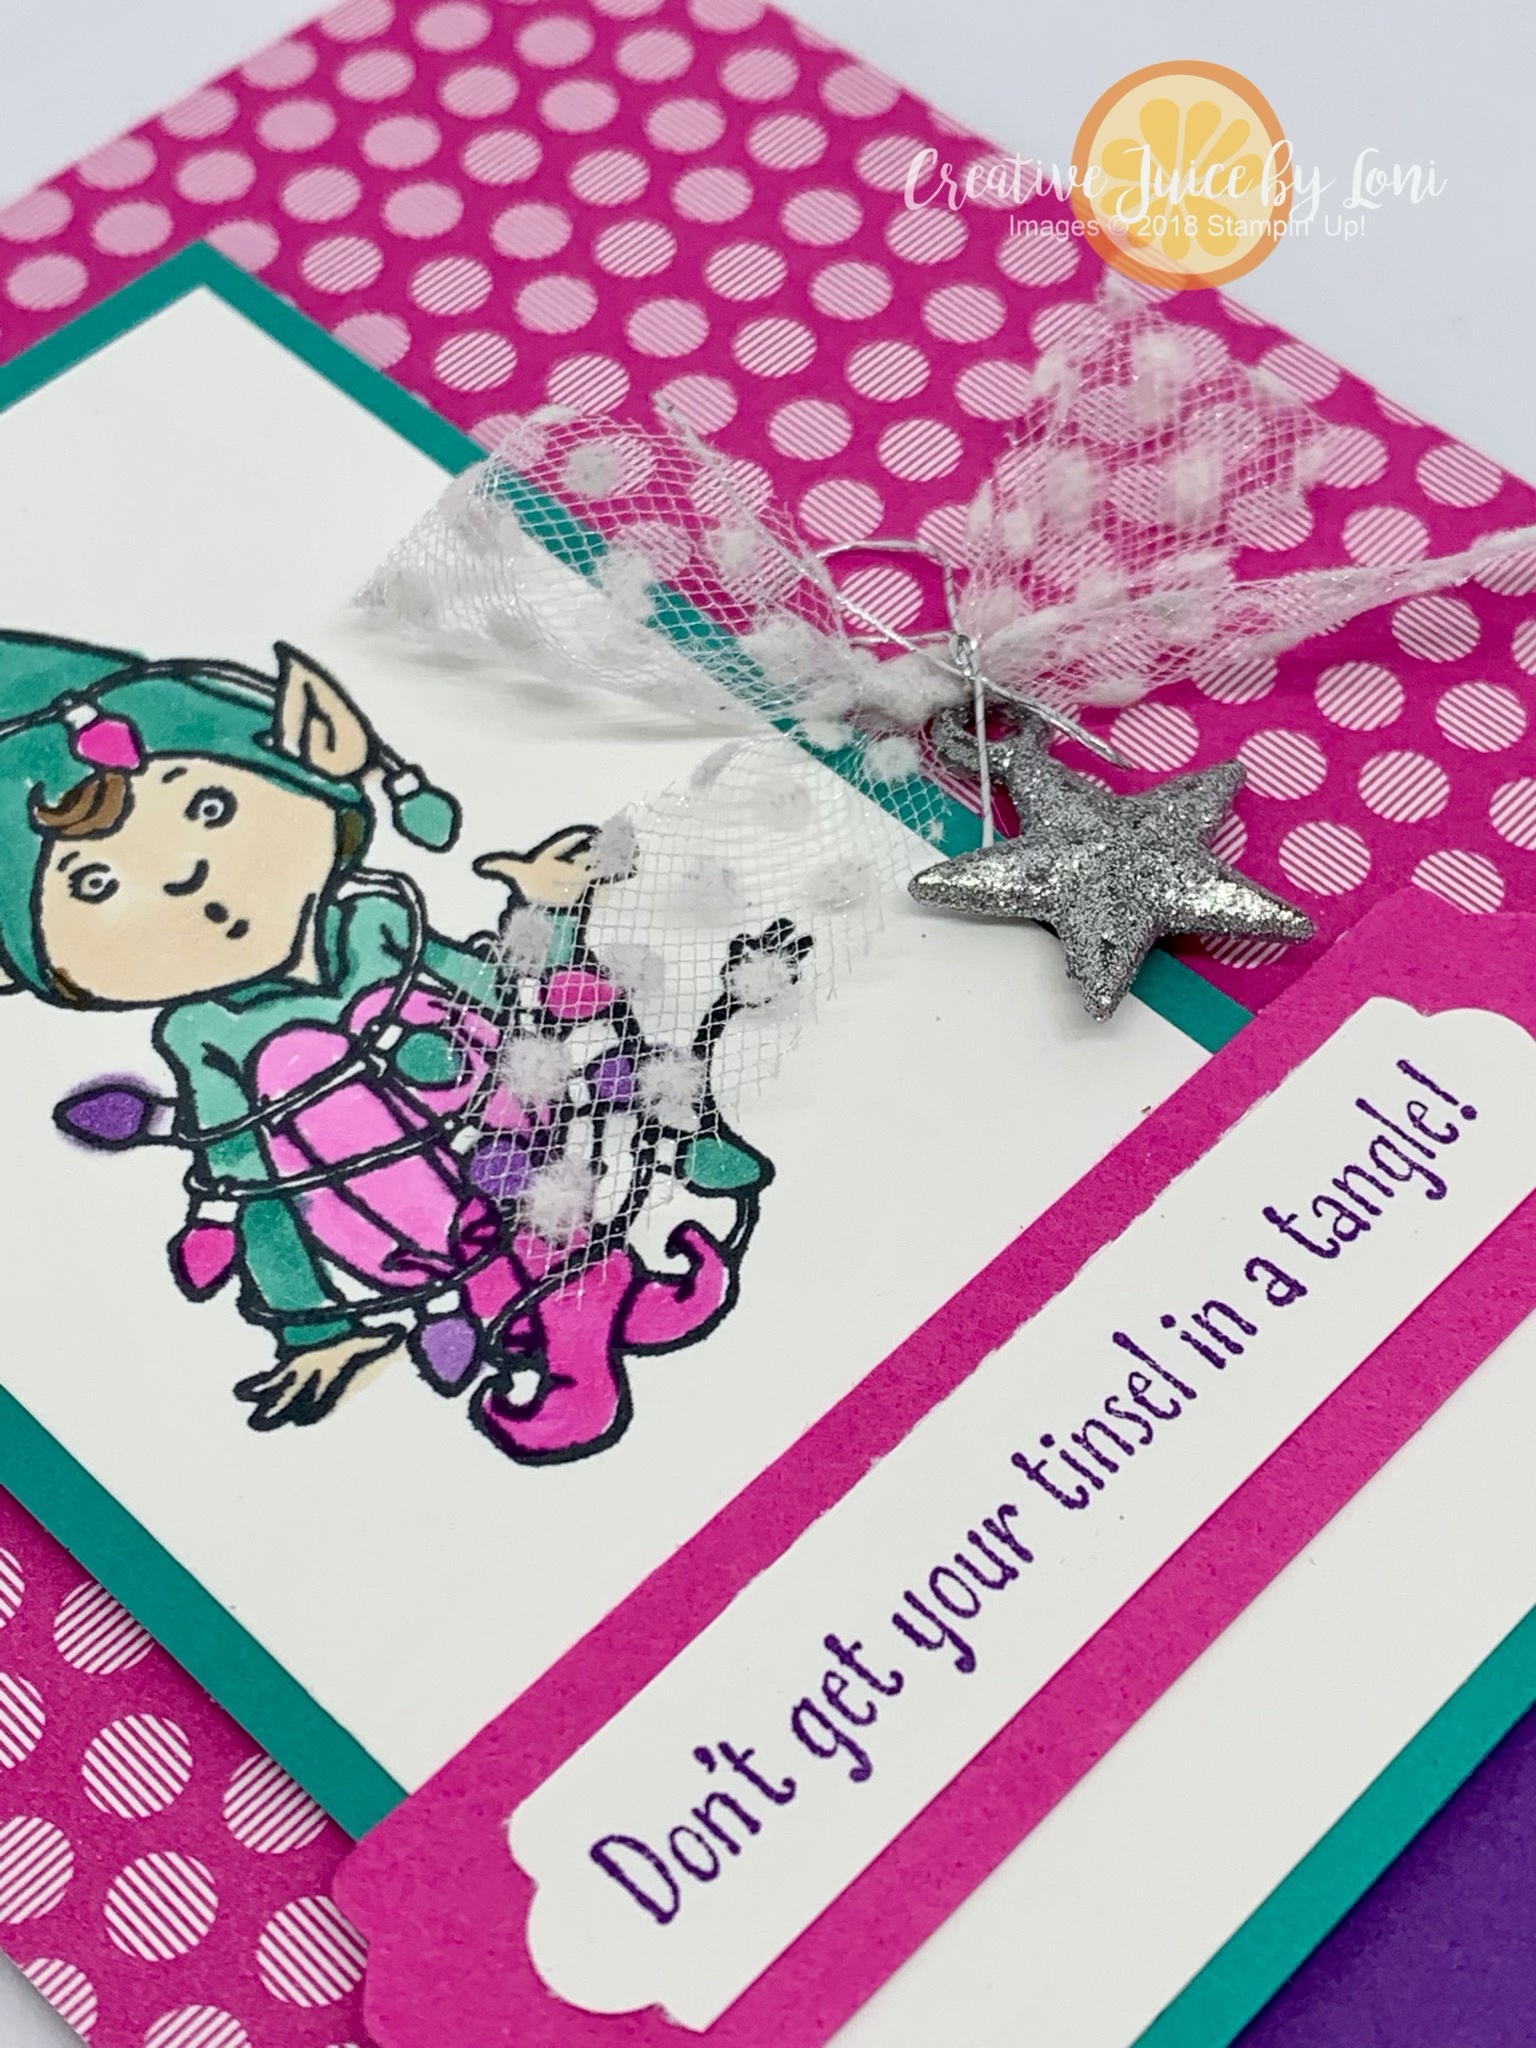
Colors inspire me and ever since I got a glimpse of the #tgifc276 color challenge last Friday (and Lauren Alarid’s stinking CUTE holiday card using these unexpected colors), I’ve been thinking about it!
Here’s my take on this challenge featuring the “Don’t Stop Believin” stamp set from the August-December Mini Catalog:
Isn’t that fun? Check out how to use the Lovely Labels Pick-a-Punch here!
If you start making your holiday cards in August, you won’t end up with your tinsel in a tangle in December! Try these tips:
Design your Christmas Card now!
Order the supplies (including adhesive and envelopes).
Cut all the card bases and other pieces while you are binge-watching Netflix (Umbrella Academy season 2 is out…) in September. Keep the pieces in a shoe box to make it easy when you have time for the next steps.
Stamp images on a lazy Sunday afternoon.
Ask your husband to drive to your next adventure and assemble the cards in the passenger seat.
Buy cute postage stamps in October!
Make an address list and print labels (this will also come in clutch when your kids get married, as long as you keep it updated) before Thanksgiving.
Mail them the first week of December.
I guarantee that when you break it down into smaller steps, you’ll be relaxed to enjoy the Christmas Season!
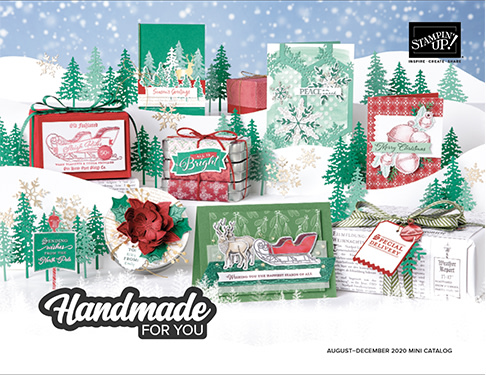
It’s hard to imagine the crisp air of Autumn or the warm cocoa that warms you in winter, but Fall is just around the corner and the first sign of the change in seasons is the arrival of the August-December 2020 Mini Catalog!
This not-so-mini is packed with festive goodies and inspiration you can view it online now. Contact me if you haven’t received your personal copy yet!
Enjoy the new and improved store as you are shopping, and don’t forget to use any Bonus Day Coupons you may have earned in July!
Did you know that Bundles of stamps and punches or dies are available at a 10% discount? Here’s an important tip: Look for coordinating stamps and tools bundled together!


")
 Designer Series Paper")


")
 Designer Series Paper")


 Braided Linen Trim")


 SHEER RIBBON")


 Designer Series Paper")


 Polka Dot Tulle Ribbon")


