“I don’t want free crafting products” – said NO STAMPER EVER
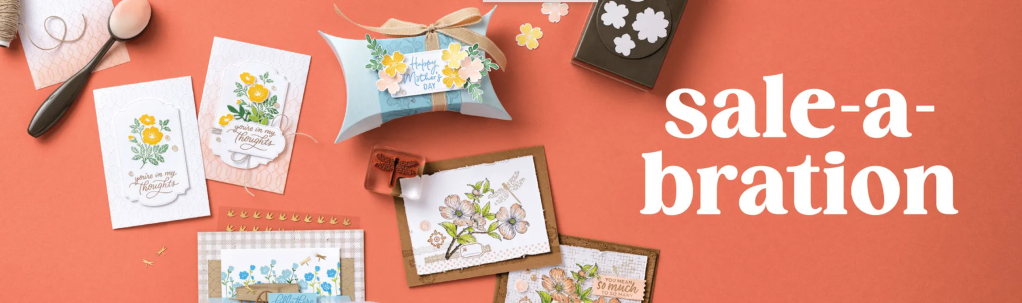
Yesterday was the first day of Stampin’ Up! Sale-a-Bration 2025, and if you don’t know, that means customers get to choose exclusive products (such as rubber stamps, Designer Series Paper, ribbon, embellishments, etc) FREE with a qualifying purchase now through February 28th!
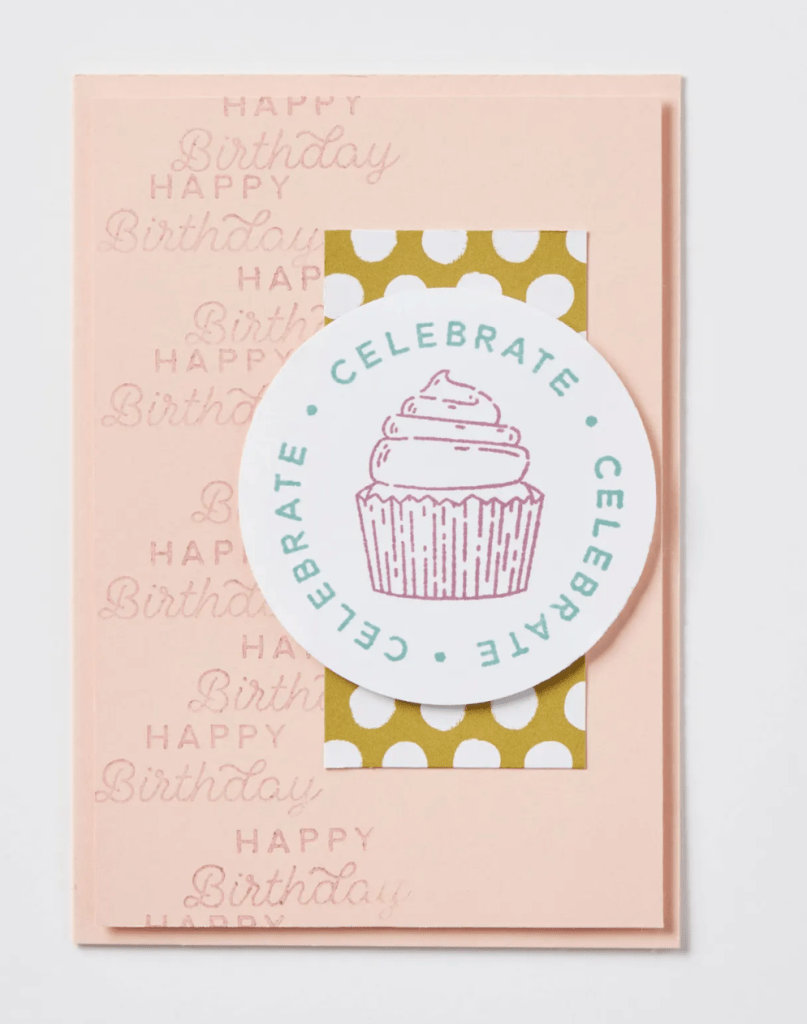
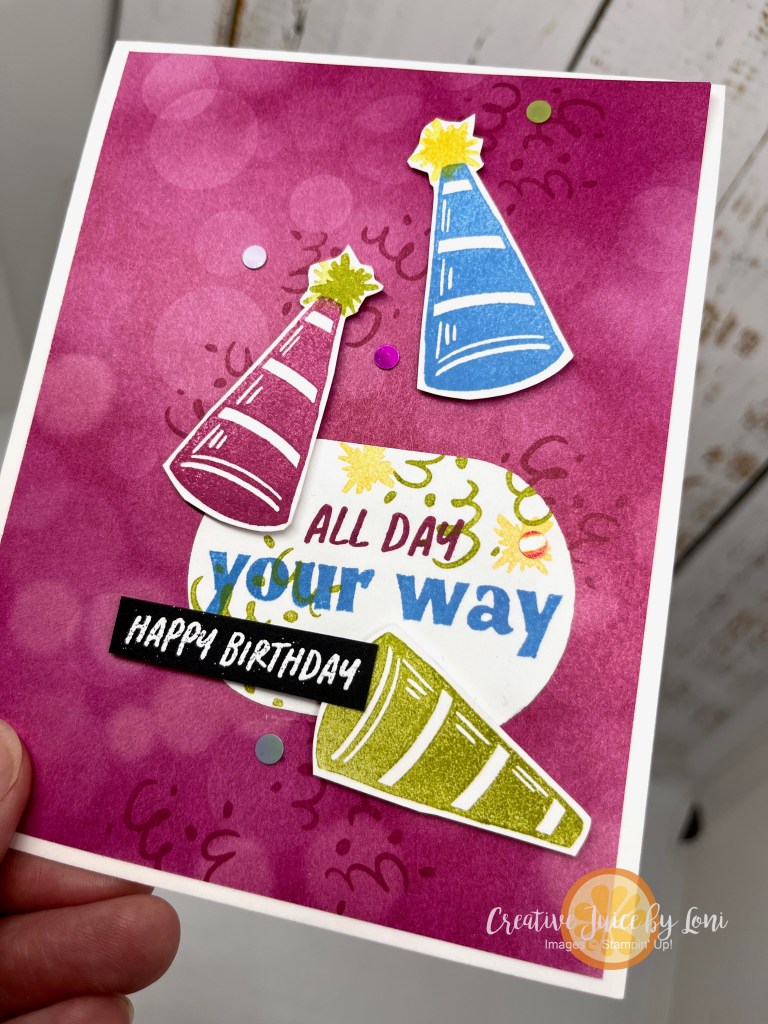
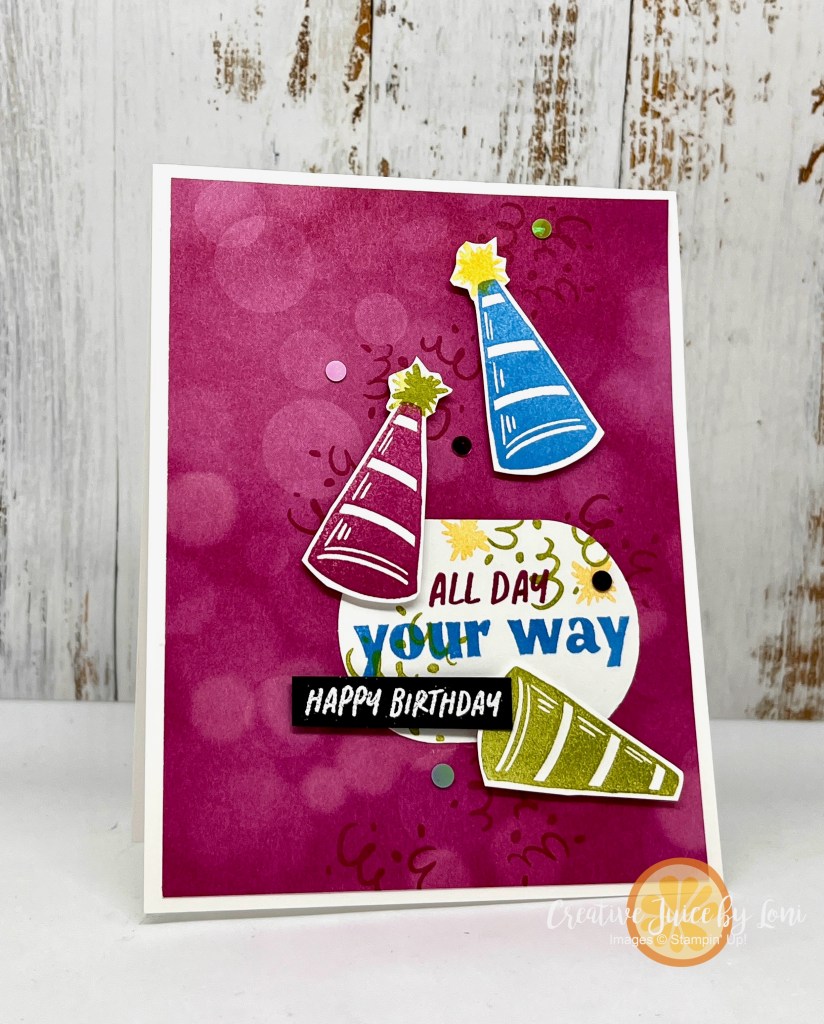
One of the Sale-a-Bration choices is the “Day to Celebrate” photopolymer stamp set, and it is primed to party for anything you want to commemorate! This birthday card shows how one of the stamps could be used as a party hat OR a megaphone, and paired with the Beautiful Bokeh paper just released in the 2025 January-April mini catalog, it feels celebratory, indeed.
The Day to Celebrate stamp set is just one of 12 choices you have when your cart reaches $60, PLUS there are two more products you might select if your total is $120! You can earn as many as you’d like during this crafting jubilee. Click to view the full brochure:
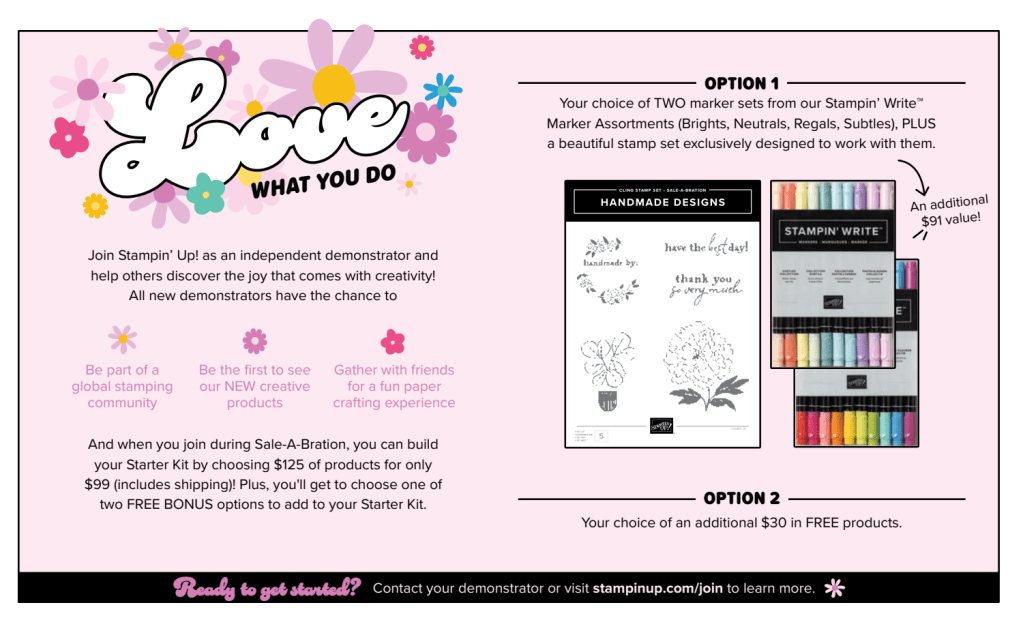
Ready to start a Stampin’ Up! business of your own? Join during Sale-a-Bration and build your own starter kit PLUS choose one of the two BONUS OPTIONS:
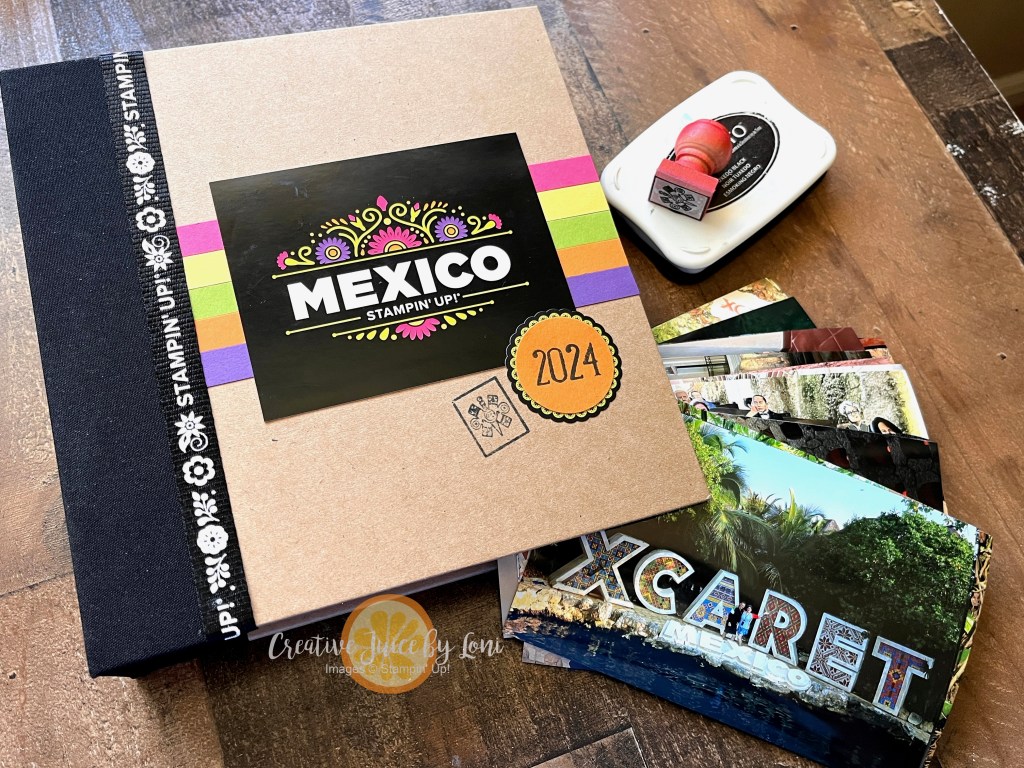
The Stampin’ Up! Incentive Trip* to Mexico was more marvelous than I even imagined! It’s a memory I will treasure and enjoy for years to come, so today I printed my photos and while the details are still fresh, I’m putting them into the album SU! generously gifted us at parting:
*Results aren’t typical- less than 1% of demonstrators earn the Incentive Trip each year. But even if it takes you 32 years (like me!) it’s worth the effort!
The 6″ x 8″ album didn’t come decorated like this…I embellished it with memorablilia collected along the way! The note that came with a set of luggage tags before we left home became the front focal point, the lanyard for our name tags is wrapped around and since rubber stamps got me to this adventure, I picked up a stamp for the Mayan symbol of 4 directions at the Cancun Mayan Museum gift shop.
Watch how I’m using pocket pages to add my photos and the new Ephemera packs to add fun details to every page:
A package of pages and an album are LESS THAN $20 – just IMAGINE what a great gift this would be for a graduation, a family vacation or birthday!
Here are the supplies I used (not including the card stock strips on the front of my album) so you can order them ASAP for your next celebration: You may want to order an extra to have on hand at this price!
If you aren’t interested in my vacation pics, now’s the time to move along- but for those who want to see the highlights of this incredible experience, have a look-see!
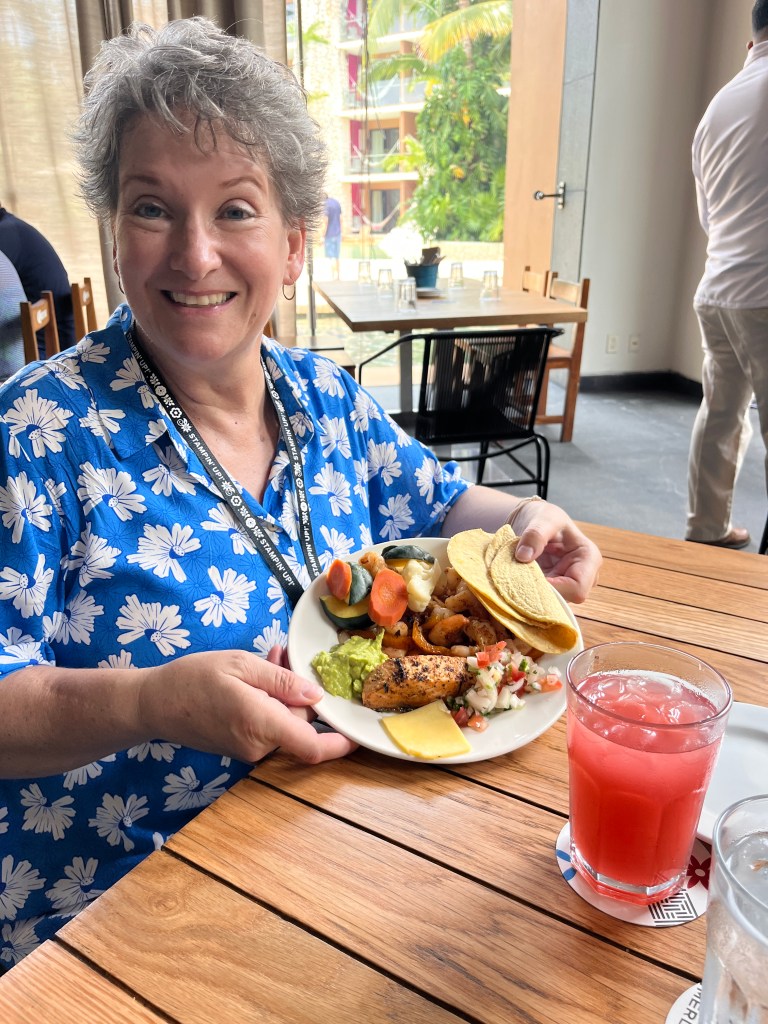
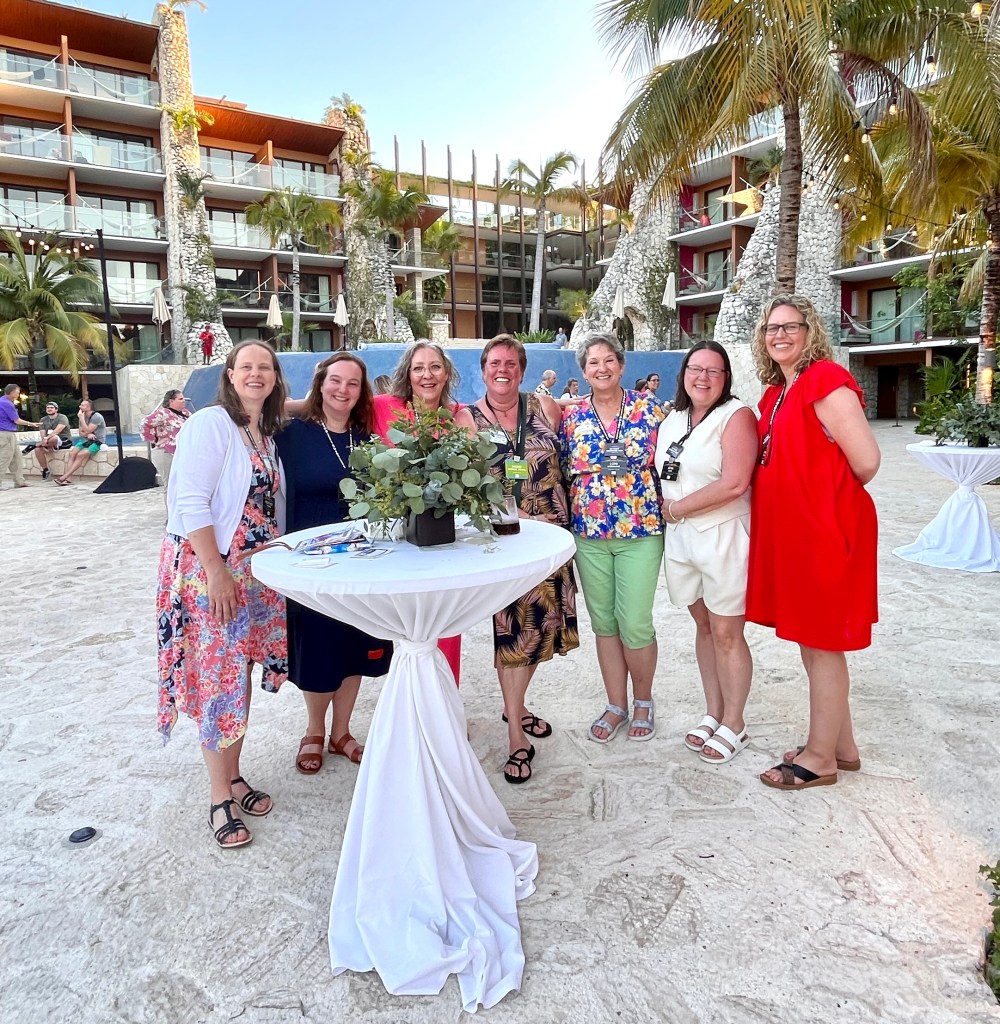
If you ever have the opportunity to stay at Hotel Xcaret Mexico…SEIZE IT! As Cody said, “I didn’t even know there were places like this.” We also visited Tulum and Chichen Itza on different days. I met some demonstrators that I admire at the First Time Acheiver’s reception, along with the opportunity to visit with beloved Stampin’ Up! leaders.
Jill Taylor & Shelli GardnerWith Heidi CollinsWith Tracy TravisHeather Thomas, Yvonne Van Bruggen, Kristien Saeys, Ingrid Hermens, me, Jenna Carr, Emma GoddardWith Sara Douglass
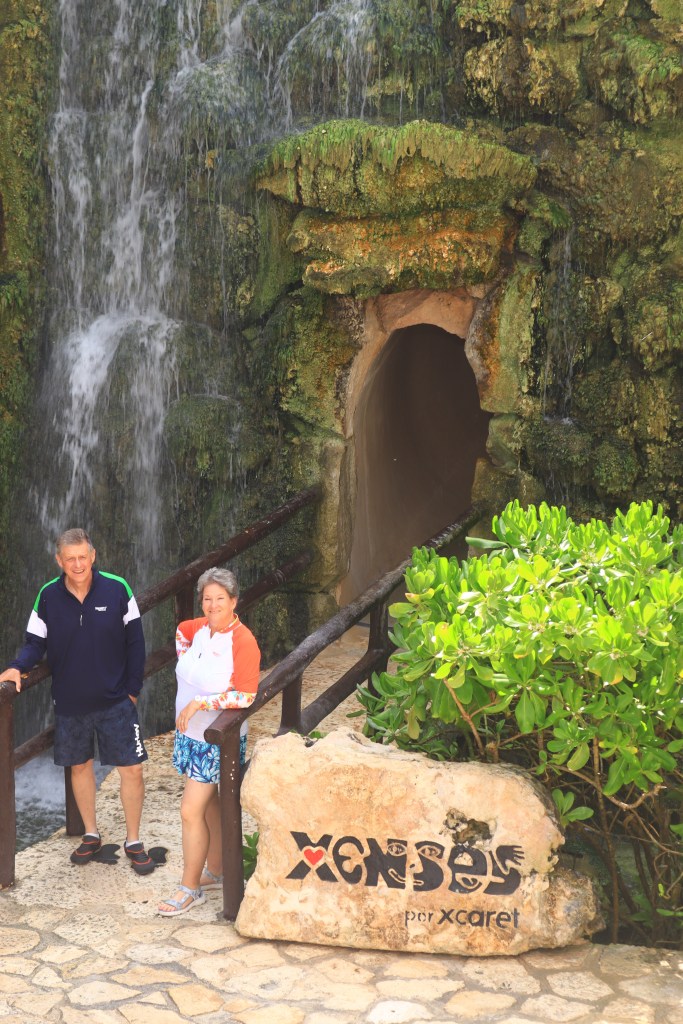
We were also gifted a photo package which we used at the Xcaret Mexico park and the Xenses park: It was genius to be able to swipe your wristband and have a personal photographer of all of the adventures!
Throughout the month of May 2024, there is a fabulous Starter Kit Special: You’ll get to choose $125 worth of your favorite products for just $99, then Stampin’ Up! will add FOUR 2024-2026 In Color products added to your kit FREE!
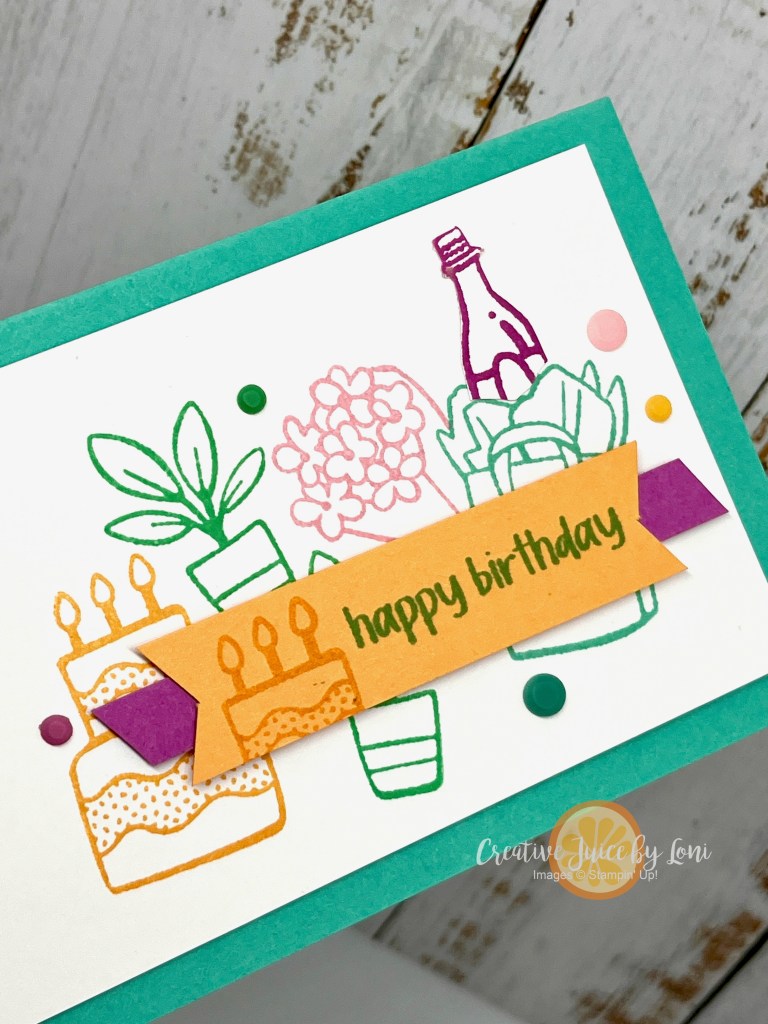
I wanted to show something you could make with these colors and potential items in your kit, so I demonstrated a simple stamping project on my Facebook page, inspired by a layout from the new annual catalog:
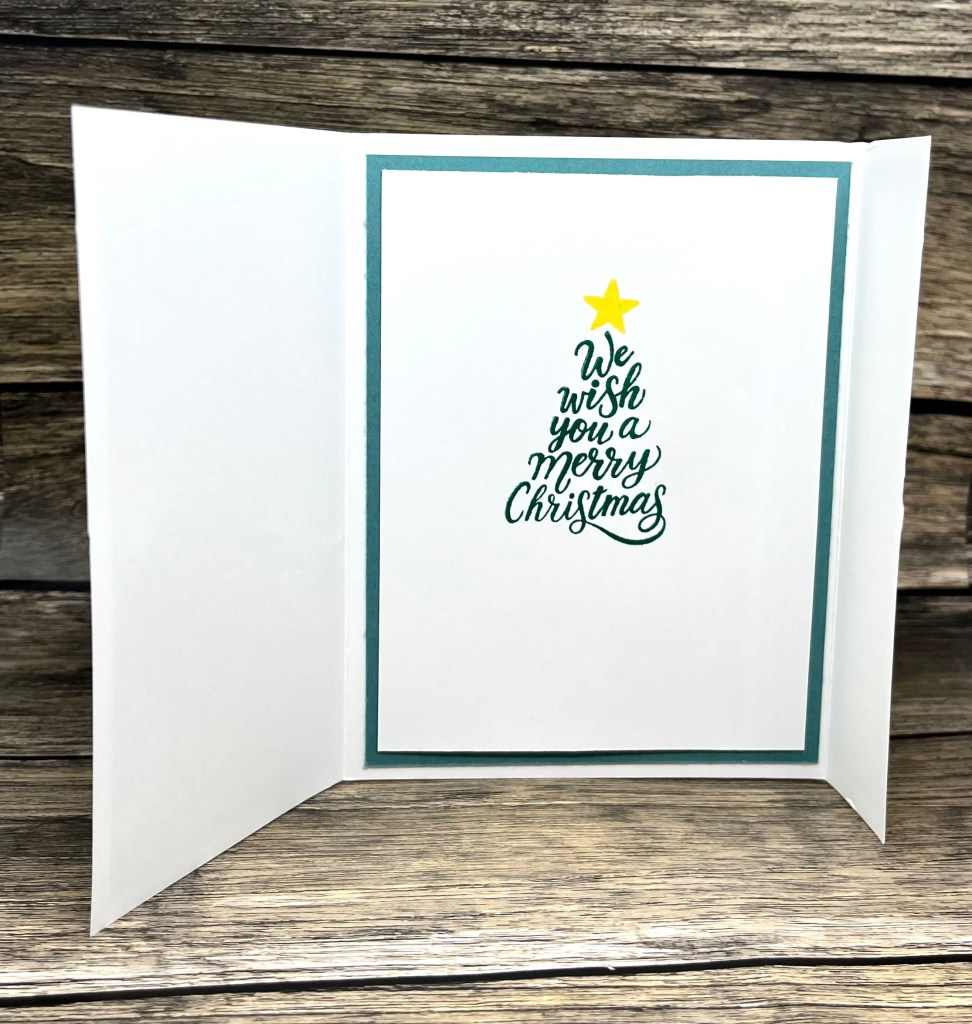
I failed to mention that this card is the ideal size to include a gift of ca$h, and here’s what I would stamp on the inside:
Basic masking and fussy cutting techniques are shared in the video you can watch here:
Did you know…
…there are no hidden requirements to buy the starter kit? You can purchase the kit and give the demonstrator life a try, and if you like sharing your love of paper with others, you’ll learn how to personalize your business or support your hobby as a demonstrator. But if you just want to take advantage of this great opportunity to add some color to your life, you can just coast along and enjoy the demonstrator discount until you no longer meet the quarterly sales minimum.
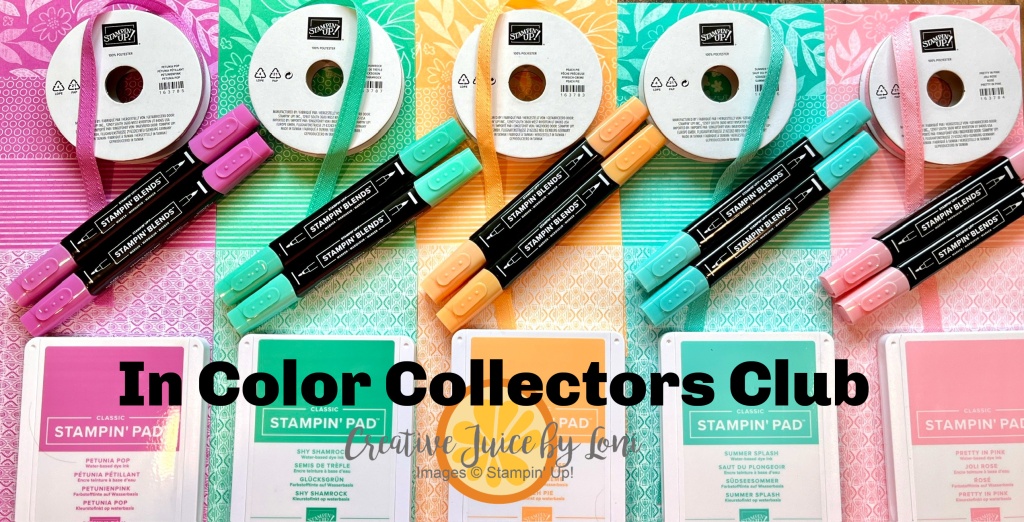
While that’s the smartest way to collect the colors quickly, you could also opt to add them one-at-a-time to your toolbox over the next 5 months by joining my In Color Collectors Club, including getting the new Basic Beige color collection FREE!
If you are in southern Utah, don’t miss my Catalog Carnival Open House this Saturday from 1-4 pm in Hurricane where you can craft a card, snag a snack, capture a new catalog, AND shop from my ONCE-A-YEAR-BOGO SALE!!
Attention Shoppers: I’m always delighted when you choose me to serve your creative needs – thanks for ordering your genuine Stampin’ Up! supplies from my Stampin’ Store by adding the products you love below to your cart, and watch for your thank you card in the mail when you allow me to inspire you!
If there were a contest for the “most cheerful flower”, don’t you think ZINNIAS would take the prize?
Today’s card(s) feature the Simply Zinnia bundle (an online exclusive available now in my Stampin’ Store) as well as the 2024-2026 In Color products that will be in my store on May 1st!
This slanted background is a handy template to remember (or PIN!) because you can create TWO cards in about the same time it takes to make just one!
It all starts with a 6″ x 3-3/4″ piece of In-Color Designer Series Paper. Mark it at 2″ on the bottom long edge (on the back side of the design you want to use) and at 4″ on the top long edge. Then cut it from the 2″ mark to the 4″ mark. Layer each of those pieces onto a 4″ x 5-1/4″ piece of Basic Black card stock and you are halfway done.
TIP: The leftover 6″ x 2-1/4″ piece of Designer Series Paper fits perfectly on the flap of your envelope, giving you terrific coordination!
Watch the tutorial (speed it up, if desired) to learn how to finish up the card:
And why stop at 2 cards when you can make 10? Two in each of the 2024-26 In Colors: Petunia Pop (shown above), Summer Splash, Peach Pie, Pretty In Pink and Shy Shamrock!
These colors coordinate beautifully, so you can even mix up the colors on the flowers- with the alcohol-based Stampin’ Blends markers, the colors bleed together smoothly:
Here are a few wonderful ways to collect the new IN COLORS:
Join my IN COLOR COLLECTORS CLUB and receive a package each month (May-September) filled with a sampling of ALL the products in each of the colors, including an exclusive projects each month…PLUS a FREE BASIC BEIGE BONUS the last month!
Too impatient to collect slowly? Purchase ALL the colors in May or June from my Stampin’ Store and earn the Basic Beige Bonus FREE!
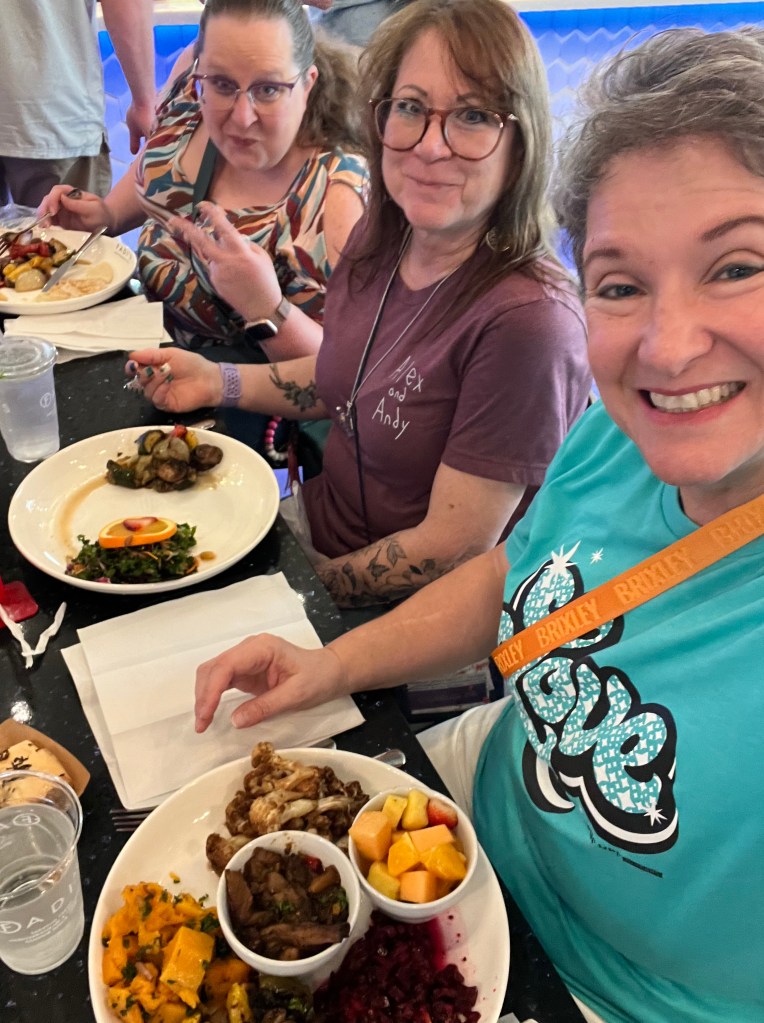
Stampin’ Up! offers a reason to travel with friends: Two weeks ago, a few of my Sprinkled Ink team (& friends) flew to Houston, Texas for OnStage (the SU! version of convention). We went a day early and did a bit of sightseeing at the Cockrell Butterfly Center, followed by lunch at our new favorite mediterranean restaurant “Fadi’s” (there is *always* good food involved on vacation).
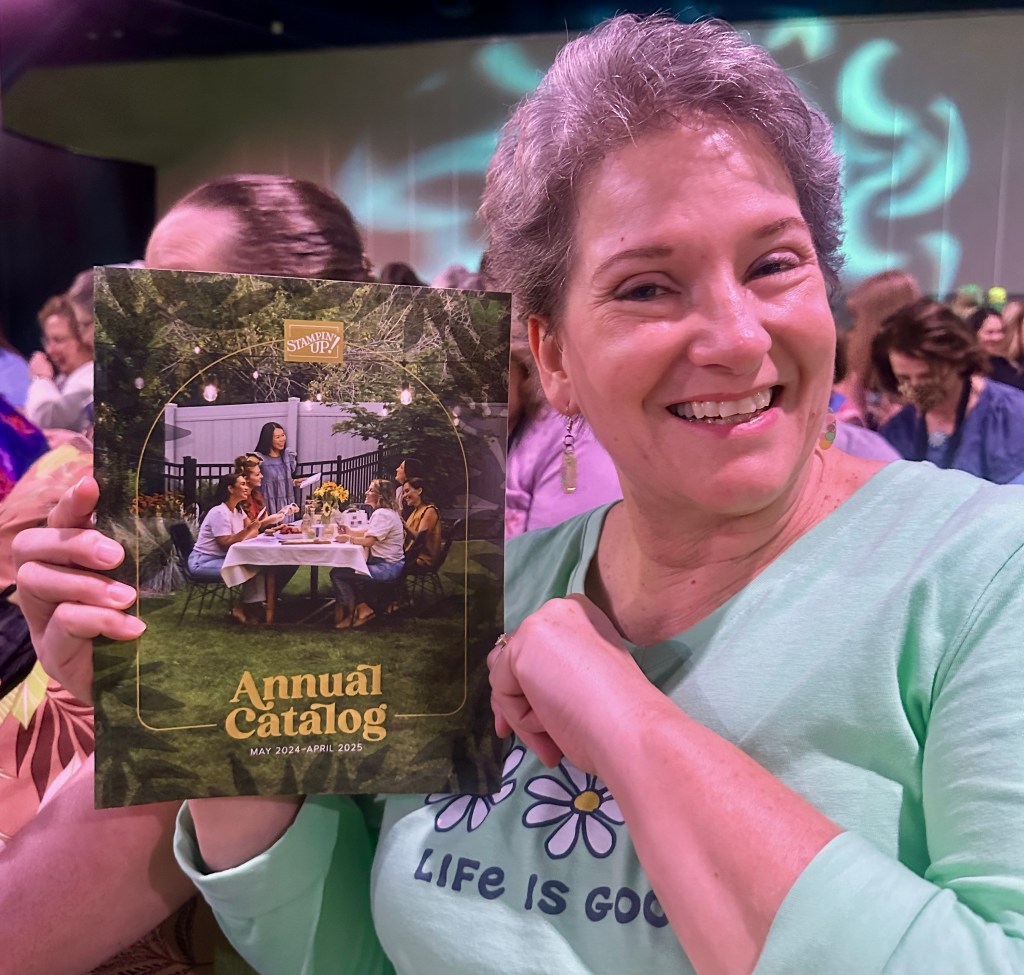
The next few days were filled with fun like stamping, learning, greeting friends from all over the world, celebrating milestones, eating more good food, winning Prize Patrol, hearing the vision and strategy of the company, seeing the new catalog and enjoying (enduring?!) so much togetherness!
This was the card I created to trade with other demonstrators using the Filled With Happiness bundle (I will show how to create this fun-fold in a future video). Swapping is an essential part of stamping events, and I came home with 30 different samples to display at upcoming events.
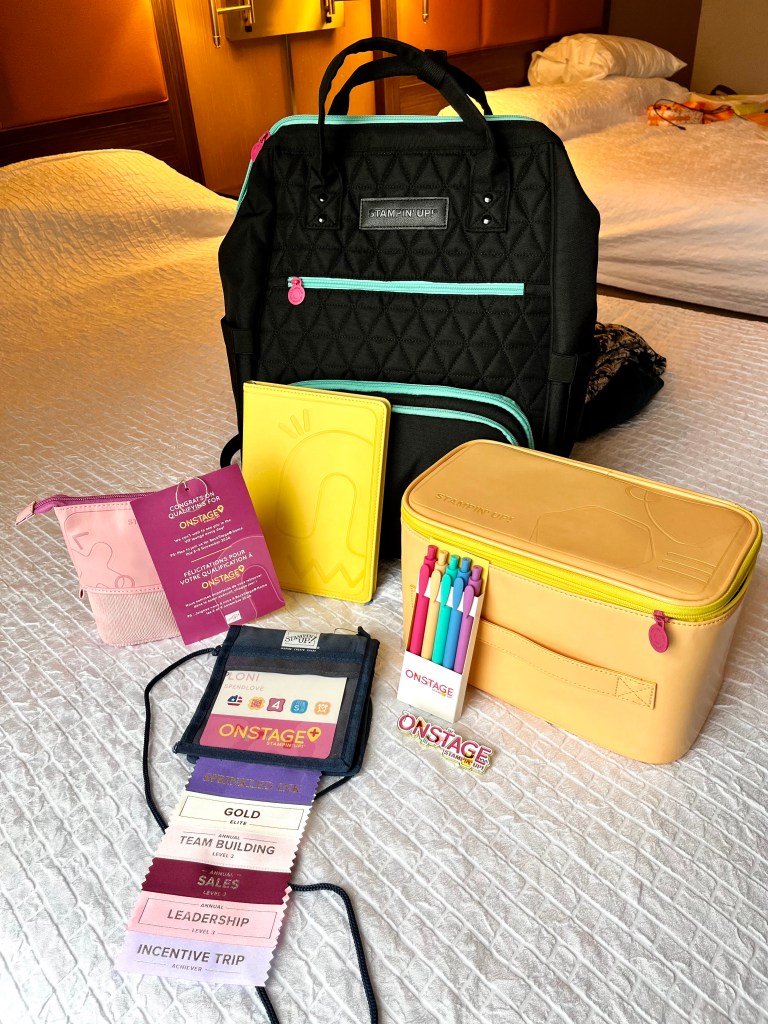
It’s fun to feel spoiled by all the SWAG you receive at these events~ I snapped this photo at our hotel of the amazing backpack and gifts we received on check-in. In addition, we took home rubber stamps, Designer Series Paper, a color wheel and the catalog (it’s important to leave extra room in your luggage for all the goodies)!
Next year, OnStage will be in Raleigh, NC (March 2025) and I’m already looking forward to it! What would you suggest are things we MUST SEE in/near Raleigh? Best food?
Would you like to come with us? There is room at our table for more stamping friends… invest in yourself with a Starter Kit and we’ll happily save you a seat!
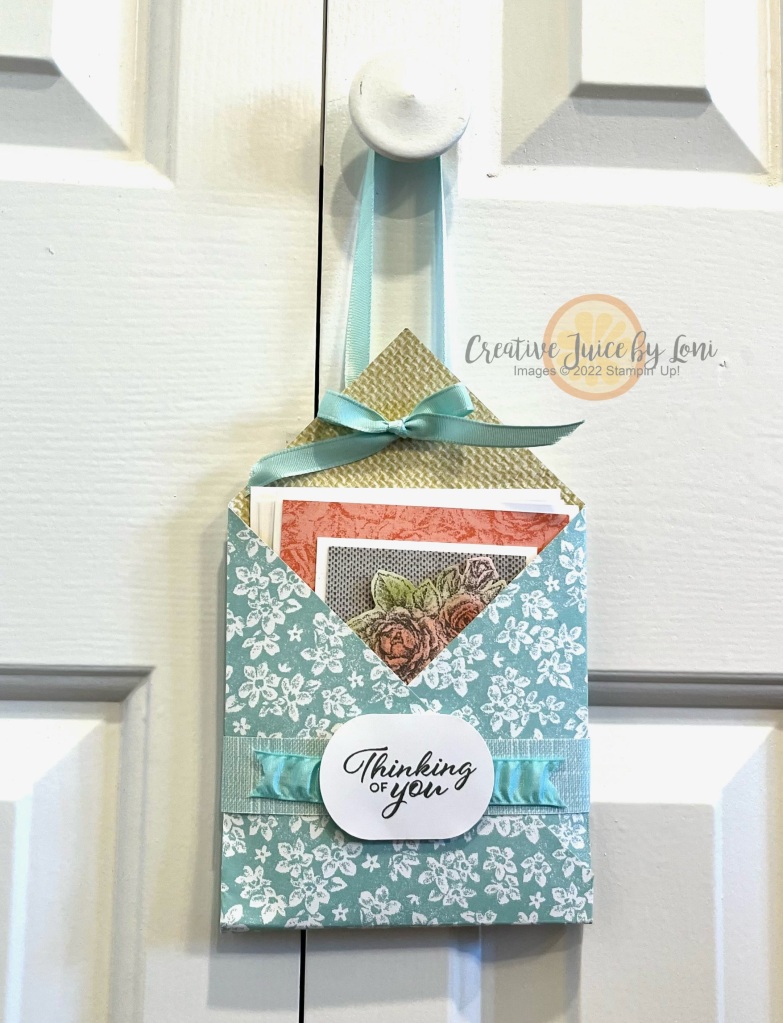
Dropping a Valentine on a friend’s doorstep may not be a custom any longer, but with today’s project, you can hang a set of hand-crafted greeting cards on a friends door as a gift that shows you love them.
I get my best ideas when I should be asleep, and this one came just as I was laying down last night, so I made a quick note on the notepad next to my bed and woke up ready to try it!
All you need is a 12″ x 12″ piece of non-directional (meaning there isn’t a top and a bottom to the design) Designer Series Paper (or DSP), a Simply Scored board, adhesive and 24″ coordinating ribbon:
Instructions (also in video):
Fold DSP diagonally from corner to opposite corner, with the pattern you want facing out.
Lay fold (longest side) of your folded paper (a triangle shape at this point) along the left side of the Simply Scored board and score at 1/4″. Turn and do the back side the same way.
Turn folded side to the top edge of the board and score at 6″ and 11″. Flip the triangle over and score the back side on the same measurements.
Open up your paper and fold along the 1/4″ score lines just off center.
Open again and fold the outside points (along the 6″ and 11″ lines) IN towards the center. Flip and fold the top points back-to-back, with the center folds at the bottom, creating two pockets on the outside.
Punch at hole (or two) at the top to tie together (leaving a loop to hang from is optional).
I used up a lot of the bits and pieces of the Softly Stippled Designer Series Paper I’ve had left over from other projects to create four simple cards (plus envelopes) to go inside the folio:
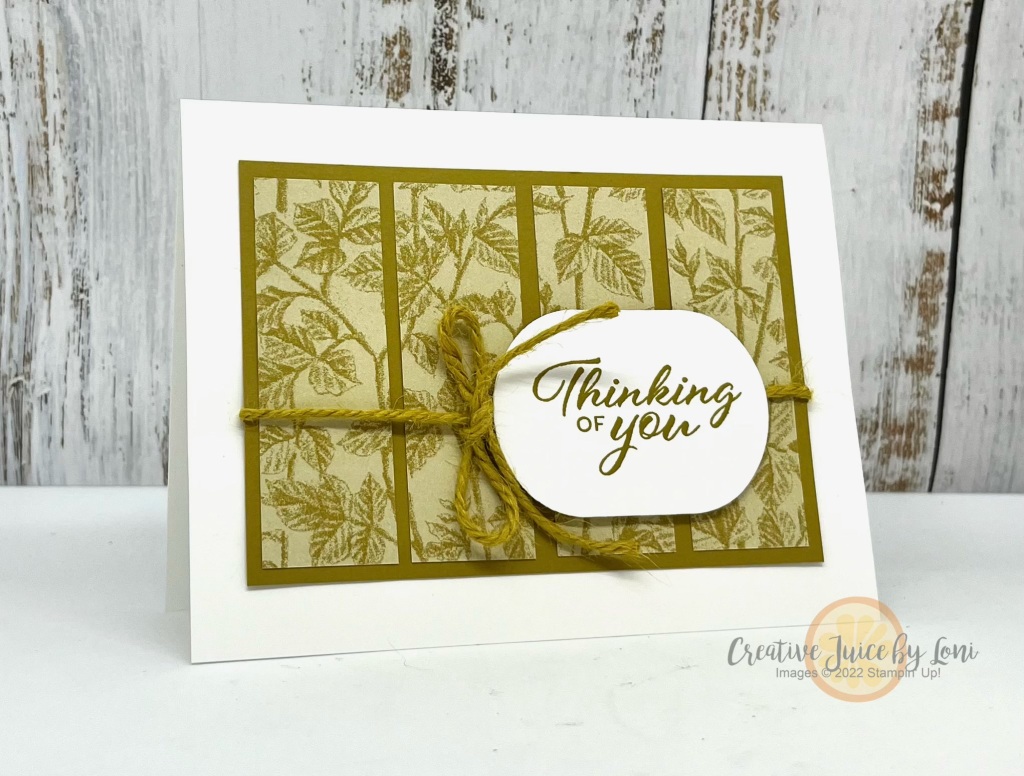
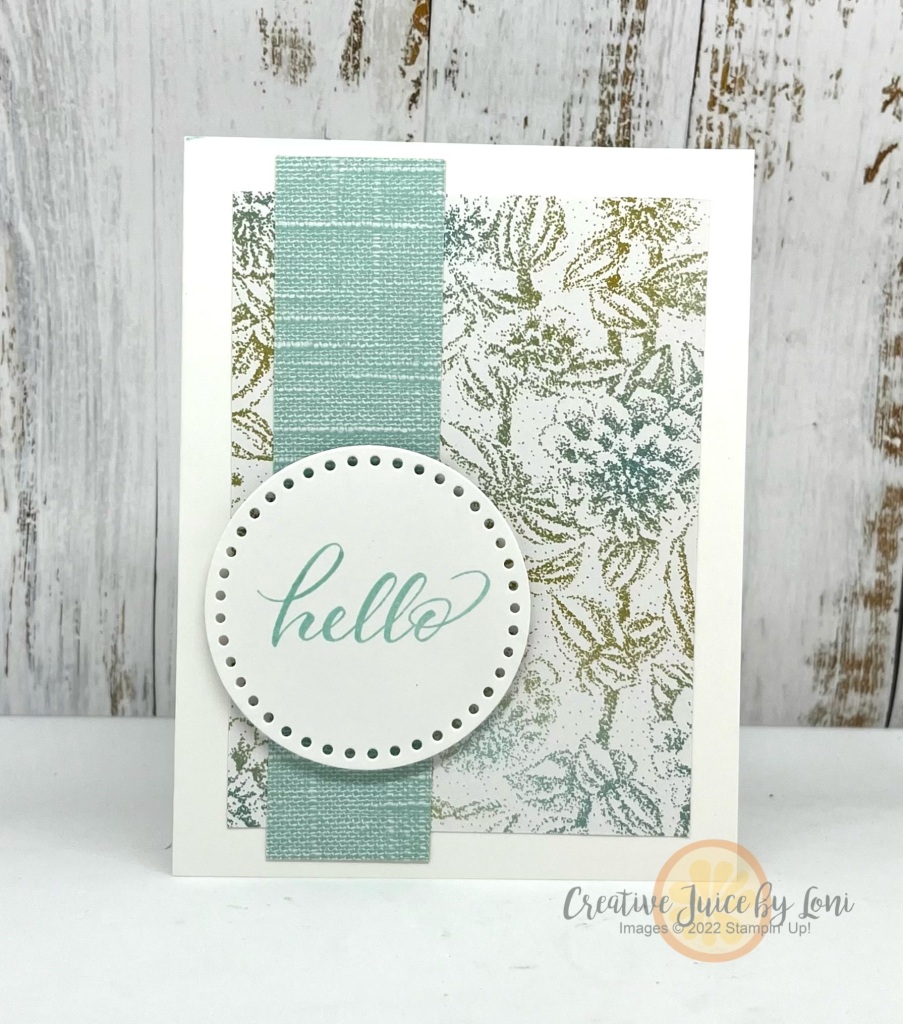
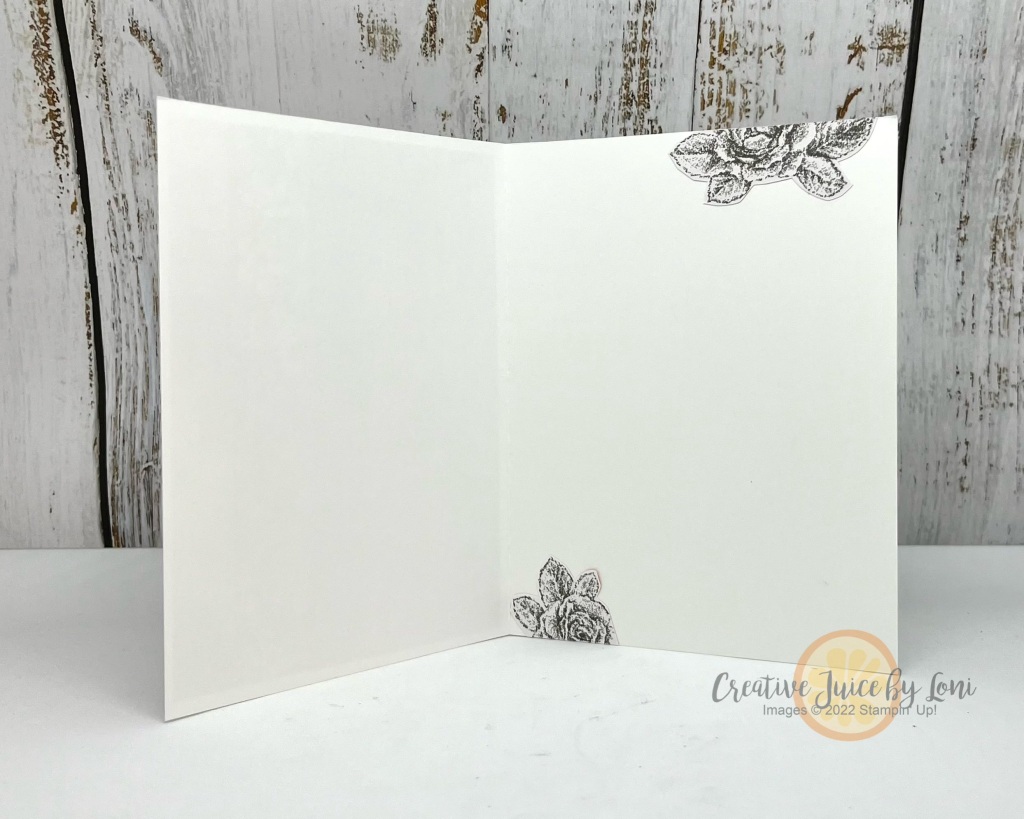
1″ x 3″ pieces of Designer Series Paper + your favorite punch Or use a die with two contrasting patterns as background (Everyday Details Dies – NEW!)Blend color on the plain Designer Series Paper images and emboss a greetingLayer on 5-1/4″ strips from the same package of papers in varying widths and finish with focal point.Don’t throw away the images on your Designer Series Paper that are on the edges! Cut them out and use them on the inside of your card!
2-1/2 weeks left of Sale-a-Bration ~ still time to collect your favorite SAB products FREE with qualifying purchase, and so much to choose from:
I appreciate the opportunity to serve you. If you find that I have taught you something, please order the supplies from my store and support a small business!
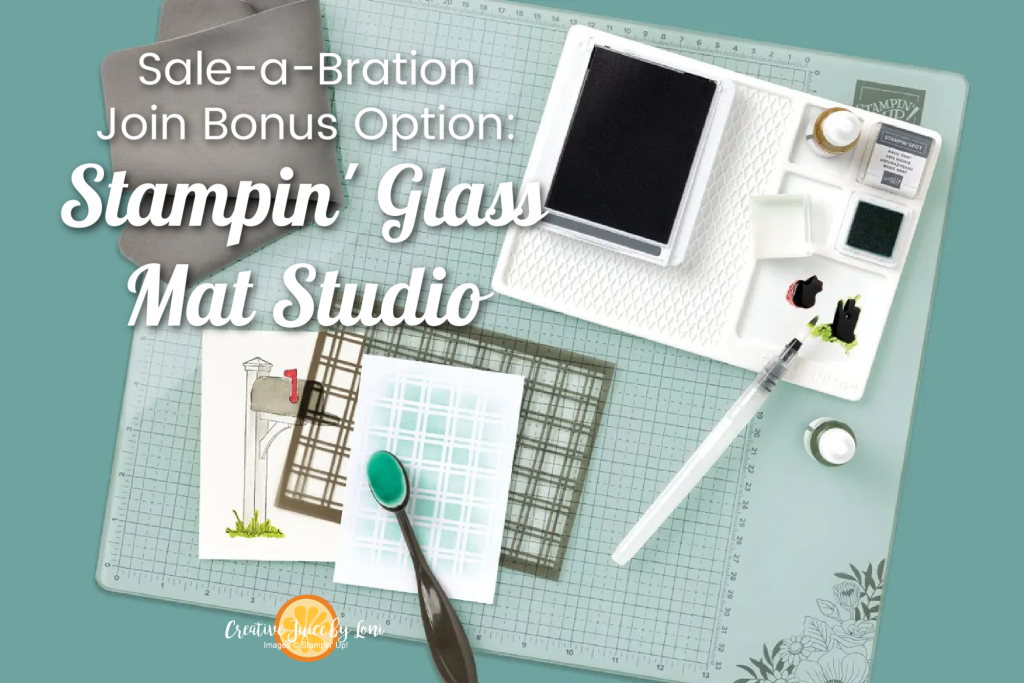
Consider yourself invited to join my Stampin’ Up! team! During February 2024, purchase the STARTER KIT and choose an extra $30 in products in your kit ~OR~ select the Stampin’ Glass Mat Studio (as shown in the video) as your bonus option:
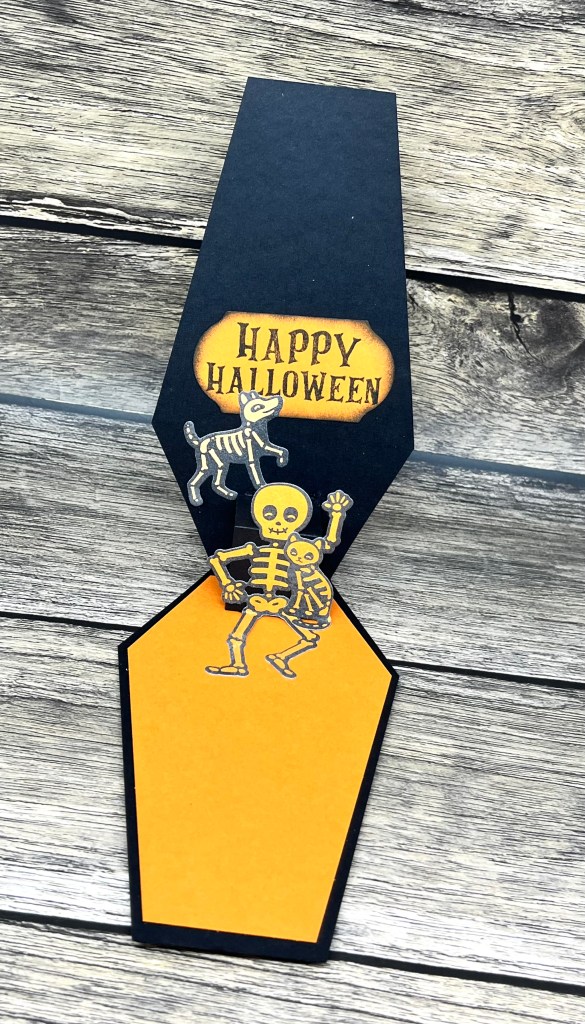
Have you ever stayed overnight where a candy or special small gift was left on your pillow? Those little touches are called “pillow gifts” and makes you feel fancy!
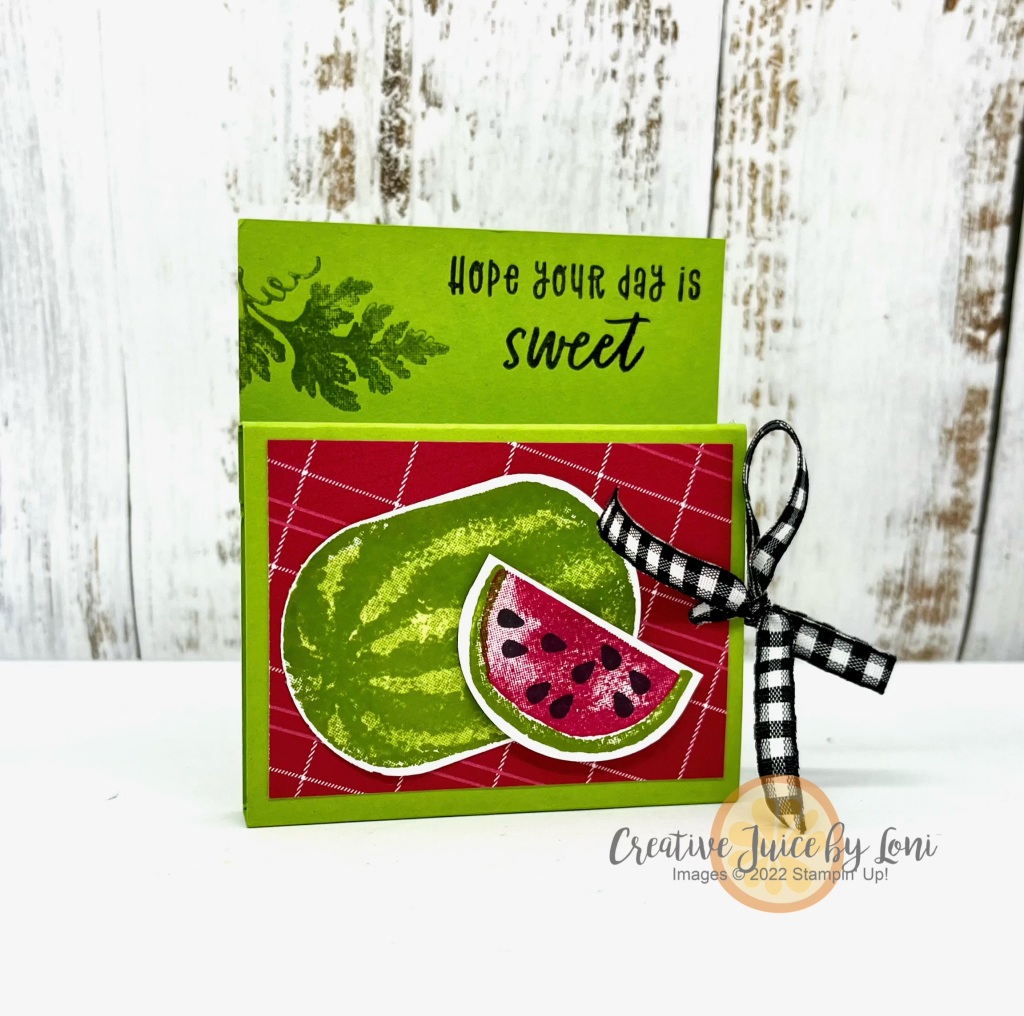
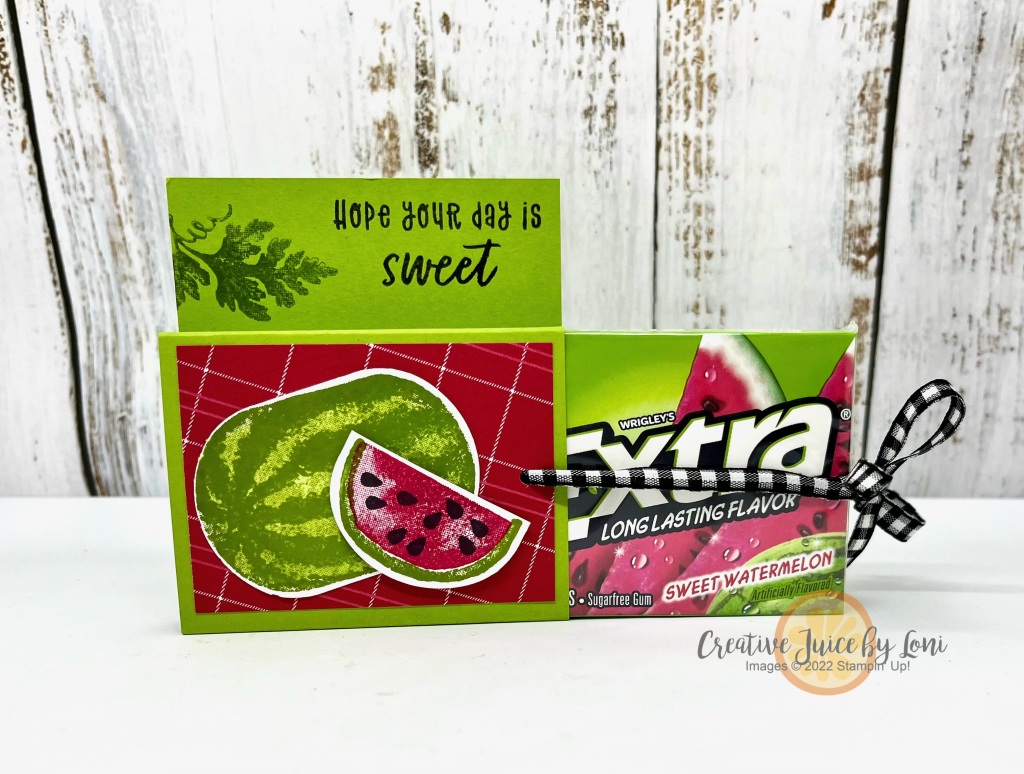
When I saw watermelon-flavored Extra gum while checking out at the grocery store, it made me think of the Watercolor Melon Sale-a-Bration stamp set, and how I could create along a theme:
A perfect size to drop off as a “thinking of you” gift- or leave on a pillow for guest – you pull on the ribbon and out slides the pack of gum:
This do-it-yourself project is simple and sweet, and I’ve got the video to prove it:
Slider box dimensions: 7-3/4″ x 3-1/4″ piece of card stock, scored at 1/2″, 1″, 3-1/2″ and 4″
Sale-a-Bration continues through February 29th; since it’s leap year, you have an “EXTRA” day to earn free products with each $50 purchase in my Stampin’ Store!
Did you also know there are TWO “Extras” you could choose from when you invest in the Starter Kit?
OPTION ONE: The first is that you may choose the Stampin’ Glass Mat Studio,
~OR~
OPTION TWO:Choose an EXTRA $30 in products in your Starter Kit! Usually you get to choose $125 of product in your kit for just $99, but through February 2024, you may select $155 (and pay only $99) if this is the option you decide on.
The Starter Kit is an offer ANYONE may select, and you will get a 20% discount while you also get to peek behind the curtain of being a demonstrator. There are no obligations to try it, so why not??
Need paper crafting ideas? Look no further than any Stampin’ Up! catalog!
In today’s live video, I demonstrated how to use the So Very Merry stamp set to re-create cards made with the Circle Sayings bundle (if you have one, you *need* the other!).
The card on the left is found on page 147 of the annual catalog and the card on the right is the one I stamped:
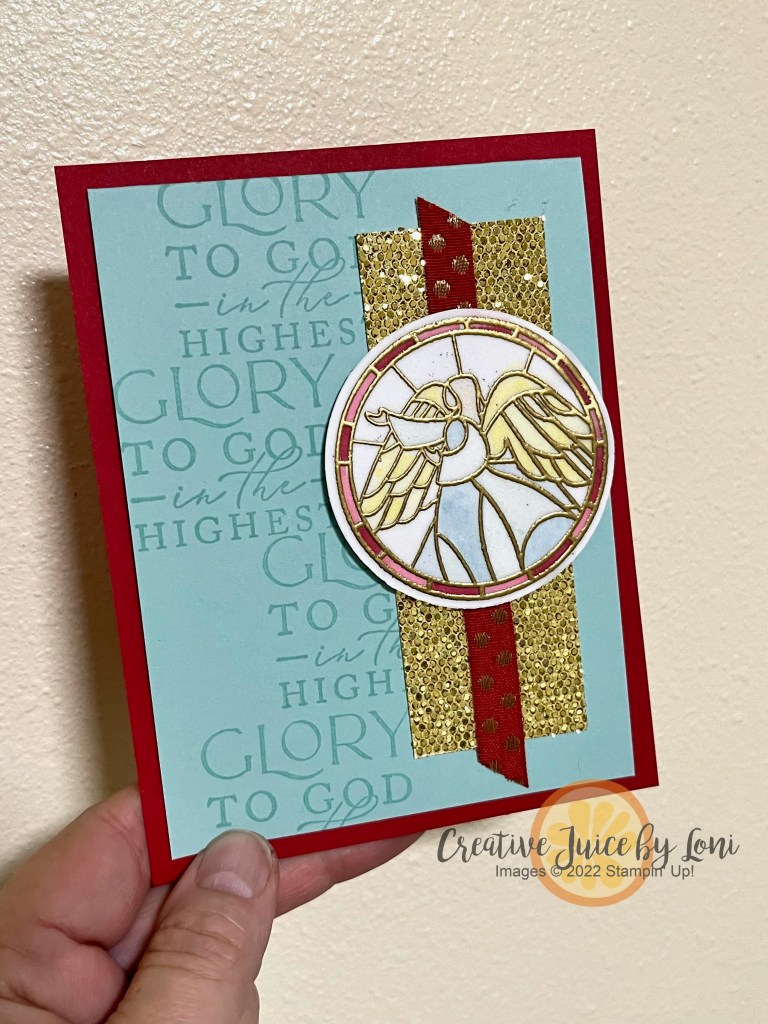
Let me show another example. Card on left from catalog, card on right I created to show you how well these two sets interchange!
In my Angel version of the cupcake card from the catalog, the More Dazzle paper is truly heavenly, and I embossed the angel image on Vellum cardstock in gold embossing powder, then colored it from the back with Stampin’ Blends markers. TIP: To adhere the vellum to the white background, lightly sponge liquid glue to the back of the vellum for a no-show adhesive.
With two days left of our 35th Anniversary Starter Kit promotion, you may consider getting the starter kit for 35% off -OR- choosing 35% more in the starter kit ($168.75 product value) for the regular price of $99…and if you don’t know what to choose, these two interchangeable sets/bundles are a good place to begin, plus you can copy the cards I showed! More Starter Kit suggestions in the video:
Happy you stopped by! Have you ever copied an idea from the catalog and put your own “stamp” on it?
Stampers LOVE to exchange handmade cards! We swap our creations at any Stampin’ Up! event and my Sprinkled Ink team (& friends) are hands-down the BEST group to swap with (I’ve participated in a TON of swaps in 31 years, and they are better than all of them).
Would you like to see their talents? I thought so!
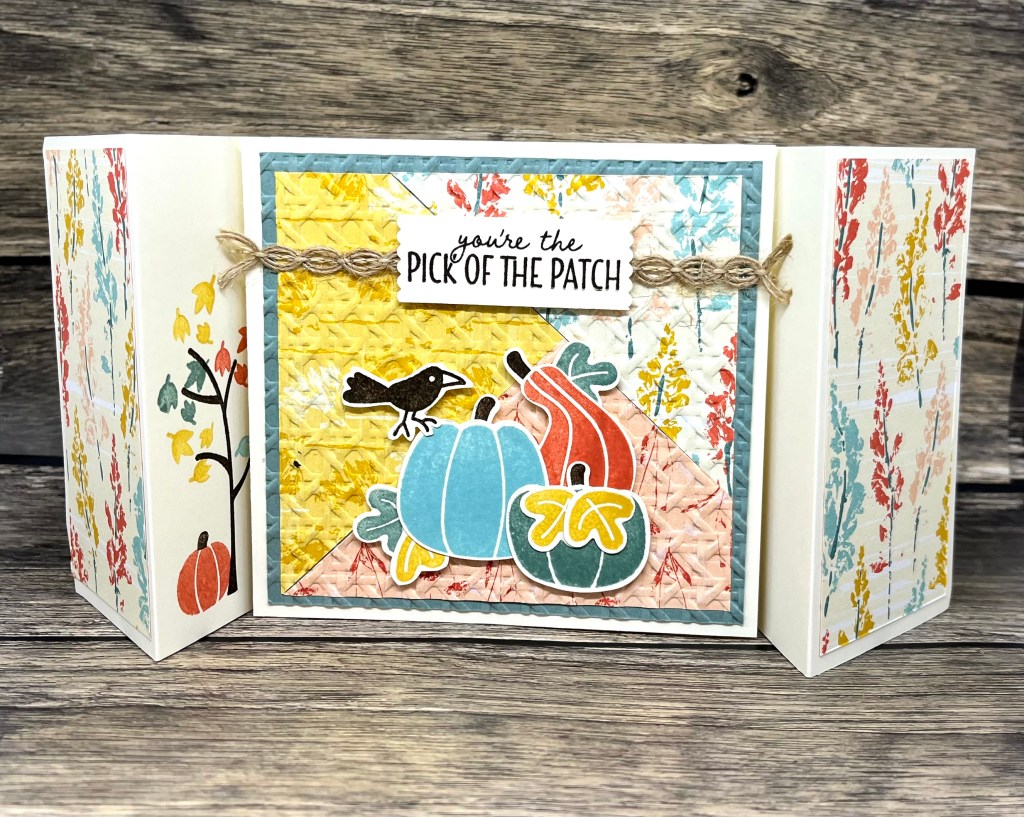
This was our September-December Mini Catalog Swap… you may have seen some of these cards if you’ve attended an event with me in the past few months:
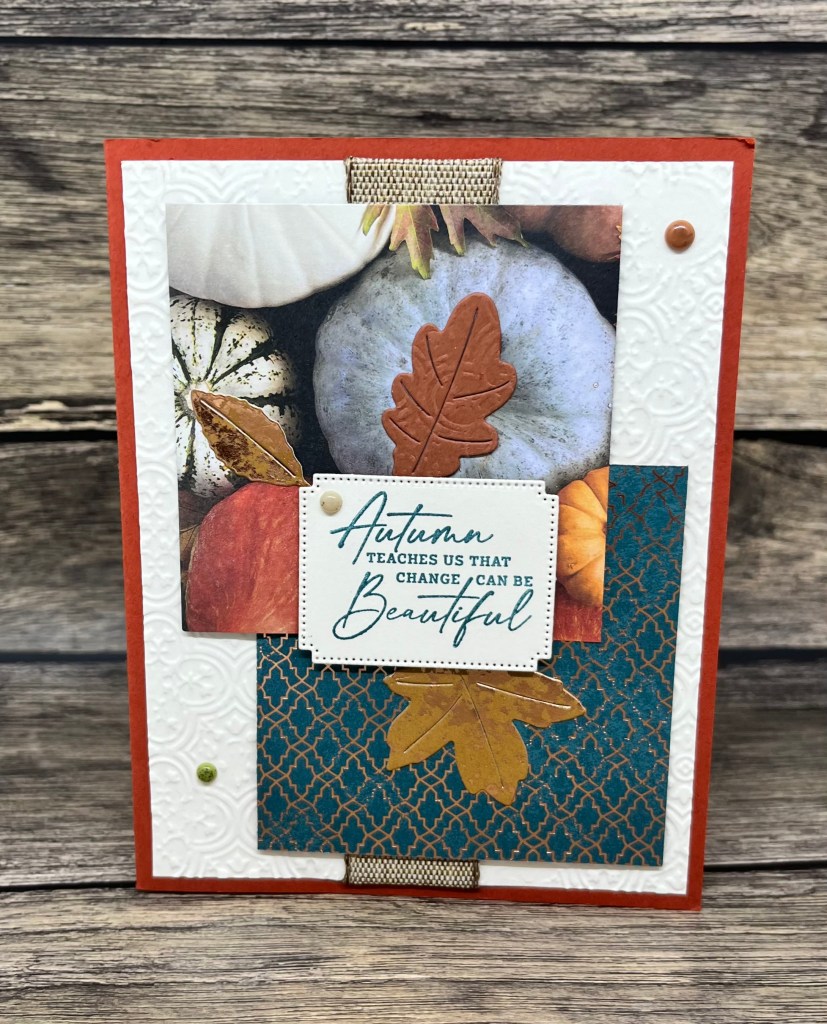
Kristi Kelly-Beary ChristmasPam Clyde- Beary ChristmasAnn Olsen- All About Autumn SuiteMichelle Scott- Autumn LeavesTerrie Karl- Them BonesMary McGill- Pick of the PatchLillian Williamson- Sending CheerSue Stratton- Merriest TreesInside Sue’s cardKrystal Owens- Night DivineHeather Goins- Oh Holy NightRobin Halverson- Pick of the PatchEmily Jones- Merry Bold & BrightJamie Burnham- Jolly WordsBeverly Benson- Night Divine
Aren’t they spectacular? There are fun folds, embossing, foil paper, background stamps, die cuts, rubber stamping, Designer Series Paper and techniques galore to share with our customers and be inspired by. I’m certainly going to make a version of Robin’s fun fold and order the embossing folder Michelle used!
This was the card I crafted for the swap using the Curved Occasions stamp set (click link below card for stampin’ supplies):
We swap cards each time a new catalog launches, which means our next swap will be in January. As demonstrators, we get to pre-order from the publication the month before…it’s a nice perk!
Speaking of perks, there are 7 days left to take advantage of the 35th Anniversary Starter Kit Special! This is your chance to get a divine discount on crafting supplies AND see if you want to SHINE as a demonstrator!
There are no strings attached to the purchase of a starter kit, and you’ll get 20% off your future purchases through April 2024 (or forever, if you decide to stay with the Sprinkled Inkers as a hobby or business demonstrator!).
In addition, you’ll get a free ticket to OnStage@Home (our virtual Stampin’ Up! convention) on November 11th…it will be an amazing peek at the goings-on in the life of a demonstrator, and will give you insight into the possibilities of a bright future.
Finally, you’ll have the opportunity to swap cards with our friendly demonstrator family, participate in events and creative challenges, learn and grow personally and creatively, plus gain a new tribe of very talented, kind and supportive people! Why not??
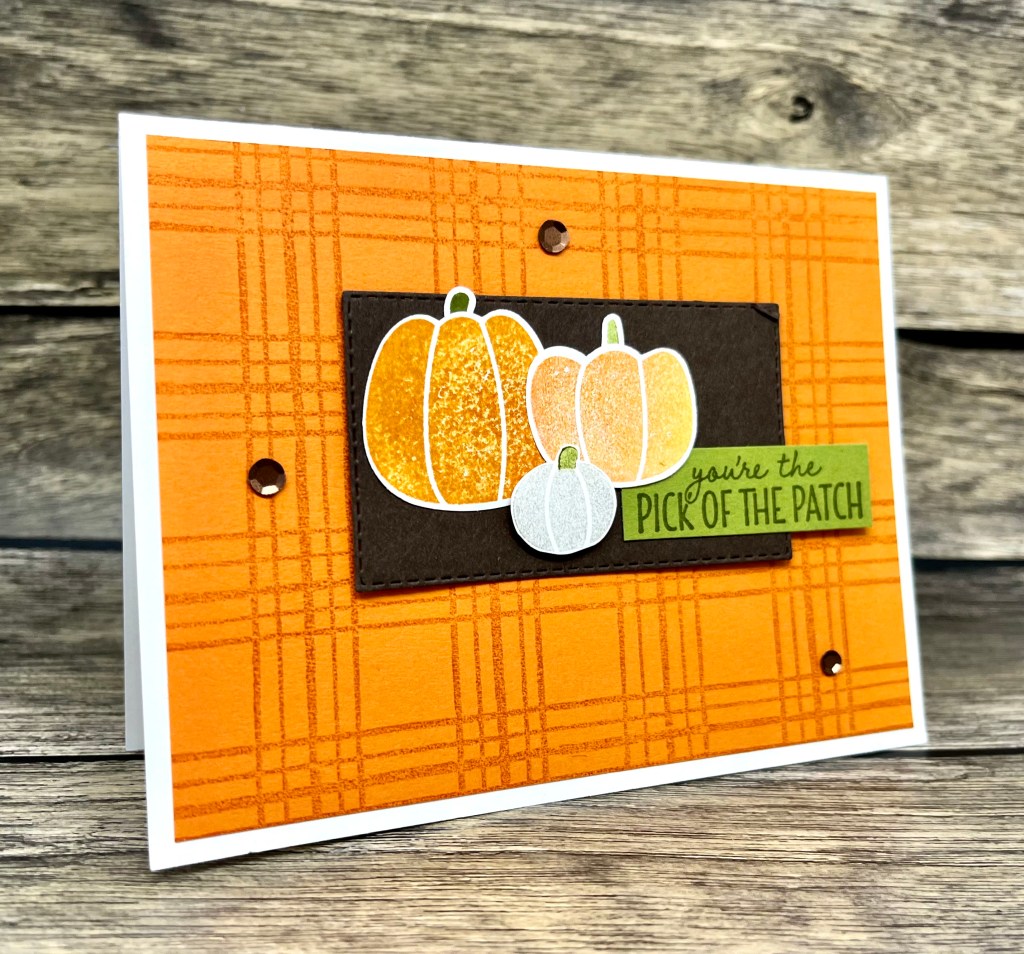
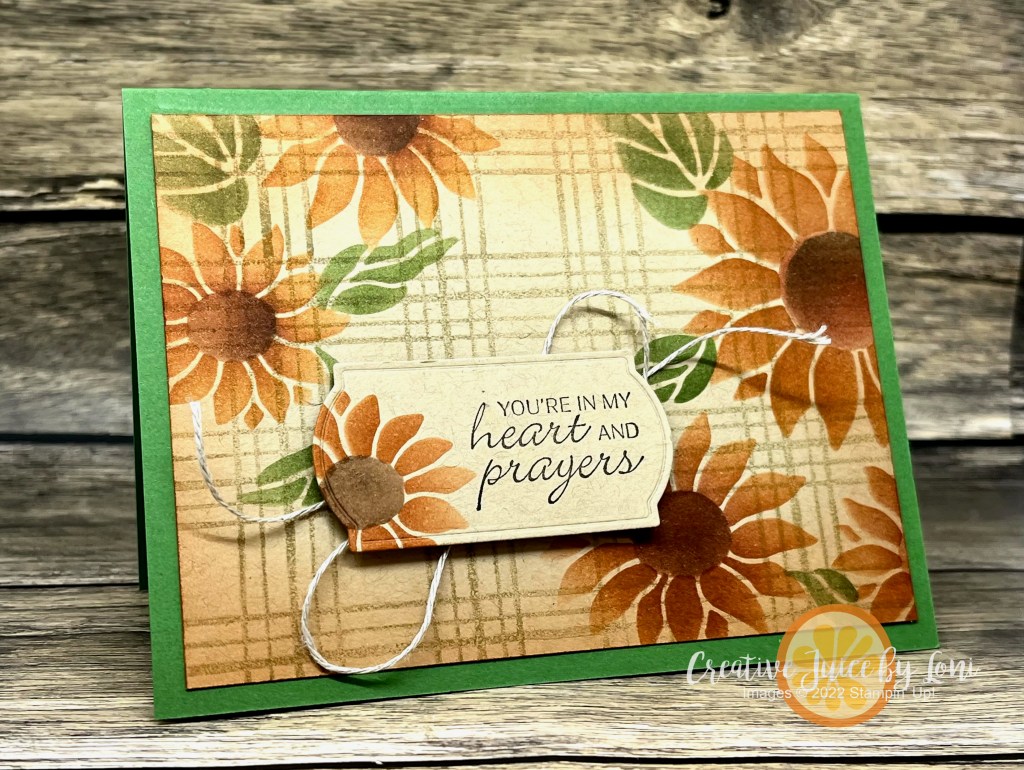
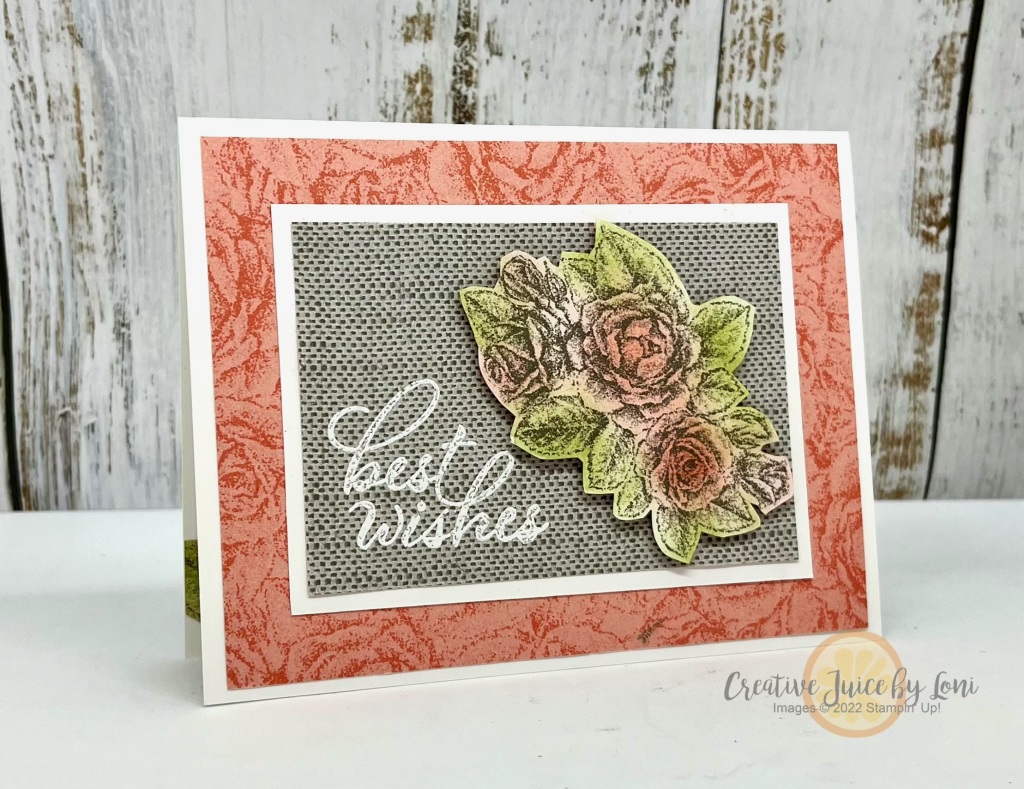
…let your creativity flow free! An excellent all-purpose stamp does more than just one thing, and the Sketched Plaid background is that versatile stamping staple that will elevate your card making. Let me show you 4 different ways to use it (with a few links to bonus projects).
First, you can stamp the Sketched Plaid onto a card layer with the same color of ink (like this Best Wishes card previously stamped) ~ for today’s example, I blotted off the Crumb Cake ink once before stamping it a second time onto Crumb Cake card stock, making it a subtle canvas for masking my flowers onto:
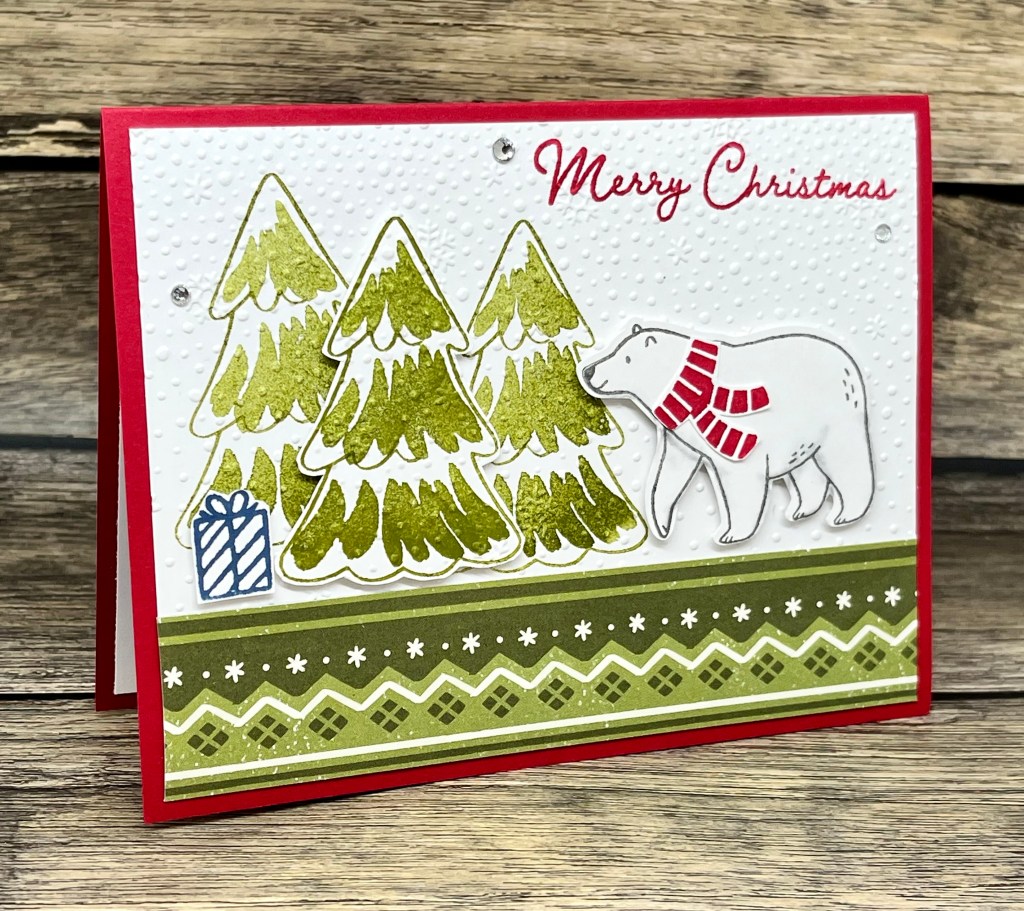
Second, try stamping a small image inside the empty spaces, like the snowflake from the Beary Cute stamp set:
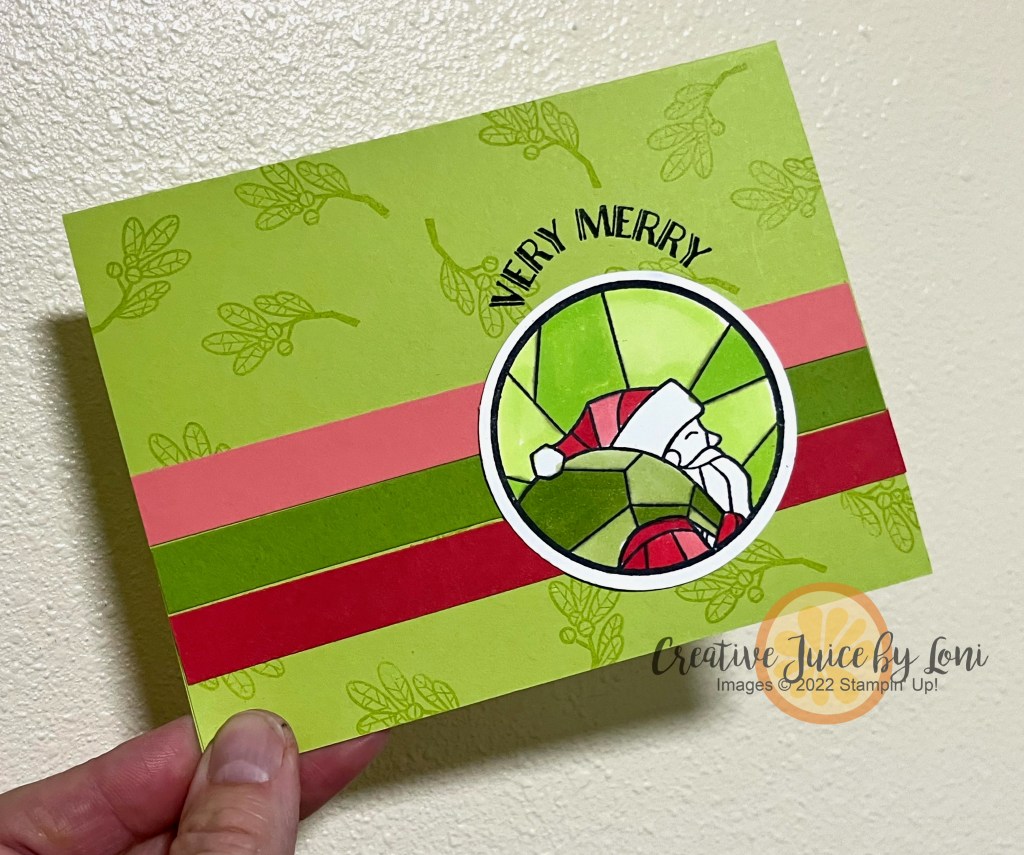
Third: Use a Stampin’ Blends or Stampin’ Write marker and a ruler to draw more lines in between the spaces, for a two-color plaid. You could adjust the thickness of these lines for a completely different look! This card also uses the So Very Merry stamp set, an online exclusive in my store.
Fourth, stamp the plaid in black (or emboss in black!) and color in some of the sections with Stampin’ Blends (I used the 2022-2024 In Colors, plus Daffodil Delight). I get such a KICK out of the groovy Curved Occasions bundle and with this kaleidoscope of color, the roller skates felt fitting:
Ready to watch HOW-TO? Here’s today’s demonstration to teach you how:
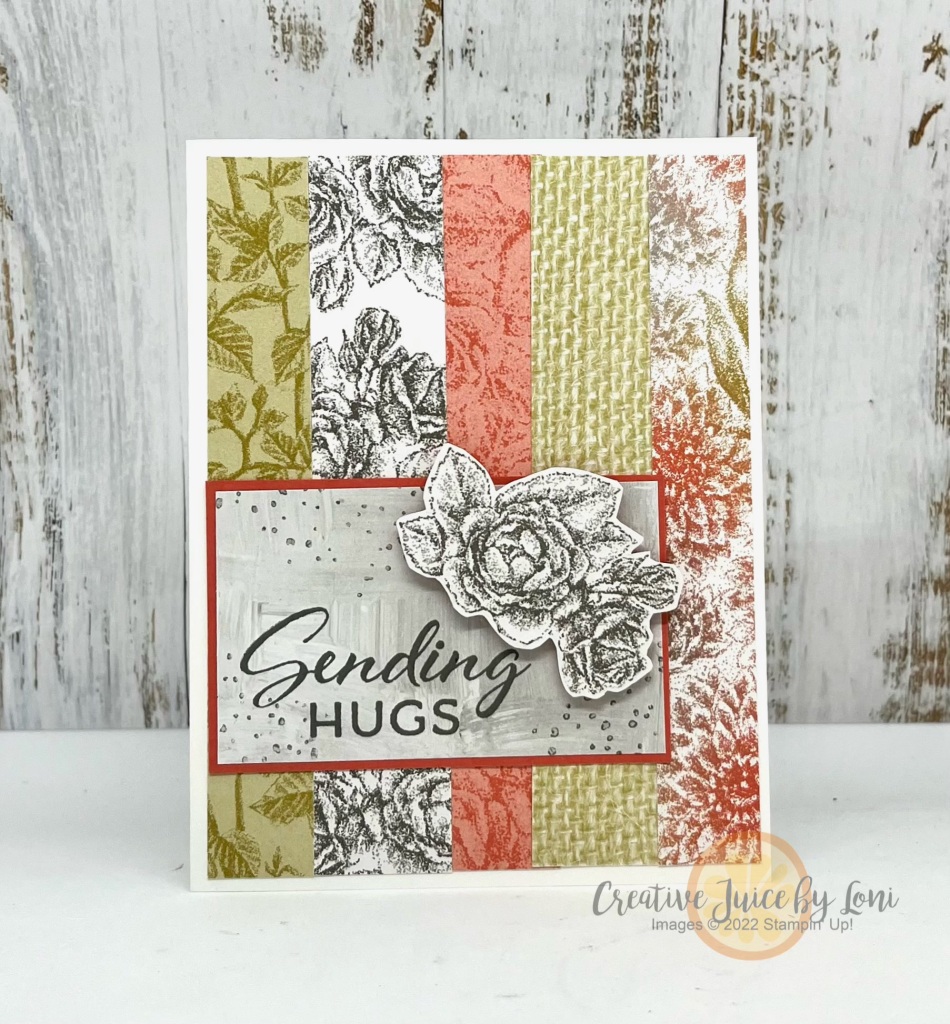
ONE MORE idea to share with you for visiting my page today: There is nothing that’s stopping you from cutting up your plaid layer and using it like I did with this card earlier this year…
After my Live Video (join me each Monday at 12:30 PM MT on my Facebook page or YouTube channel), I added a few embellishments to a few of the cards, including some retired In Color Matte Dots to the roller skate birthday card, and some of the new Adhesive-Backed Glimmer Paper from my store to the Santa Stained Glass card:
Remember- you can add any/all of these products to a Starter Kit this month and save 35% off the regular price OR get 35% more product FREE! Only 8 days left to get that special offer…click image below to choose what you’ll get in your Starter Kit:


 Album")


")


 Designer Series Paper")

")


")

 Grosgrain Ribbon")
 Crinkle Ribbon")