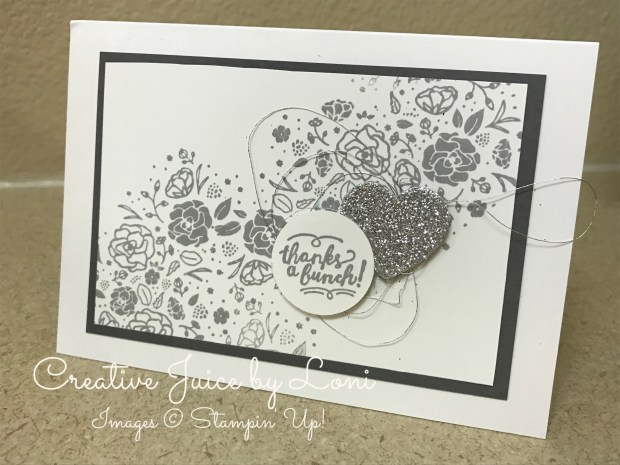
A few more Wood Textures Suite samples from my OnStage Presentation: Once you start playing with these products, it’s hard to stop!

A few more Wood Textures Suite samples from my OnStage Presentation: Once you start playing with these products, it’s hard to stop!
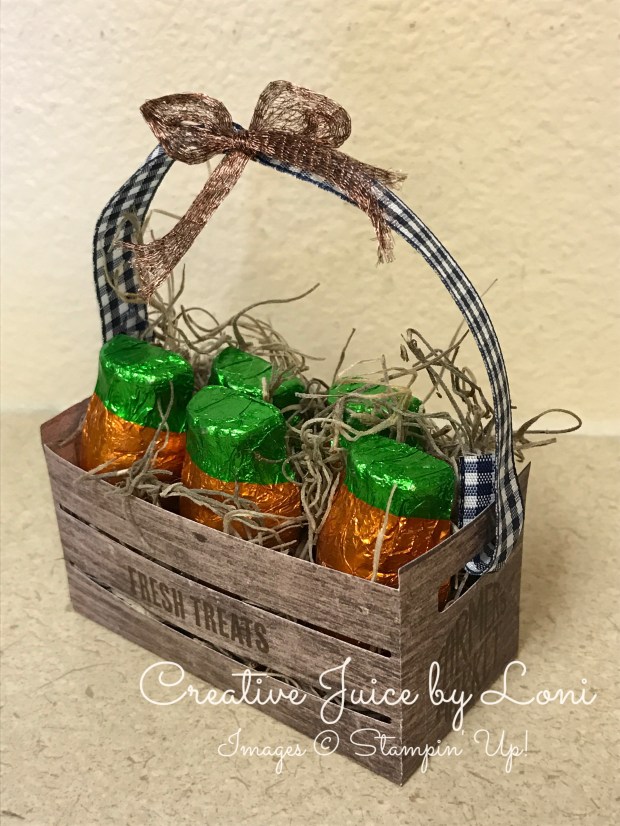
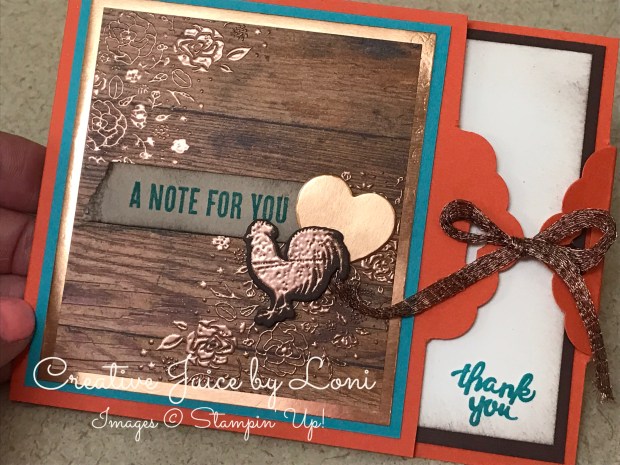
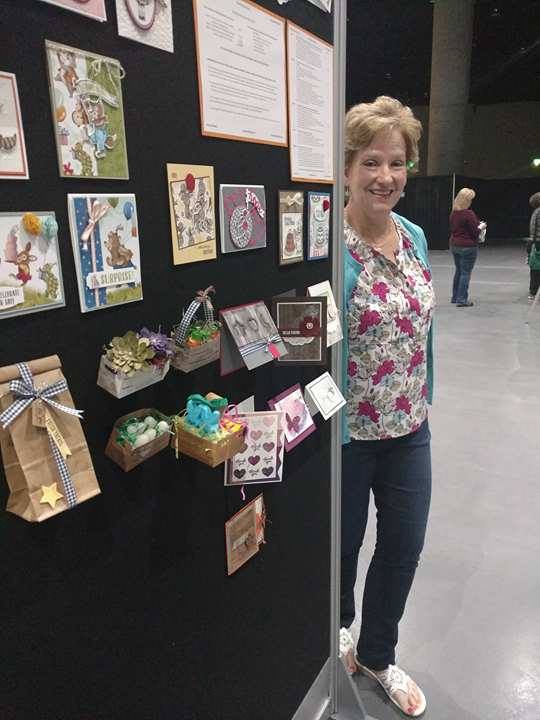
When you receive an assignment to create samples from a new bundle of products, it helps stretch your brain and imagination! It was my privilege to showcase the Wood Textures Suite (catalog pages 158-159) at the Stampin’ Up! OnStage Local in April. My samples are the bottom half of this board (the shadows are doing me no favors here):
The Suite includes the Wood Textures Designer Series Paper, the Wood Words Stamp Set and the Wood Crate Framelit Dies:
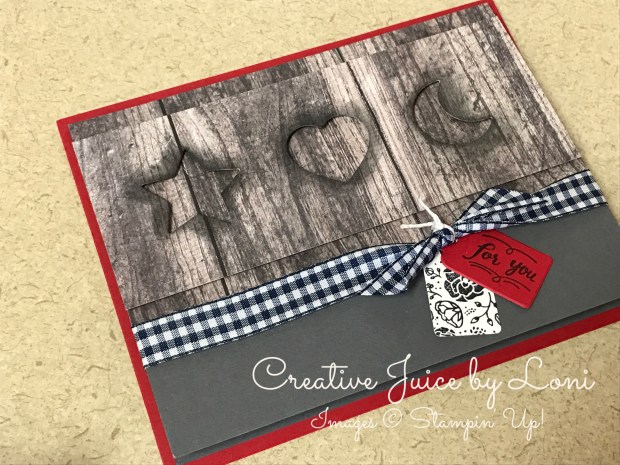
Here are a few of the samples I created:
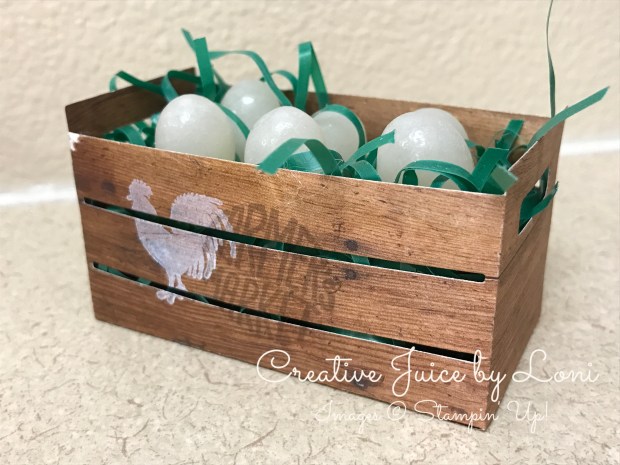
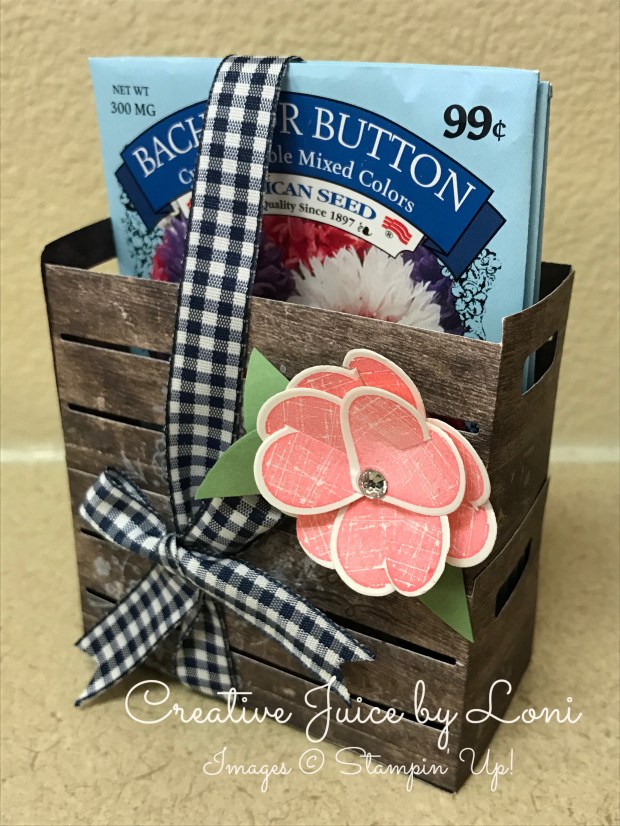
For the last crate, I stacked two on top of each other to create a taller box.
More samples coming soon! Channel your own “rustic crafter” and order your Wood Textures Products from my Stampin’ Store to get started!
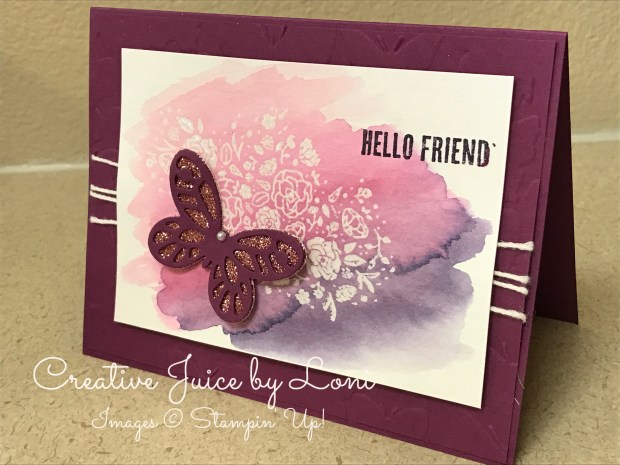
Folks who have had near-death experiences say that there are more colors in Heaven than we can imagine: That’s something I look forward to! Meanwhile, I’ll enjoy the new In Colors that Stampin’ Up! releases each year.
This year the colors are (clockwise from top left): Berry Burst, Lemon-Lime Twist, Fresh Fig, Powder Pink and Tranquil Tide. Even the names evoke images in the color they describe!
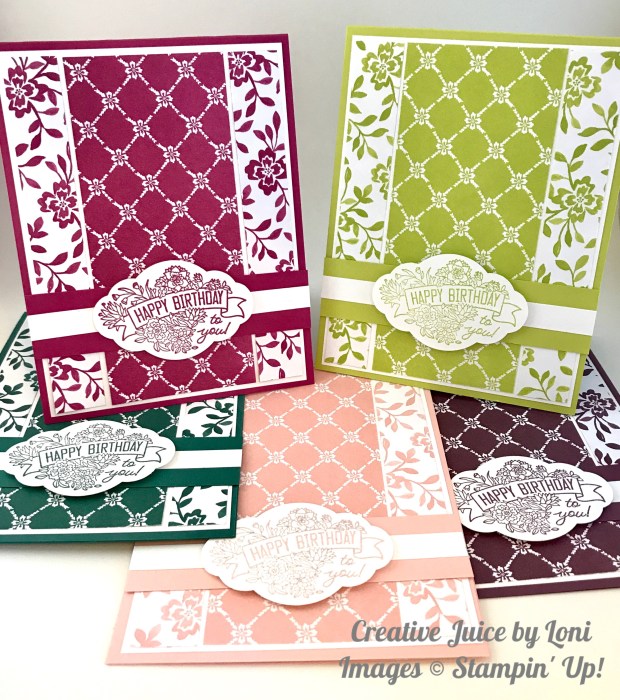
I’ve created a tutorial for you and the cool thing about it is that you can make 40 cards from the few supplies in just a few hours (or one hour with a friend)! To order any of the supplies, click on the images below:
Product List


… a Lemon-Lime Twist, that is! Admittedly, I wasn’t sure if I liked the new Lemon-Lime In-Color (available starting June 1, 2017)… but pair it with black and silver, and I’m a new fan, and so’s your grandpa.
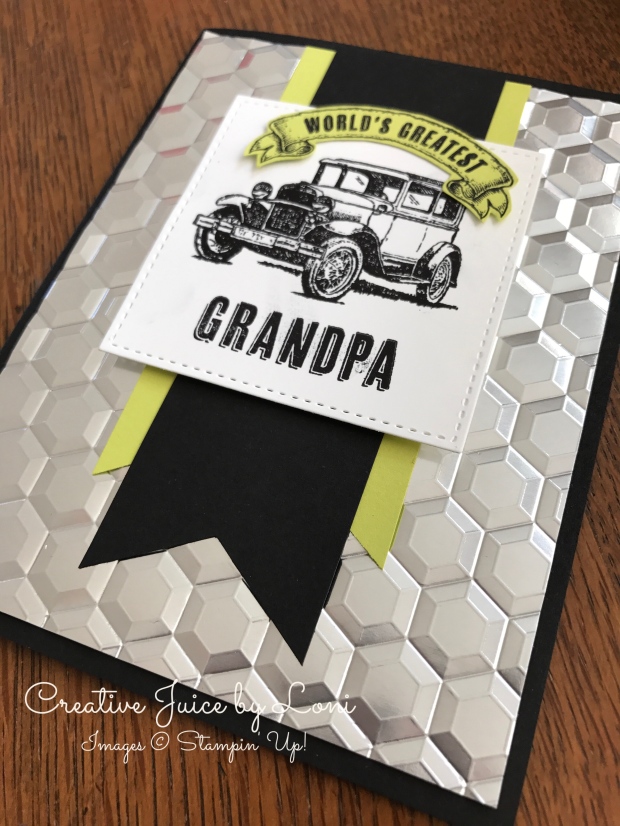
Just in time for Father’s Day, I’ve got the instructions for you HERE.
Isn’t that hexagon embossing folder on silver such an incredibly industrial look for the manly-men in your life? I’ve also used it as chicken wire and honeycomb: Definitely a MUST. HAVE. for your BigShot collection.
Product List


We received the Moroccan Nights stamp set at OnStage in April and at first I was like, “ehhhh…” but then I decided that I was going to USE it and LOVE it!! I’ve been making myself experiment with it and WOW it’s pretty versatile! I’ll share a few of my creations AND a tutorial for my favorite so far 🙂


Then I wanted to try a see-through card so I stamped on a window sheet with a black StazOn pad and added pieces of the fabulously exotic Moroccan Designer Series Paper to the front and inside. The Bermuda Bay Sequin Trim just happens to be a perfect blend between Emerald Envy and Dapper Denim, which are the In-Colors used on the DSP and on this card.

And this one is my favorite! I splattered water over the ombre-sponged background to create the Bokeh look and it turned out pretty awesome. You can download a .pdf tutorial HERE.
Ready for some eastern culture in your own crafting? Click below to shop the Moroccan Suite!


My March Paper Pumpkin kit came in the mail yesterday and so I pushed EVERYTHING aside to create (and by that I mean I literally shoved things off my desk and onto the floor…)
It was my goal to use EVERY. SINGLE. PIECE. in the kit and I am proud to say “Mission Accomplished”!
I posted them over on my Creative Juice Facebook page individually, but here’s a collage to inspire your own creativity:

Not a Paper Pumpkin Subscriber yet? Don’t miss another one (especially not the April kit, which will include a FREE GIFT to celebrate the 3rd birthday of Paper Pumpkin!):
No matter how many times I clean the kitchen, it still gets messy within hours! Sometimes you just need to run away and make something pretty that STAYS pretty, don’t you?
Here are a few opportunities coming up that may help fill the need to create something beautiful and long-lasting. You can click on the images or links for more details or see them all on my Creative Juice by Loni Facebook Events Page.


It’s your choice: Stay home to clean the bathroom ONE MORE TIME or come get crafty with me??
Whenever I get a new catalog from Stampin’ Up!, I grab some post-it flags and prioritize my list: Green flags are “MUST HAVE”, yellow flags are “Cute…but do I really NEED it?” and pink/red flags are for “Awesome project: Try it!”
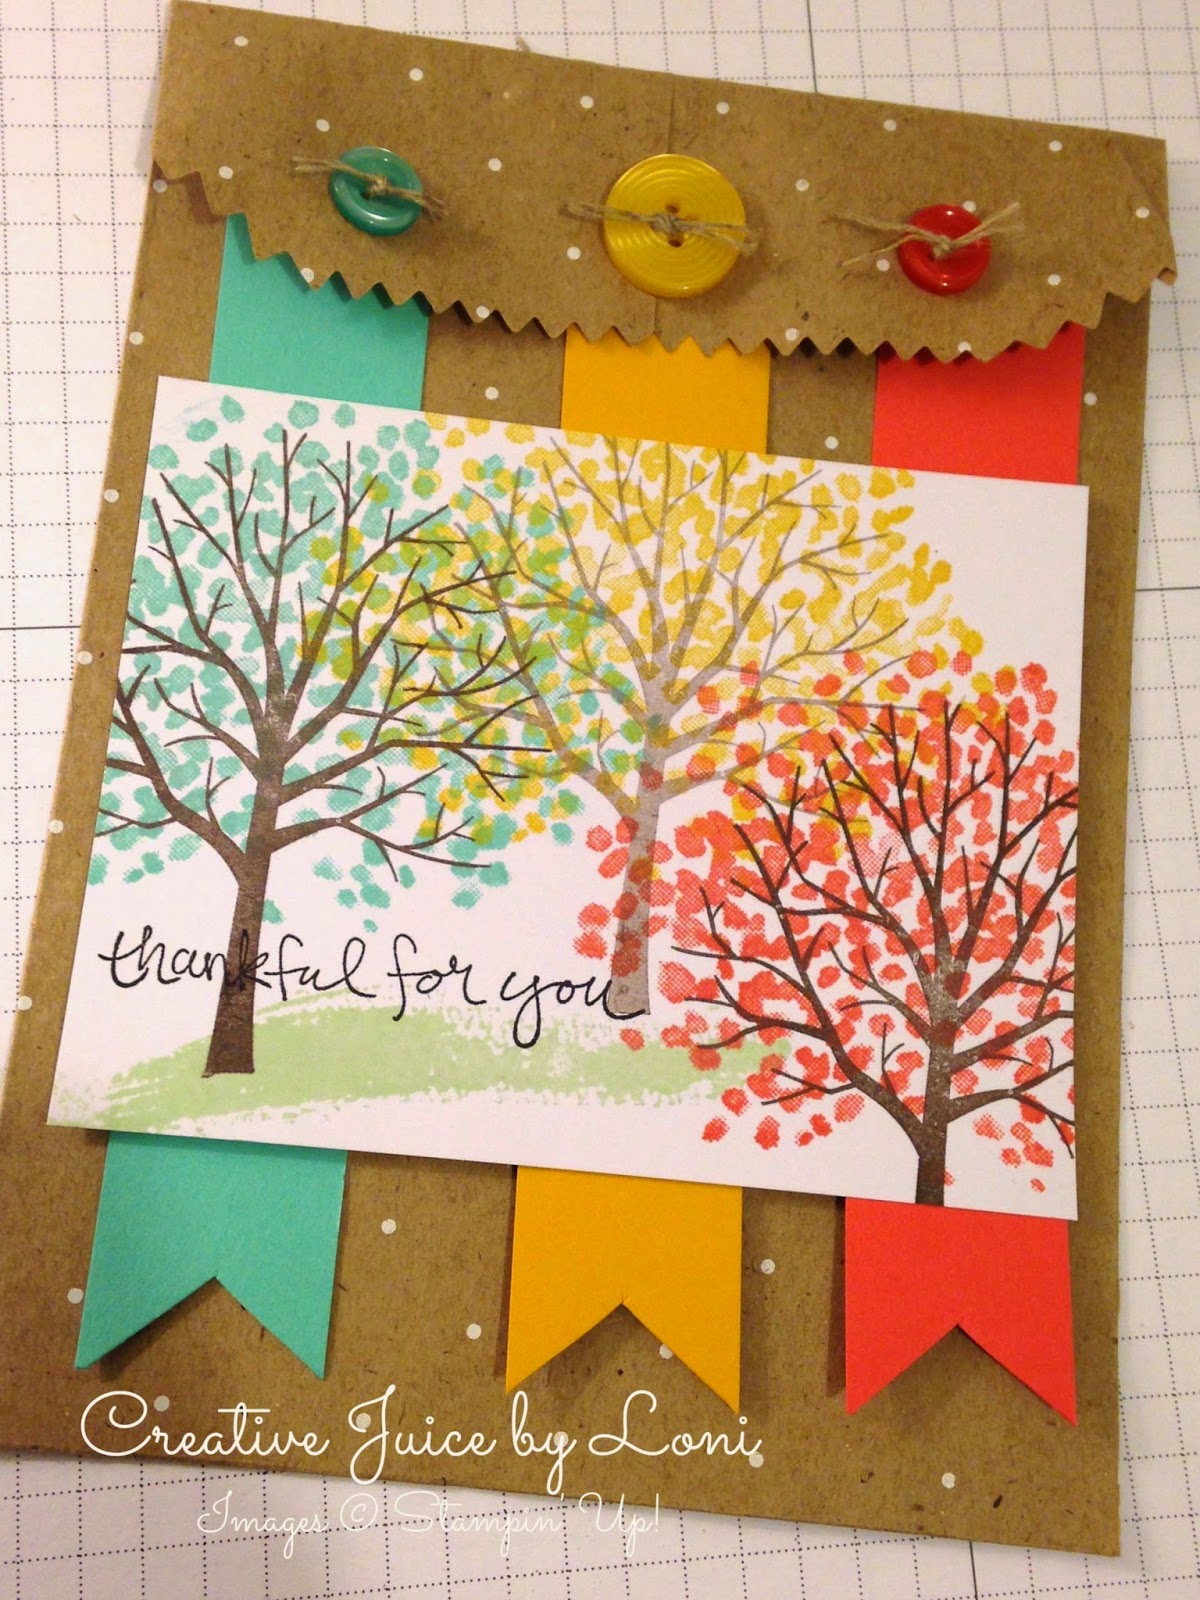
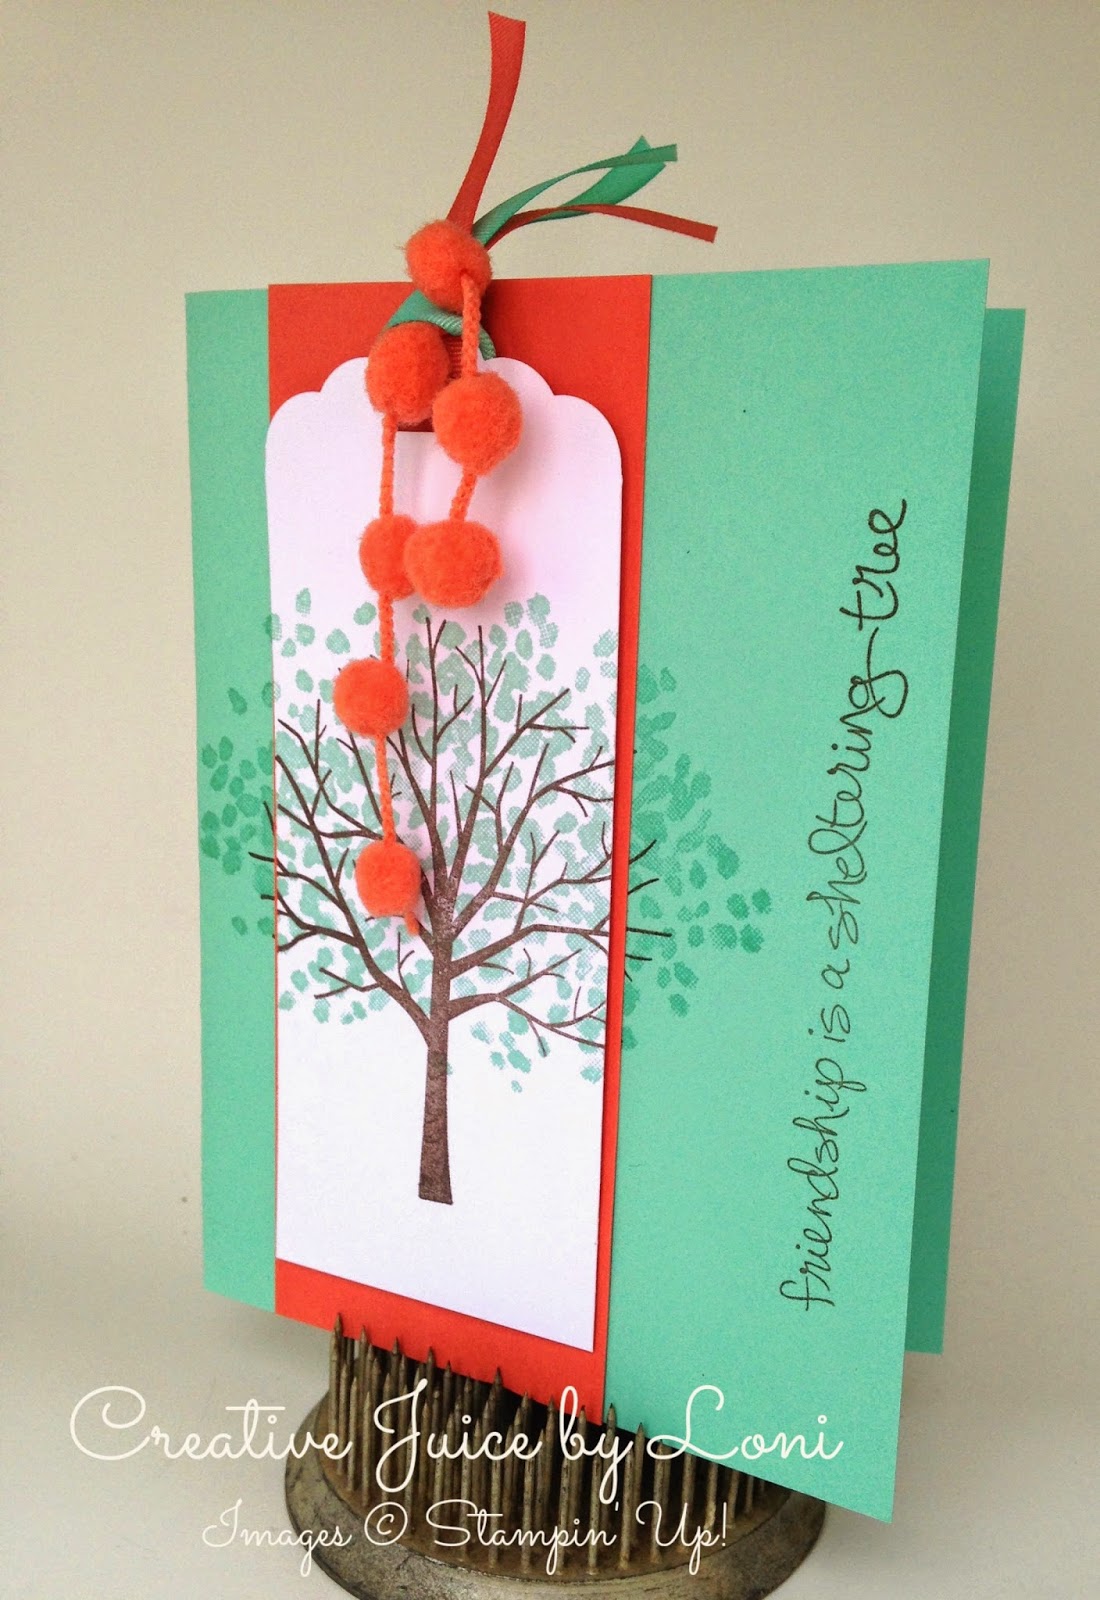
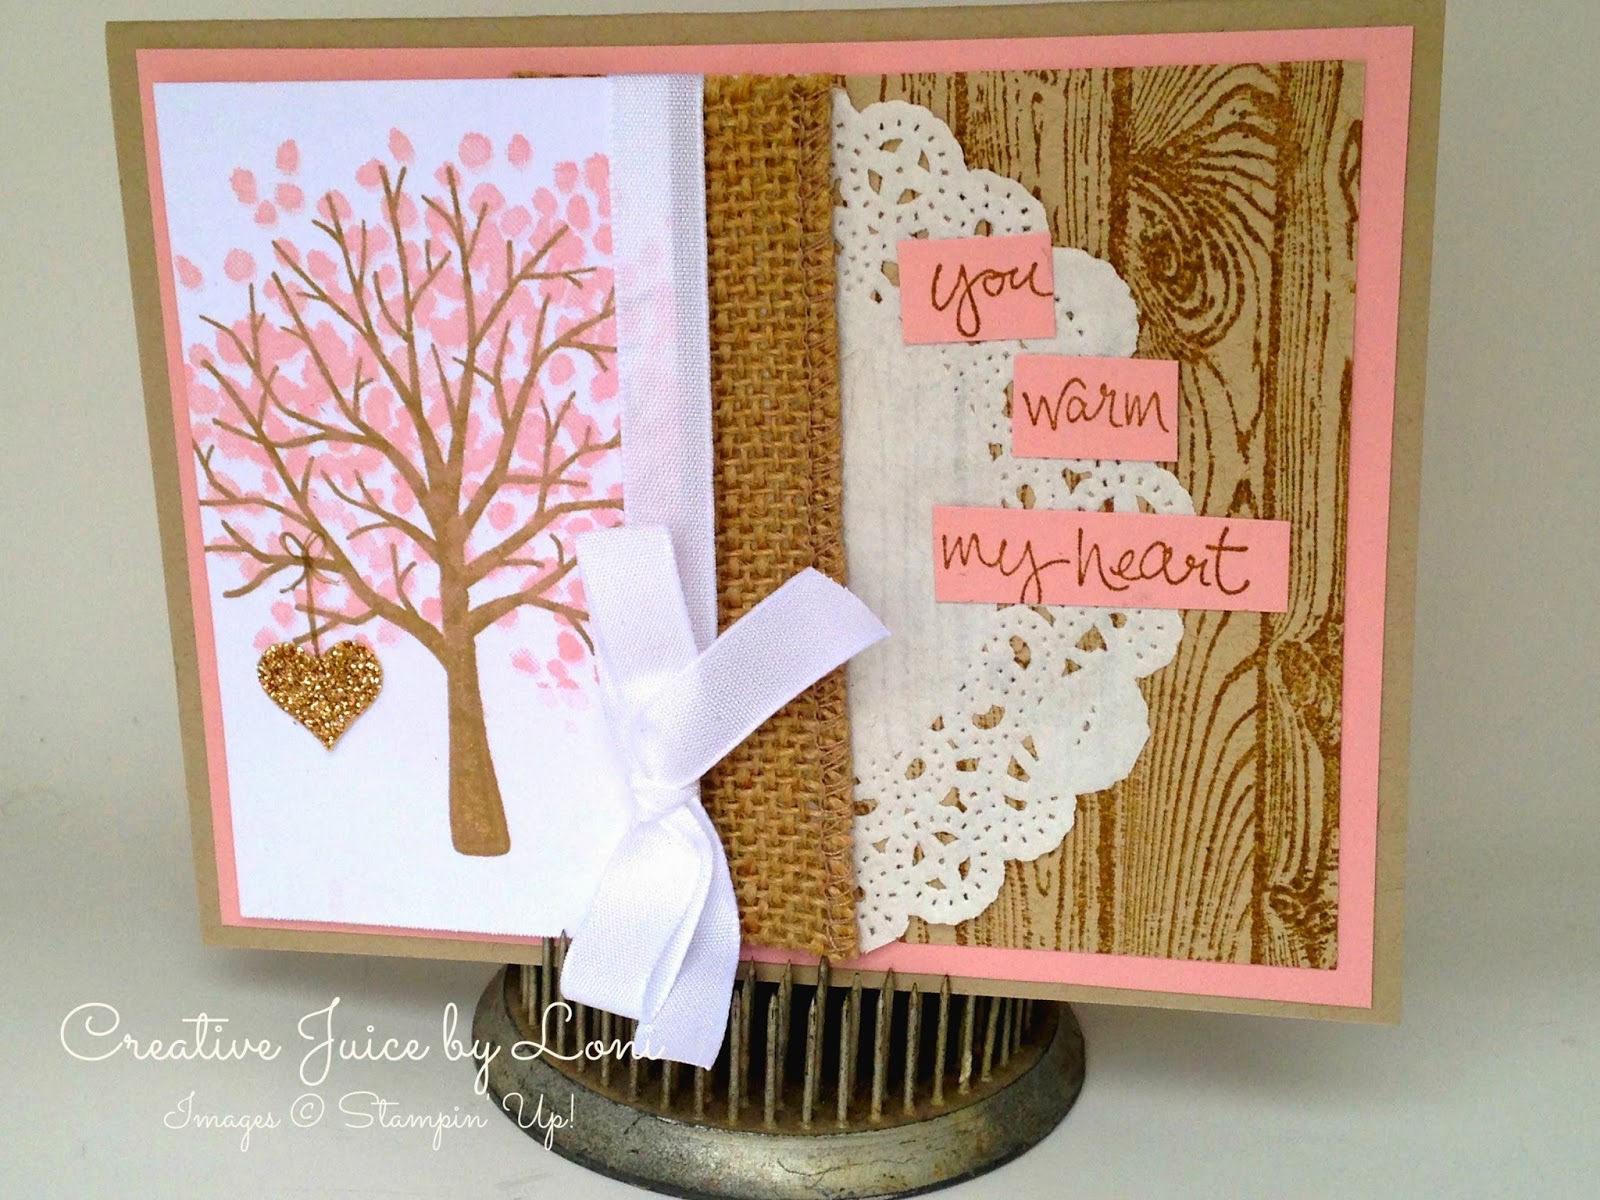
The “Sheltering Tree” stamp set from the 2015 Occasions Catalog was the first to get a GREEN flag! Here are a few of the ideas I came up with:
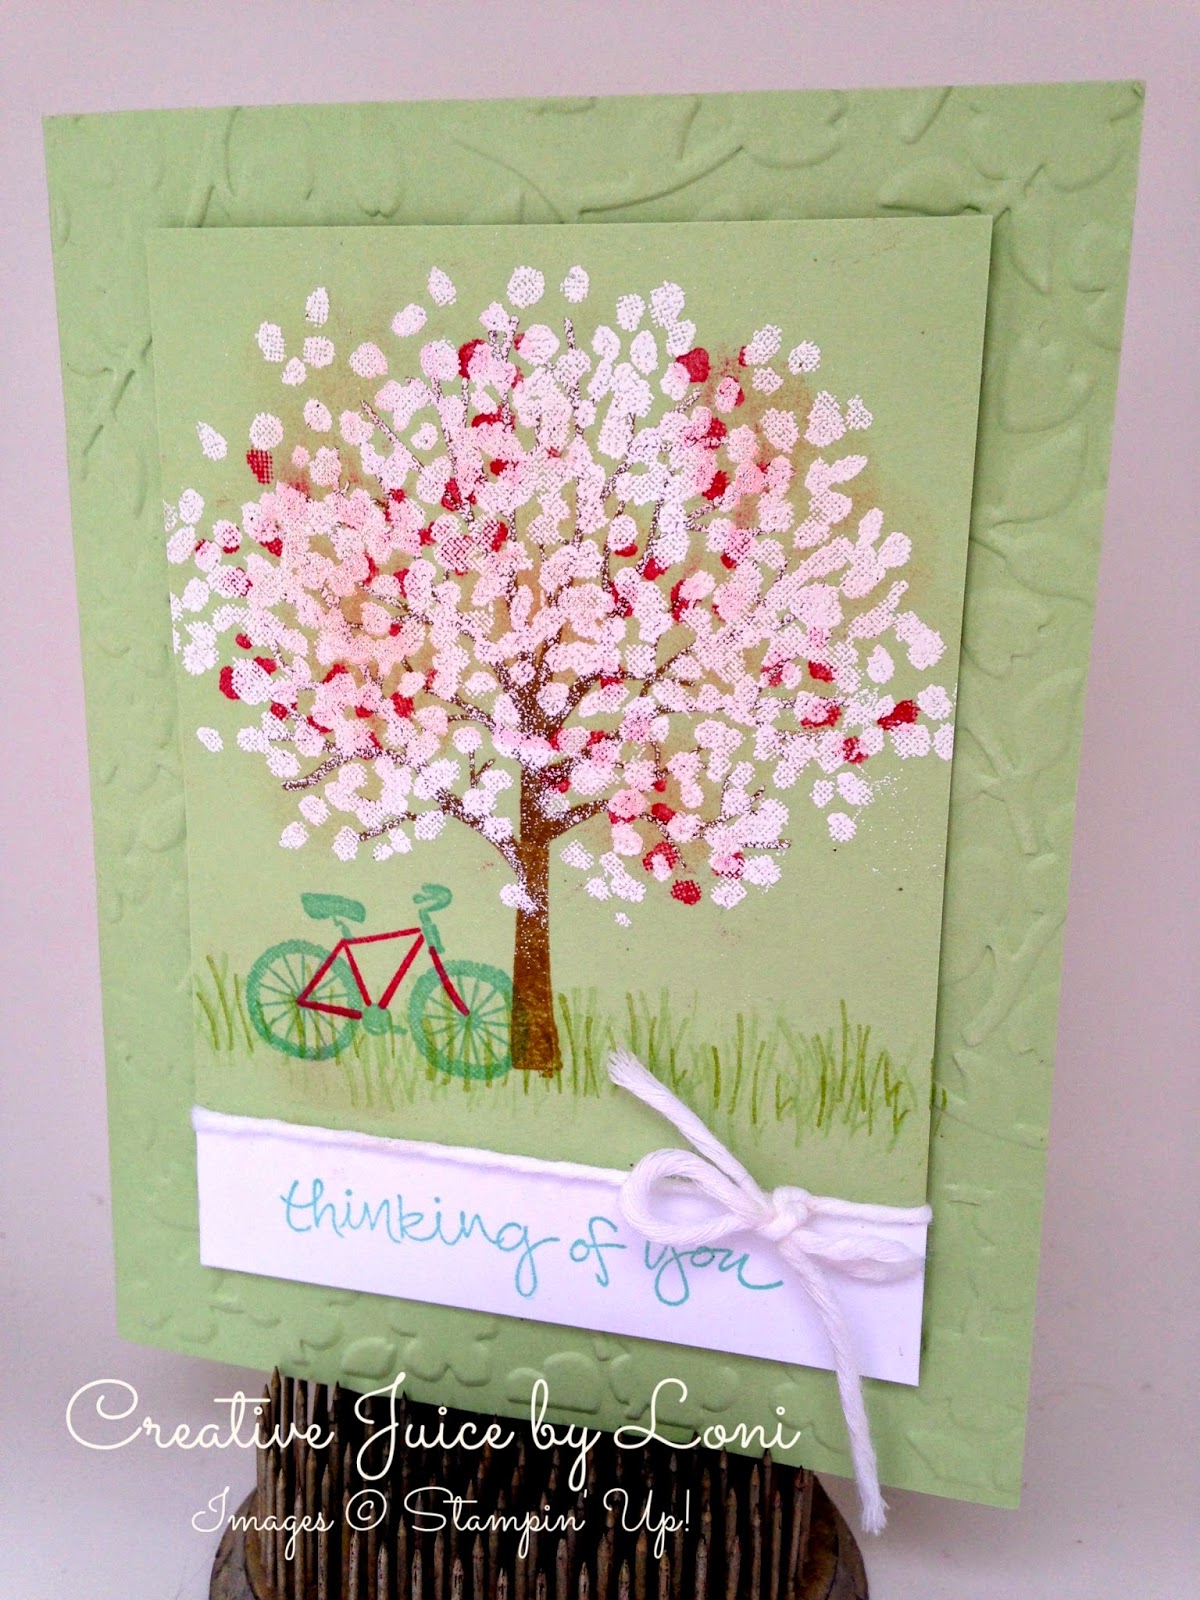
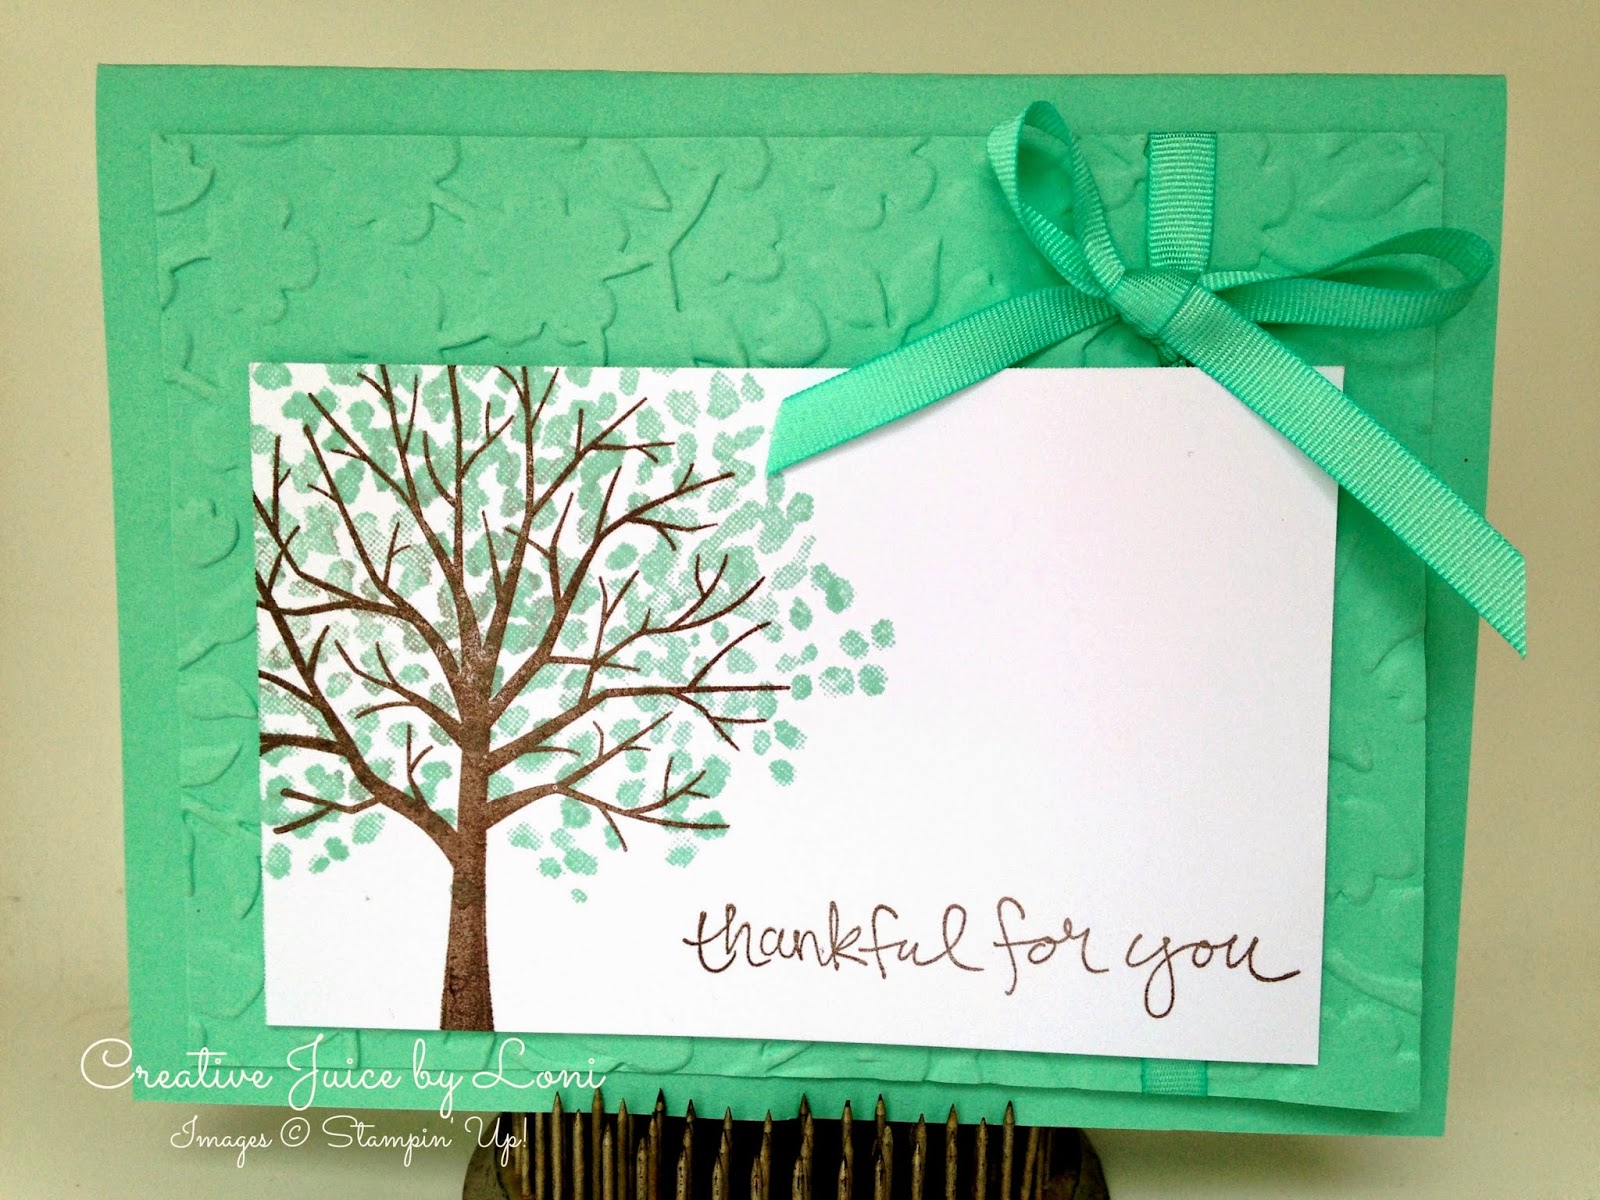
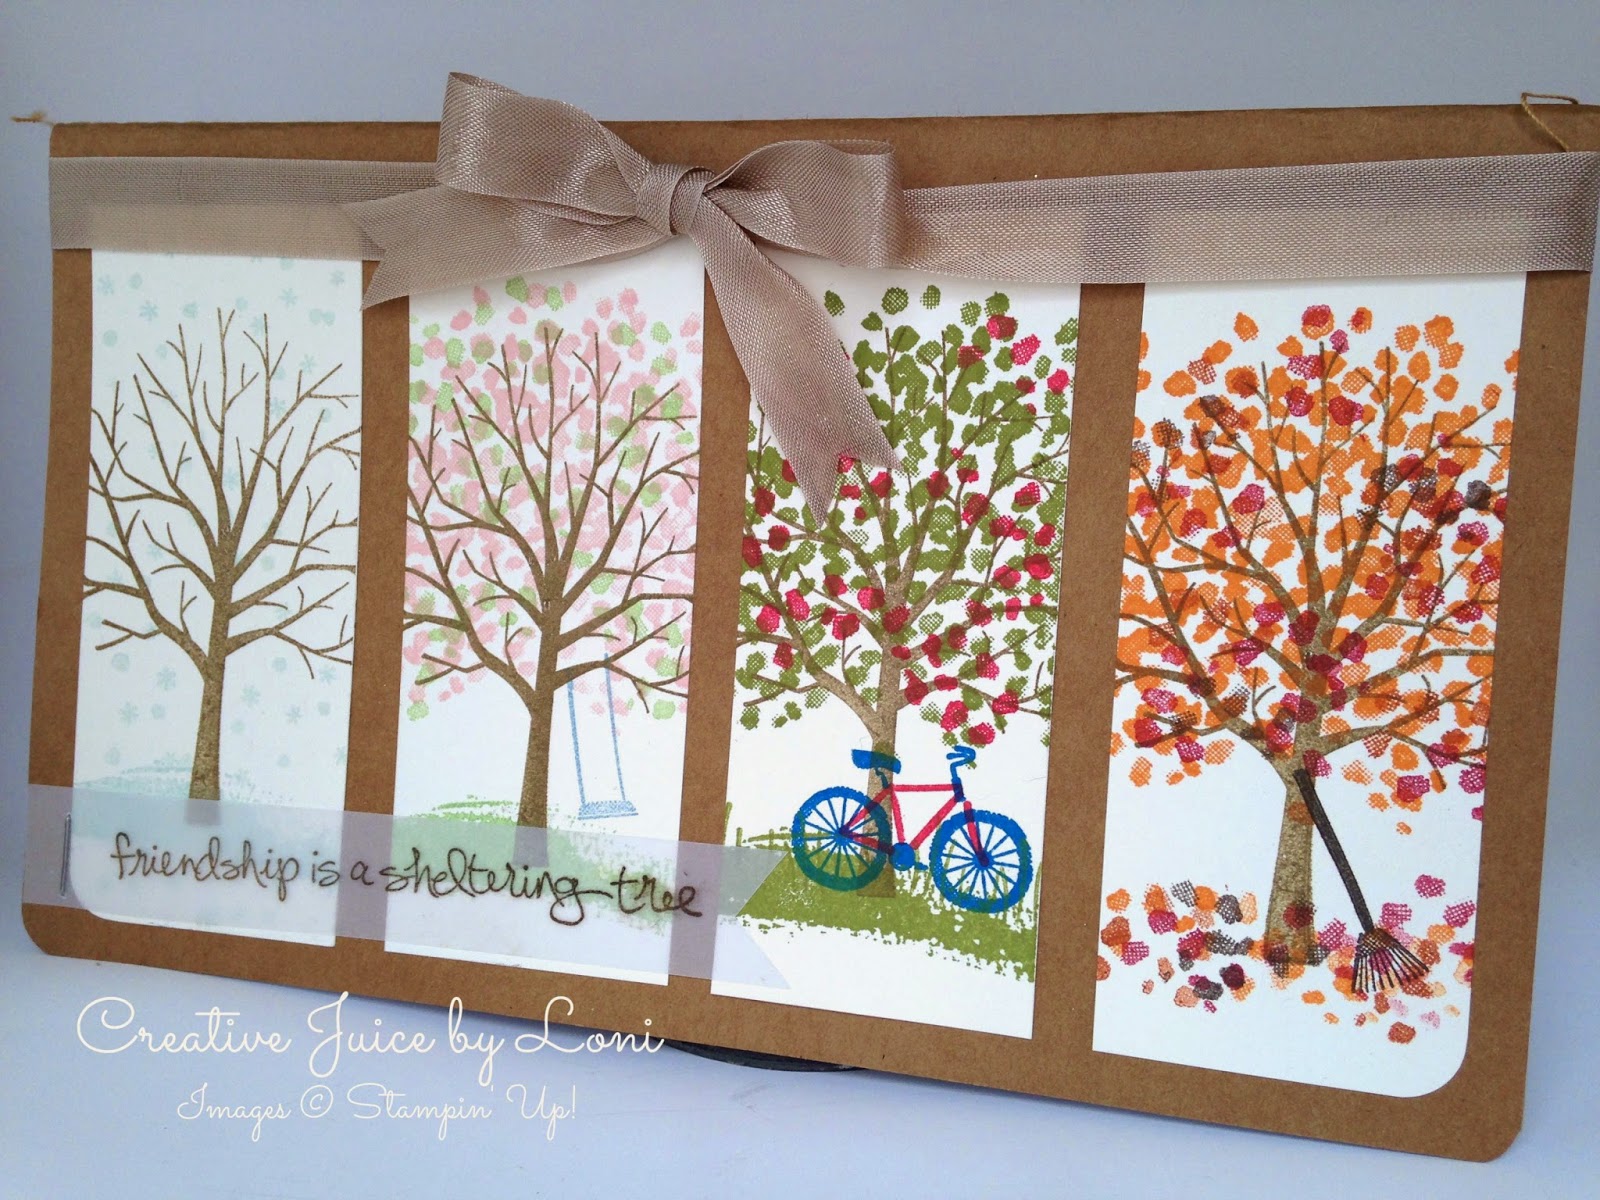
The Sheltering Tree set only comes in Photopolymer, and here’s a hint to get it to stamp perfectly every time: Place your Stampin’ Pierce Mat (or a mouse pad) under the card stock you are stamping on! This helps because Photopolymer stamps don’t have the foam cushion that our wood and clear mount rubber stamps have, so the mat acts as the cushion on the other side.
If you love trees (like I love trees), then grab this stamp set from my Stampin’ Store and start planting some creative seeds with it! If you order it before March 31st, add a few accessories to total $50 or more to choose a Sale-A-Bration Reward FREE!
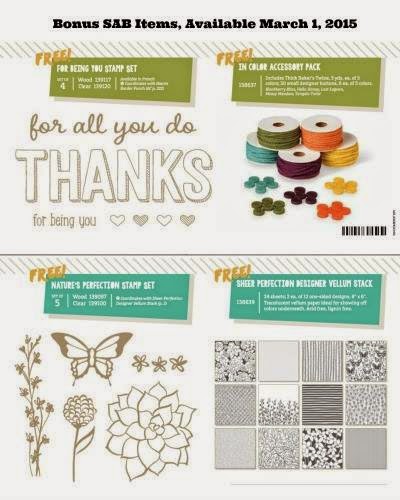
*** In case you haven’t heard, the Blendabilities Markers are discontinued until Stampin’ Up! comes up with a new and improved version sometime in the future, but the silver lining for Sale-a-Bration is that there were 4 NEW reward products added March 1st:
After attending a marvelous Stampin’ Up! Leadership in Orlando, FL, I am re-focused on my business and with that re-focus, I am letting go of my guilt about this blog and putting my energies into activities that fit the way I share what I love in a way that is best for me. I will keep this blog open to use as a place to post things that need a link, but most of my sharing from this time forward will primaritly be on my Creative Juice by Loni Facebook Page and secondly, on Instagram (follow Creative Juice by Loni). For the most part, there will be different things shared on each platform, so I invite you to come socialize with me!
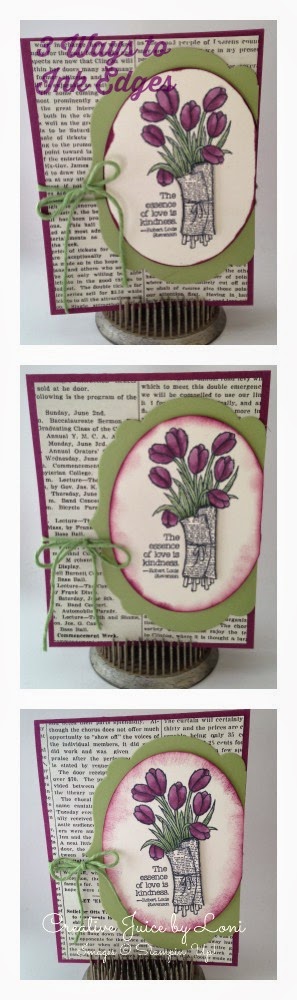
With that freedom, I did just post a quick video tip on my FB page today (Feb 2, 2015) in answer to a friends question about sponging. This is the outcome of three different ways to ink the edges of a card or focal point: Top: Ink pad directly to paper, middle: Sponge Dauber, bottom: Stampin’ Sponge.
Should love be in season all year long? I think so! Especially since my last name is SpendLOVE (I’m pretty lucky in the name department…and he thinks I only married him for his car, pshaw…)
So this LOVE-ly card could be a Valentine, a bright Springtime wedding or just because you need to spread the love and was created with one of Stampin’ Up!’s new Photopolymer stamp sets called Snuggles and Smooches and the 2013-2015 In-Colors. Click on the photo for a printable .pdf tutorial!

Did you know that for each $50 product you purchase from my Stampin’ Store you can choose a Sale-a-Bration product FREE? And one of the choices is the Blendabitilies Markers from the catalog! Since I used the Coastal Cabana Markers to color the glimmer heart on this card, you could choose those as your Sale-a-Bration reward when you place your order: Use code 139923 to get them free.


