Art from the Heart

Posted by Picasa
Sharing a few cute Valentine Card Ideas from a recent Group Gathering with the demonstrators in my Stampin’ Up! family…enjoy! Clockwise from top left: Pam, Kay, Me (I cased this card from another demonstrator and would give them credit if I could remember who!!), Sally (Approved by MEN for Valentines Day: NO PINK!!).

Did you know that Valentines Day is the holiday when people send the most cards (after Christmas)? If you didn’t get your Holiday Cards sent, NOW IS YOUR CHANCE! Don’t miss the Stampin’ Up! Filled with Love Promotion...the perfect choice to create art from the HEART, but only available until January 24th.

"Recycle" Christmas Cards: How To Make Boxes!

Obviously, I love to keep hand-crafted cards to remember and inspire me, but what do I do with all the “other” cards I get at Christmas time? I re-purpose them into gift boxes!

Here is how to do it in 8 easy steps:
  1. Cut card in half along fold.
  2. Using back half of card first, fold so long edges meet in middle (important to do this step first)
  3. Open and fold short edges to meet in the middle.
  4. Open and cut edges from short edges to the first fold.
  5. Fold short “arms” into the inside of box.
  6. Fold top edges of larger tab over the short arms and tape down to inside of box. This creates the BOTTOM of the box.
  7. Repeat steps 1-6 for the TOP of the box using the front half of card, leaving a small space between edges when folding (this makes the top a bit bigger to fit over the bottom). Remember to keep the pretty side facing OUT when folding the box, so you can see the design!
  8. Fit box together, place gift inside and add ribbon!

Joy in the Mailbox

Truth be told, my favorite part of Christmas is getting the mail out of the mailbox! For the other eleven months of the year, there’s not much to look forward to amongst the bills, credit card offers and mass-mailed advertisements. But during the holidays, people actually send real-live-honest-to-goodness-hand-signed-cards/letters, and what a treat it is! The whole family knows that it’s Mom’s prerogative to collect the mail, and to cross mom is risky business.

It’s much better to hold a card in your hand than to get a message in your e-mail inbox that reads “So & So Sent You a Card”. Really? That ranks right up there with a “Gift” on Facebook: completely, totally and utterly useless. What am I going to do with a virtual Ice Cream Cone? Sure there aren’t any calories, but the sender didn’t give any thought about what flavor I liked best or come with me to enjoy eating it together, which is what friendship is all about. Remember this, dear reader: The tangible will always trump the digitally simulated!

While I love hand-stamped cards the most, I do have a few criteria by which I judge exceptional holiday greetings:

  1. First and foremost…don’t just send a picture of your kids! While I’m sure that your children are the most talented, adorable, brilliant creatures to walk this planet, what I want to see is YOU. The parents. My friends. If I’m being totally candid, I want to see if the effects of gravity are working on you as much as they are on me, but most of all, it’s YOUR face I want to see and smile back at. 
  2. Give me the dirt, but not the dump truck. I revel in reading the report of your past year, but one page is plenty. More than a page is like being forced to eat a whole chocolate cake…it started out sweet and delicious, but by the end you want to throw up.
  3. To get the “Holy Grail” Merit of Christmas Greeting Cards (and get a place in the Christmas Album I keep from year to year), jot a personal note in your handwriting!

Before I continue, let me give a disclaimer: My own family has had an almost-20-year tradition of sending Thanksgiving cards. We would mass produce close to 180 hand-stamped cards early in the autumn, and getting them out FIRST seemed to remind people to return the greeting sometime during the ensuing holiday season. It also provided the perfect opportunity to express our gratitude for our friends and family, and it is certainly heart-felt appreciation. And occasionally, we don’t have time to write a personal greeting in each, but sometimes we try.

Last year we decided that since our surname is “Spendlove”, it would make sense to send VALENTINES! So we have switched to sending holiday greetings in February, and now our mailing list is MUCH smaller, as I don’t feel the need to send someone a card who hasn’t at least contacted me in the last year >:D 

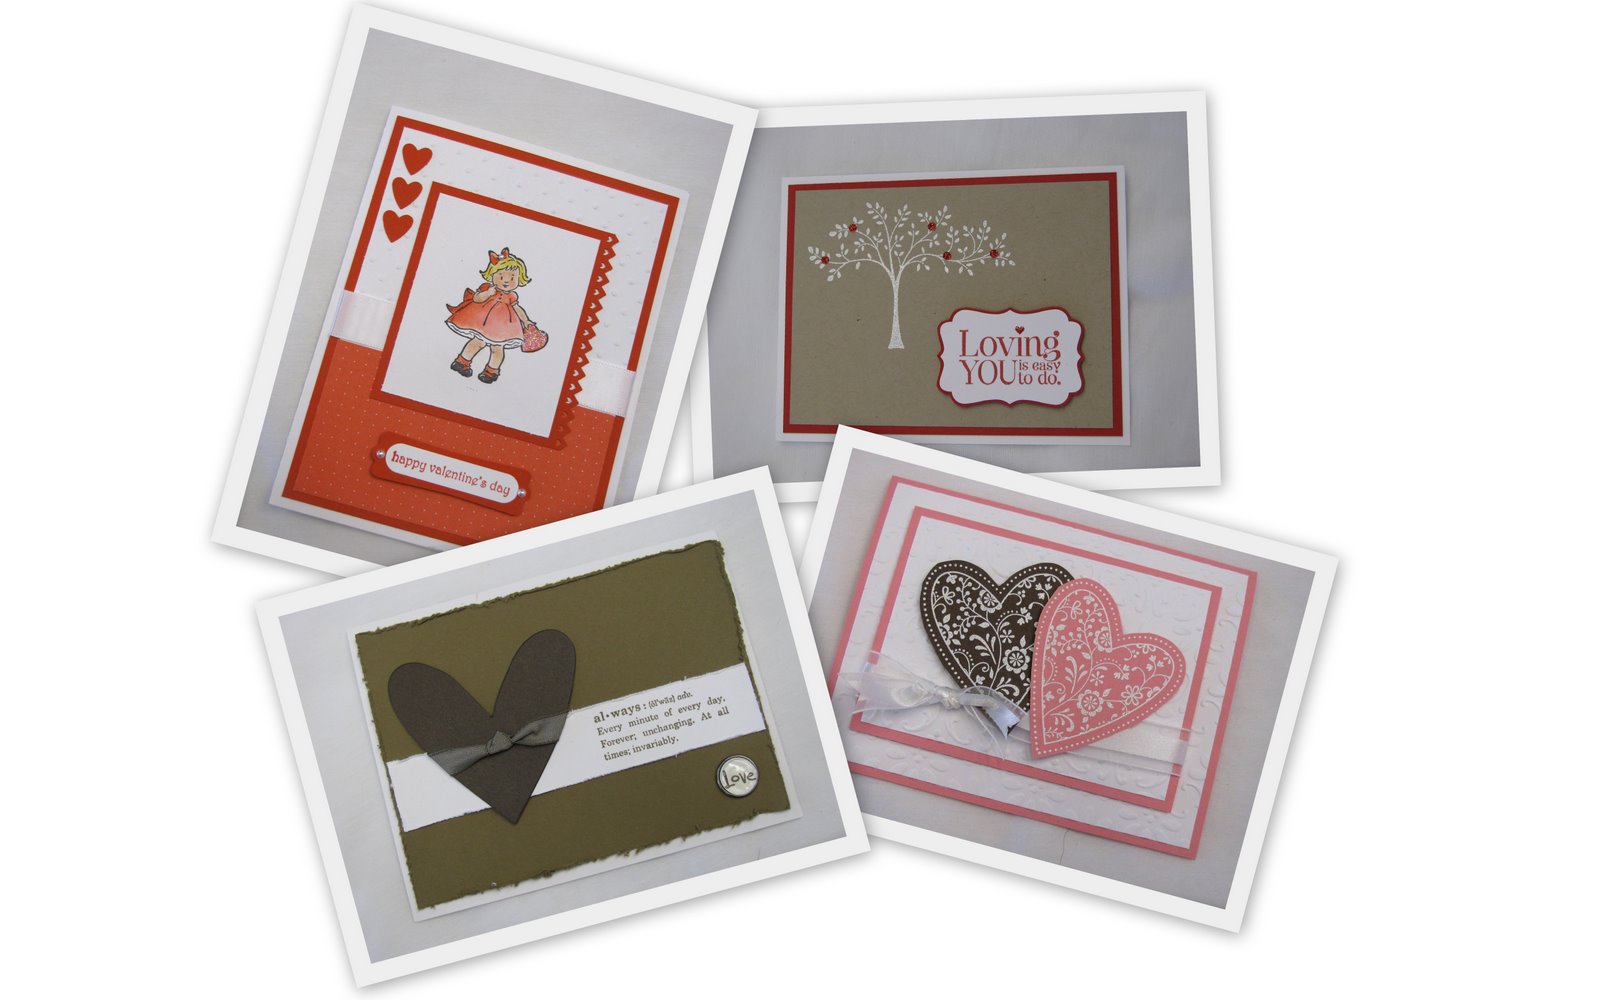
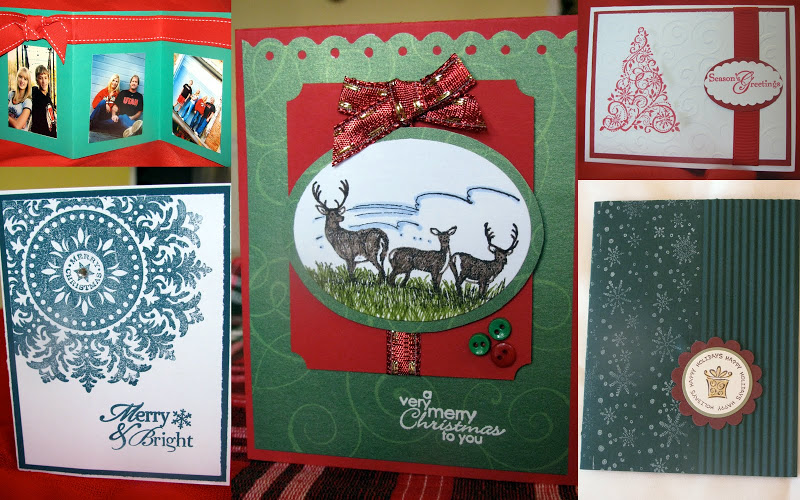
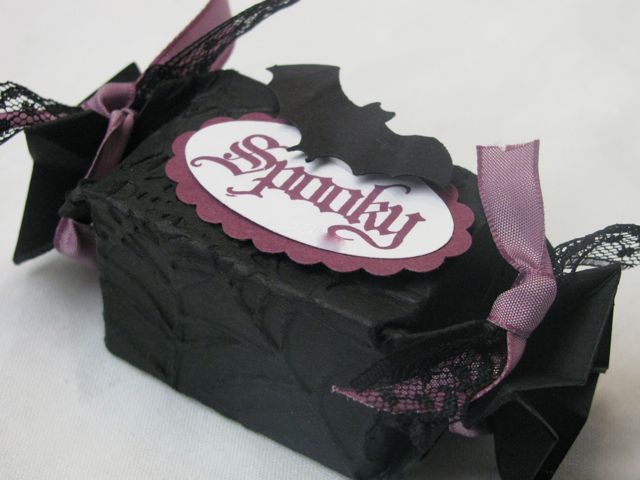
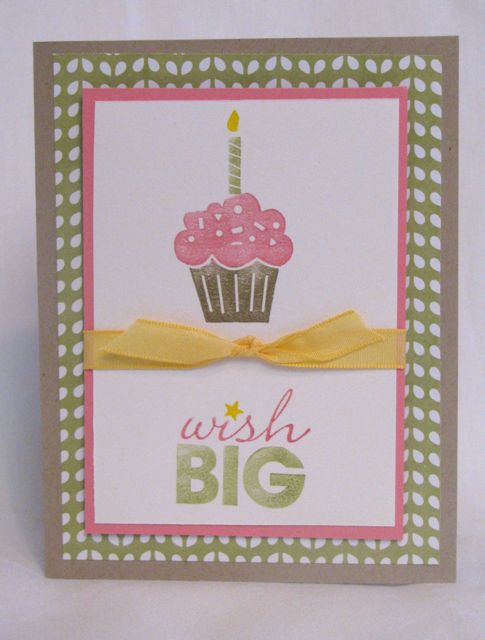
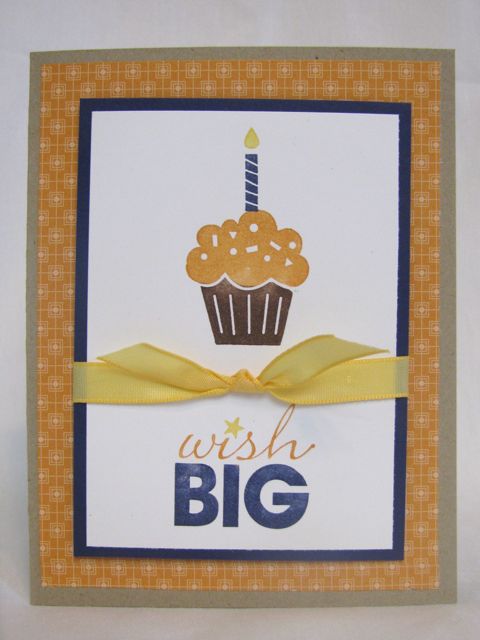
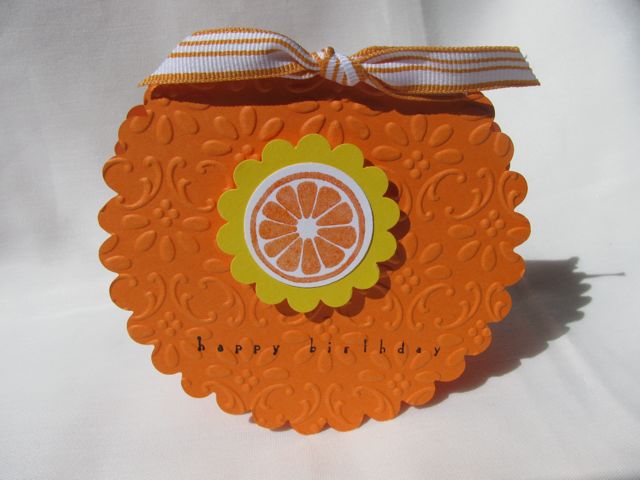
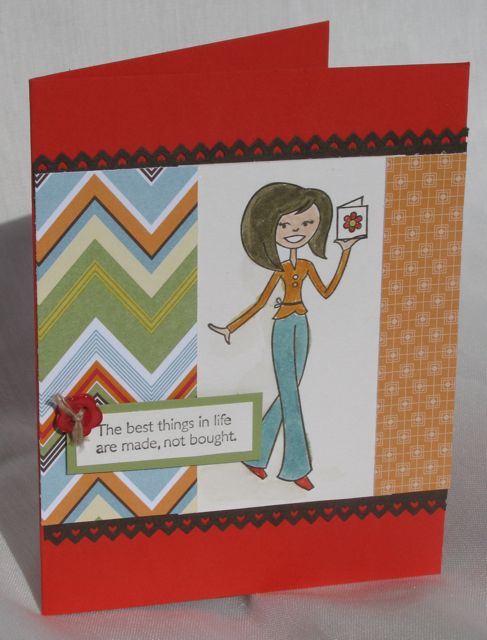
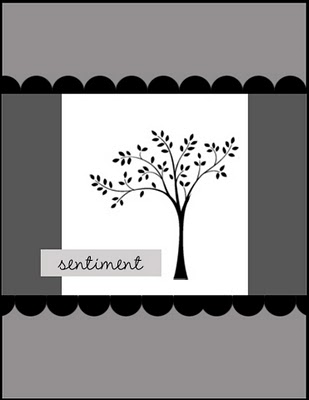
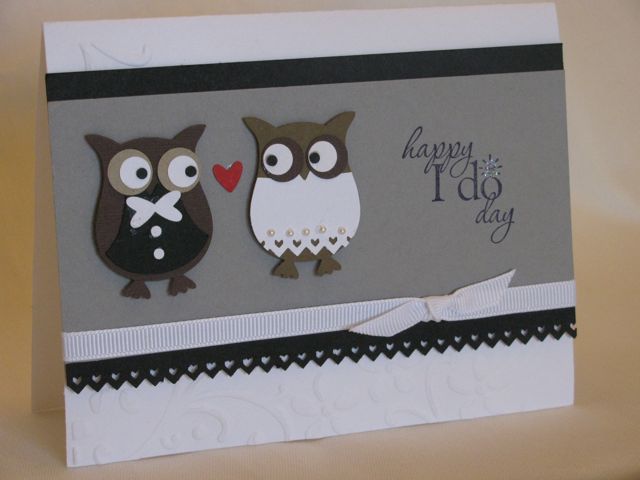
Now we get to the good part: Let me share some of the first hand-crafted cards I’ve received from my awesome friends so far this season!! (I’m sharing those who have used at least one Stampin’ Up! product and will post more on my Stampin’ Up! Facebook page as they arrive). Hope you’ll send me one of yours, too!

Clockwise from top left: From Suzie, Bobbie, Lacy, Leara and Shelli.

Spooky: Rule of 3’s

THREE is such a magic number: Like Charlie’s Angels or the Three Musketeers. How about spaghetti, meatballs and garlic bread? Faith, Hope & Charity? Harry, Ron & Hermoine or (for you “Wicked” fans like me:) Glinda, Elphaba and Fyero…”witch” brings us to the point today, this classic card sketch (Fall-to Layout #113 from Clean & Simple Stamping):

 When in doubt, you can’t go wrong with a simple trio of images like this!
Have I told you how much I love the new Spider Web embossing folder for the Big Shot? Besides using it on my card, I combined it with the Candy Wrapper Die to make the adorable gift below (can you see the little bat on the tag made with the bat punch? Too adorable!)
Here’s a close up…
So to everyone, have a “Wicked” Halloween, and a safe one! 
P.S. Don’t forget to sign up for the Holiday Helper~12 days of creativity arriving in your inbox beginning November 1st 🙂

Wish Big

I must be in sync with the gals over at Clean & Simple Stamping because this is the project I took to the cabin in Pine Valley to work on over the weekend:

These are my birthday cards for the demonstrators in my SU! family this year (sorry, ladies, if this spoils the surprise!!) and they just happened to follow the C&S Fall-to-Layout #111:

I am making these cards in lots of different colors, like the one below that showcases some of the 2010 In-Colors (Peach Parfait and Concord Crush). I wasn’t sure they would look good together, but this just goes to show you that the hues in each color family prepared by SU! really *are* compatible with each other!!

Want to get one of these in your mailbox for your birthday? It’s just one of the many reasons to join my Stampin’ Up! family! While you are here looking around, let me remind you that the Clearance Rack Blitz only lasts a little longer, so click here to shop and save up to 80% on crafting supplies 🙂 

Cards for the Blind

(Sept. 18th: If you are visiting from Clean & Simple Stamping, Welcome! While this card isn’t an exact replica of the FTL #108, it was such kismet that I had created it earlier in the week that when I saw the layout, I had to share!)

My friend, Sherrill Graff, asked for donations of birthday cards for the Blind Center in Las Vegas, so I pulled out some of my retired products and started playing. It seemed like a strange request, but when you are making cards for people who can’t see (or don’t see well), you start thinking with your other senses, like touch and smell.  This is the favorite card I came up with:

I used the Scallop Circle Die and Finial Press embossing folder in the Big Shot to create the shape of the card and the texture on the front. Then I mixed a little orange-flavored Kool-Aid in with some clear embossing powder and embossed the orange image to create a “Scratch-n-Sniff Focal Point”…or would that be a “Fragrance Point”? Want to see more samples I created? “Like” my Facebook page and I’ve uploaded a few more samples there!

Tote-ally Tess

Sometimes you just need to ignore the housework and do something fun. Which is where I found myself this morning…needing a little creative time. So here is my “Tote-ally Tess”/Poppy Parade version of the Clean & Simple Fall-to Layout #107:

And here is the FTL 107 sketch:
Recipe for my card (all Stampin’ Up! Supplies):  Tote-ally Tess stamp set, Poppy Parade, Chocolate Chip, Pear Pizzaz and Shimmery White card stock, Early Espresso Classic Ink Pad, In-Color Markers, Greenhouse Gala Designer Series Paper, Pinking Hearts Border punch, Brights Designer Buttons, Linen Thread
Speaking of “Tote-Ally” cool…you can get a Greenhouse Gala Tote FREE when you join my Stampin’ Up! family of demonstrators before October 18th! Click on the “Tote-ally Awesome” button in the right column for more details or call me: 801-376-8685. Want to see what it’s like to be a demonstrator? Attend my Stitched Stampers Group Gathering on Tuesday, October 5th in Spanish Fork, Utah. Let me know if you can come!

Give a HOOT!

I’ve been seeing owls everywhere lately: On jewelry, lunchboxes, t-shirts, grocery totes and even shoes! So it was a delightful surprise to see a new punch from Stampin’ Up! in the 2010/2011 Idea Book and Catalog that follows this trendy guy:
Give a HOOT!
As you can see, this amazing tool creates more than owls…if you click on any picture (above) you can go to my SU! website, then click on “SHOP NOW” to order your own Two-Step Owl Extra-Large Punch! One thing I love about it is how well it uses up all my scraps of card stock 🙂

Here are a few tips to remember when you are using this punch:

  • Hold your punch upside down while using it to ensure that you punch where you want to on your card stock
  • Keep your garbage nearby to sweep all the scraps into, but DON’T punch over your garbage or the little pieces are a bother to pick out!
  • Use your Paper Snips (catalog pg. 199) to pick up the teensy-tiny pieces with and build your owl: Just open the sharp tips a bit, slide them under the piece and close the tips to pick it up and place it where you want it.
  • The Multipurpose Liquid Glue (pg. 197) has a fine point that works best for owl-production 🙂 I put the glue on my owl base and then lay the pieces on top of the glue with the paper snips!
Just to show you how well this punch “dresses up”, I created this card with the Owl and Pinking Hearts Border punches, the Elegant Bouquet Big Shot Embossing Folder and the new Word Play stamp set:

Clean & Simple, Revisited

Now that the kids are back in school, I had time to stamp for fun again! It was delightful and I am reminded how much I enjoy being creative.

Here is my creation showcasing some new colors and stamps:

Recipe (all Stampin’ Up! supplies, of course):  Marina Mist, Whisper White, Basic Black card stock, Basic Black and Versamark ink, Just Believe stamp set,  Scallop Edge Border punch, Marina Mist Taffeta ribbon.

I followed the Clean & Simple Fall-To Layout #105 sketch: