Call me slow, but I *just* realized (3 decades into paper crafting) that you can send a birthday card that DOESN’T SAY “Happy Birthday”!
I was panicked that I needed more birthday cards at the beginning of March, but didn’t have time to make any. My “generic” card stash was overflowing, so I grabbed a few of those and just wrote a birthday message inside, and slapped my forehead as I realized they worked wonderfully! DUH.
LESSON: Let any generic greeting card become whatever you want it to be!
On that note, here’s a card that can be embossed quickly and will help get you out of any “JAM” (get it?) you are in for a mailing moment! I’ve even got a printable HOW TO for you:
This month we are having so much fun expanding our creativity by getting inspiration from the Annual Catalog in our hop around the world! When you “Copy And Selectively Edit” – or CASE – a project from the catalog, you’ll expand your crafting ideas in ways you never dreamed of.
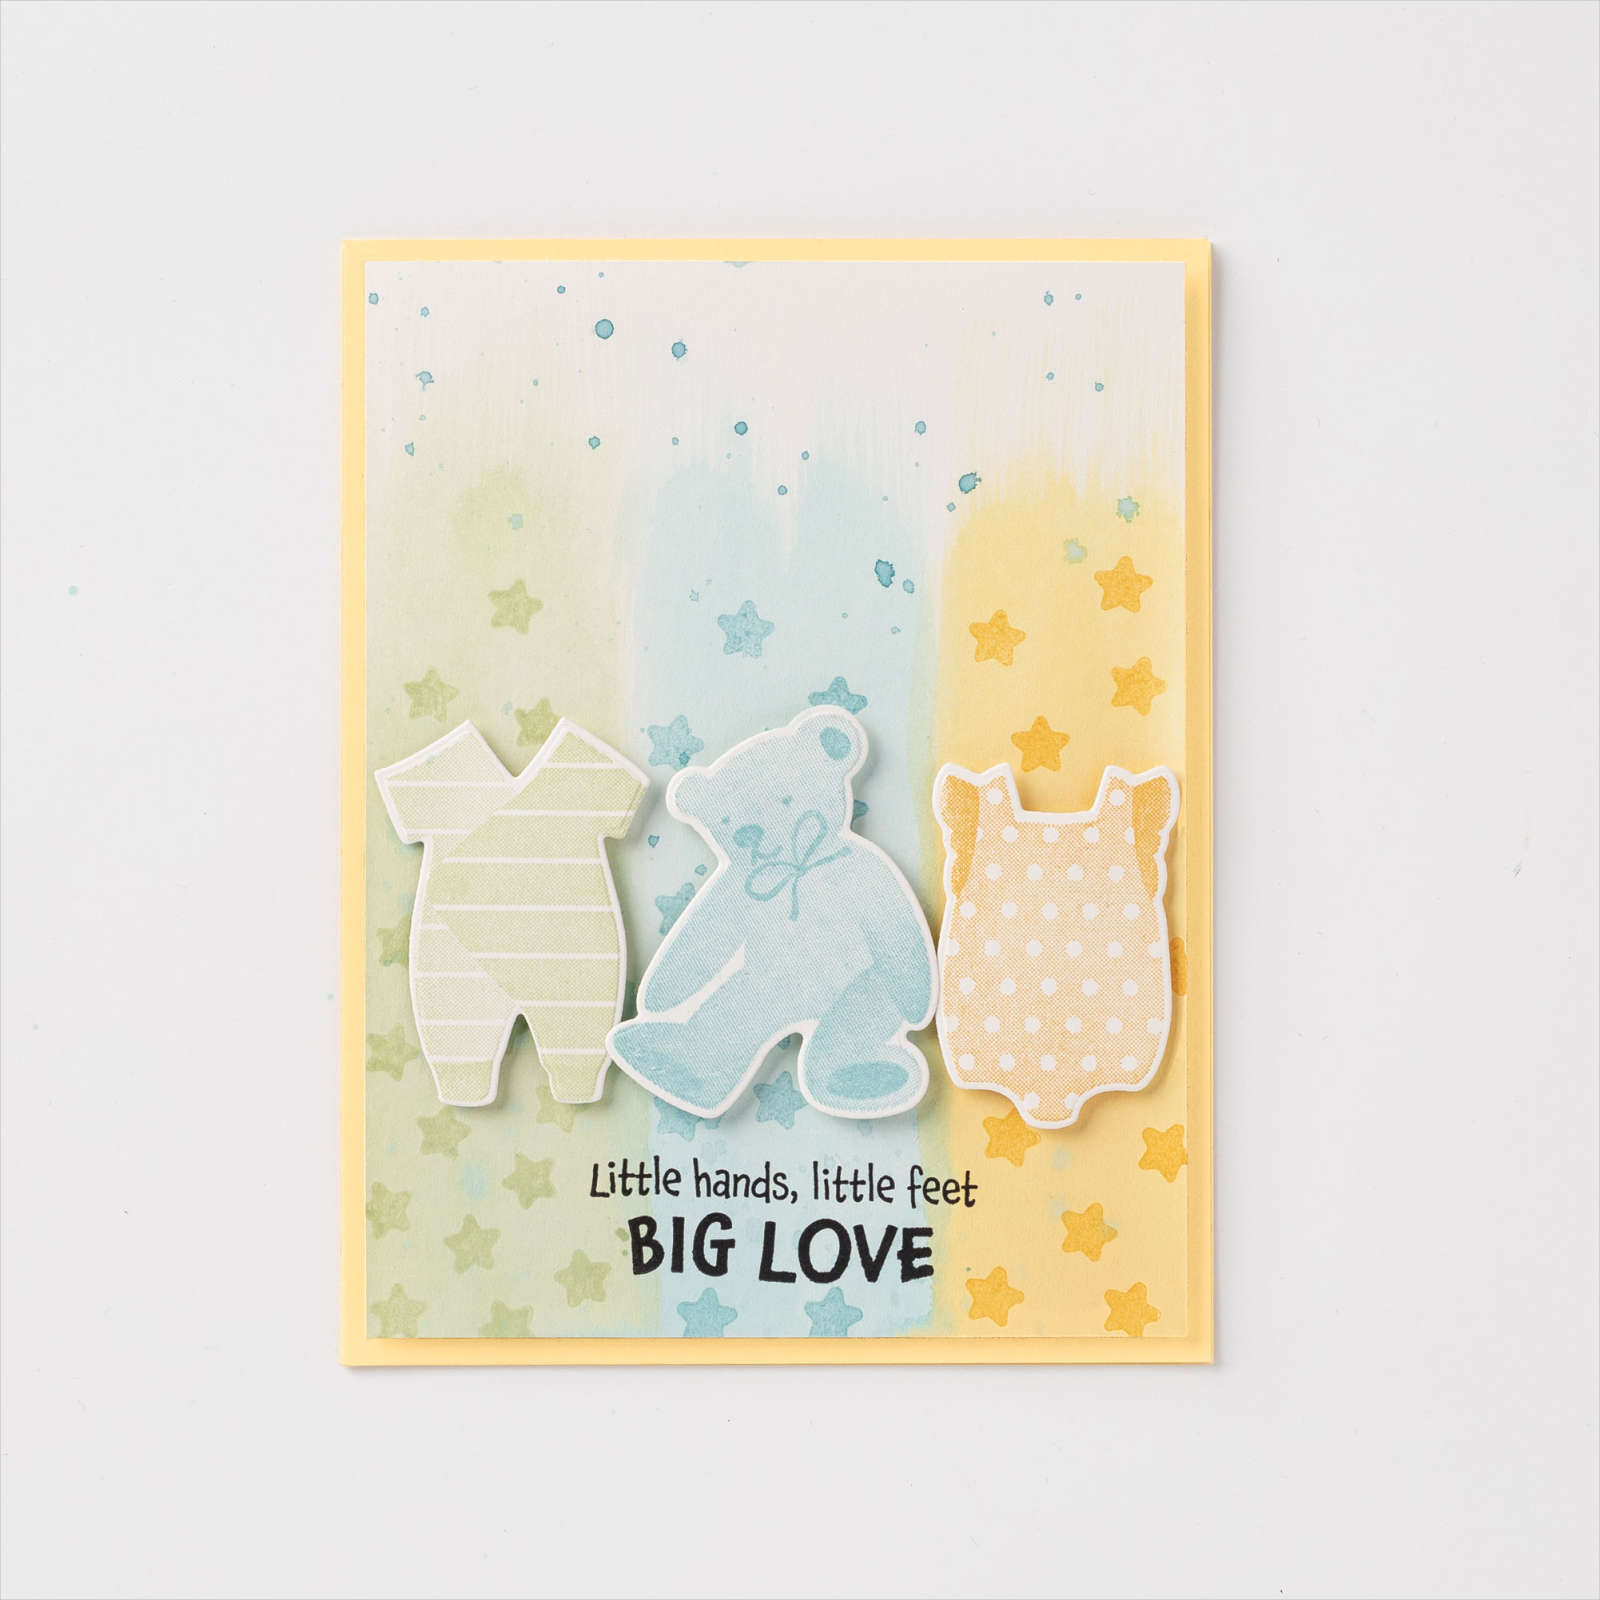
For instance, I was inspired by THIS card on page 157 of the Annual Catalog using the All for Baby bundle:
Using the Cactus Cuties from the January-June Mini catalog, this is my project inspired by that one:
It was surprisingly easier than I imagined! Here HOW TO:
On a 4″ x 5.25″ piece of basic white card stock, mask off the card at 1.75″ using washi or painters tape. Use a blending brush to add Pale Papaya ink to the first panel, getting lighter as you move up the card. Repeat and mask off the Papaya side AND farther down the card at 3.5″ for Soft Succulent. Then mask the first two colors and blend on Misty Moonlight.
Lay the mask over the card front and use a sponge dauber to color the pattern over the same colors. You may want to keep a mask over the other sections so you don’t get the colors mixed, but I just eyeballed it! It will help to tape the mask down on your desk so it doesn’t move and your card under the mask.
Stamp and fussy cut cactus. I used the punch only for the flowers.
Isn’t that just FUN? I had a blast making this card, truly!
Now you can now move on to Annette’s post to see how she was inspired by the annual catalog to create her project with the Symbols of Fortune suite from the January-June catalog. I hope this helps you look at the catalog as an Idea Book every day.
We are closing in on the end of the Annual Catalog, and that means we must say good-bye to the 2020-2022 In-Colors. Two of those colors are featured in the #tgifc358 color challenge this week and that got me dreaming of this sunny card:
If you have Bumblebee, Magenta Madness (or Just Jade, Midnight Muse and Cinnamon Cider) ink pads in your stamping supplies, make sure you order the refills for your ink pads along with extra card stock NOW so you can continue crafting for a long time with these beloved colors! Once the Retiring List is announced ON MARCH 23, those are traditionally the first things to sell out. Product List
I had an extra daffodil I had embossed and colored for my last project sitting on my desk, and since my mother looked forward to them each spring, it made sense to create a Mother’s Day card with it.
You can make this too!
Measurements: Pear Pizzazz cardstock: 5 ½” x 8 ½” scored at 4 ¼” for card base Fresh Freesia and Vellum cardstock: 3-1/2” x 4-3/4” Basic White: 3-3/4” x 5” Seam Binding ribbon: 14”
Instructions: 1. Emboss the Fresh Freesia card stock with Tasteful Textile 3D embossing folder. 2. Using white ink and embossing powder, heat emboss the daffodil bunch in bottom right corner of vellum card stock and greeting on top left corner of Fresh Freesia card stock. Rip the top right corner of vellum away, being careful not to tear through embossed daffodils. 3. Turn the vellum card stock over and color image with Stampin’ Blend markers. 4. Adhere Fresh Freesia layer to White card stock. Line up vellum over Freesia and use Take Your Pick took to pierce holes in the 3 corners to insert small white round brads through. 5. Tie ribbon around the layers, then adhere to front of card with dimensionals. Product List
Do you love reading? Are you part of a book club? This stamp is for YOU!
It was love at first sight for me and the “Every Chapter” stamp in the J-J Mini Catalog. I have a similar stack of books next to my bed. When I found these cute chalkboard easels at Dollar Tree, I knew exactly what to do with the stamp:
It was so simple, too! Here are the instructions:
Ink up Every Chapter stamp with white craft ink and press onto chalkboard, being careful not to rock side to side. Cover wet ink with white embossing powder, shake or brush off excess powder with small, dry paintbrush and heat to set the powder.
Wrap 18” of ribbon around on the left side of chalkboard and tie in a knot. Wrap the 24” piece of ribbon into 3 loops (around 3-4 fingers). Lay on knotted ribbon and tie.
Add loose flower to book with mini glue dot. Add silver pearl to center of flower.
Wouldn’t it look adorable as a favor on a table, too?
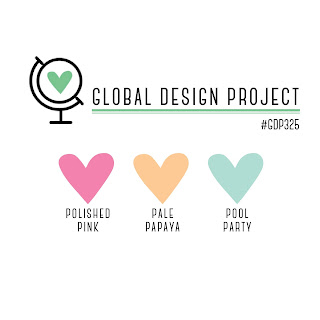
The Global Design Project color challenge was just too cute to pass up:
They look like a scoop of sherbet, so I grabbed my Sweet Ice Cream stamp set and made a floating frame card that would be yummy for Valentine’s Day, too:
The Kisses & Hugs Paper Pumpkin kit will help you express your love and caring in style this Valentine’s Day and all year long! Gold accents, heart-shaped cards, and stylish details will delight Cupid and your loved ones.
Plus, as a Paper Pumpkin subscriber you have access to exclusive access to add on the Kisses & Hugs Mini Treat Boxes (#160147). With 20 sweet boxes you’ll have enough to share the love!
What’s Inside?
With a monthly Paper Pumpkin craft subscription box, you’ll save time and money . . . and eventually build a collection of versatile Stampin’ Up! crafting supplies.
Design
The Kisses & Hugs Mini Treat Boxes (item 160147) are an exciting add-on to this month’s kit! This is a chance to create stylish treat boxes to match the heart-shaped cards in the kit. While these boxes are small, they make a big impact that shines with gold foil printing. The Kisses & Hugs Mini Treat Boxes are sold separately starting 25 January and only available while supplies last, so don’t wait too long to snag them!
Project Type
Kit contains enough supplies to create 10 cards—5 each of 2 designs—and 10 coordinating envelopes
Coordinating Colors
Blushing Bride, Flirty Flamingo, Gray Granite, Very Vanilla
The TGIF Challenge last Friday got me brewing up an idea to share, and today I did a live video on my FB page to demonstrate this unique card fold using the Delightful Tag Topper punch to tie it closed!
As long as I was crafting, I wanted to use some new products from the January-June Mini Catalog and Sale-a-Bration that both start tomorrow (January 4, 2022), so here’s the first card I demonstrated using the Sweet Talk Designer Series Paper:
You can make this card with just a little space to write in under the top flap, or add a card that opens inside so you can compose a long love letter.
Then I flipped the card to a side closure and showed off the Sunshine & Rainbows Designer Series Paper that you can choose as a free Sale-a-Bration product with a $50 order. This cheerful paper coordinates with the Rainbow of Happiness stamp set in the J-J Mini Catalog, so of course you’ll want both!
This one is also a gift card holder, which would make anyone’s day more sunny:
I’ll post the supplies here tomorrow once the catalogs go live, but meanwhile, you can watch the video tutorial below or on my page:
The January-June 2022 Mini Catalog should be arriving in your mailbox soon (if you’ve shopped with me in the past 6 months)… OR …get one free when you participate in the Mini Catalog Paper Share!
What is a Paper Share?
So you don’t have to buy a full pack of every Designer Series Paper in the catalog (unless you want to), I have organized a share, where you will receive a piece of each design paper from the new mini!
This is what you will receive in the Designer Series Paper Share:
(6) 6″ × 6″ Sheets Of:
Artfully Composed Designer Series Paper
Flowering Fields Designer Series Paper
Heart & Home Designer Series Paper
Hey Sports Fan Designer Series Paper
Sweet Talk Designer Series Paper
Symbols of Fortune
(12) 6″ × 6″ Sheets of:
New Horizons Designer Series Paper
(12) 4″ × 6″ Sheets of:
Abstract Beauty Designer Series Paper
TOTAL for aSingle Designer Series Paper Share: $19+ $8 Priority shipping to you
TOTAL for a Double Designer Series Paper Share (all 12″ x 12″ paper will be cut 6″ x 12″): $38 + $8 Priority shipping to you
HOW TO ORDER A PAPER SHARE
Fill out the form below by Jan 7, 2022 and a PayPal invoice will be emailed to you (you do not need to have a PayPal account to pay the invoice). Payments must be completed by January 7th.
Please note, per Stampin’ Up! policy, only residents in the United States may participate in this Product Share.
**In the case product is unavailable for order on Jan 7, 2022, you will be refunded the cost of the item(s) and NOT mailed them.**
It’s a FREE Shipping 24-Hour Flash Sale happening TODAY, December 8th only!
Take advantage of this opportunity to get free shipping on orders over $50~ With the exception of month-to-month Paper Pumpkin subscriptions, all Stampin’ Up! products qualify for the promotion.
Sale ends at midnight on December 8th. Visit my online store for more details and to shop and save!
If you have trouble ordering using Chrome as your browser, they are working to fix that, but you can switch to a different browser and it should work!
During my Lunchtime Live video on my Facebook Page on Monday, I demonstrated two fun alternate cards which started with kits. This Faux Shaker tree card started with the “Love, Santa” Project Kit:
When you give a kit, you are gifting a creative experience, and the best way to improve that is to plan a time to get together with the recipient and stamp TOGETHER.
Shop Paper Pumpkin Kit and subscriptions HERE (subscribe by December 10th for December kit).
Shop current Kit Collections options HERE (Last day to order gifts to arrive in time for Christmas is December 13th)


")


 Designer Series Paper")
 Designer Series Paper")


")


 Crinkled Seam Binding Ribbon")


 Gingham Ribbon")


")