Trick-or-Treat: A Perfect Fit for Blondies

I consider myself a connoisseur of baked goods and my favorite bakery on the planet is The Sweet Tooth Fairy. Yesterday I stopped by for a cupcake (okay, two) and discovered their BLONDIES: Like a S’more on steroids! Let’s just say I may have a new addiction.

In an act of SERENDIPITY, I discovered that said Blondies fit perfectly into the new Decorative Window Gift Boxes from the Stampin’ Up! Holiday Catalog (6 boxes for $4.95…a bargain!):

Side Note: I bought four blondies to share with the ladies I visit in my church calling each month…only three blondies made it to the boxes…

Add a strip of Designer Series Paper, a skull stamp (so they can tell their kids it’s poison and won’t have to share) and some washi tape and abracadabra! You’ve got yourself a VERY quick gift. IF you can deliver them before you eat them all.

Project Recipe (for the boxes, not the blondies)
All supplies can be ordered from my Stampin’ Up! Store

Stamps: Toil & Trouble (2013 Holiday Catalog)
Ink: Staz-On White (Item 106960)
Paper: Witches Brew DSP (132185)
Embellishments: Witches Brew Designer Washi Tape (132156)
Other: Blondies from The Sweet Tooth Fairy!

post signature

5 Ways on Fridays: Envelope Punch Board

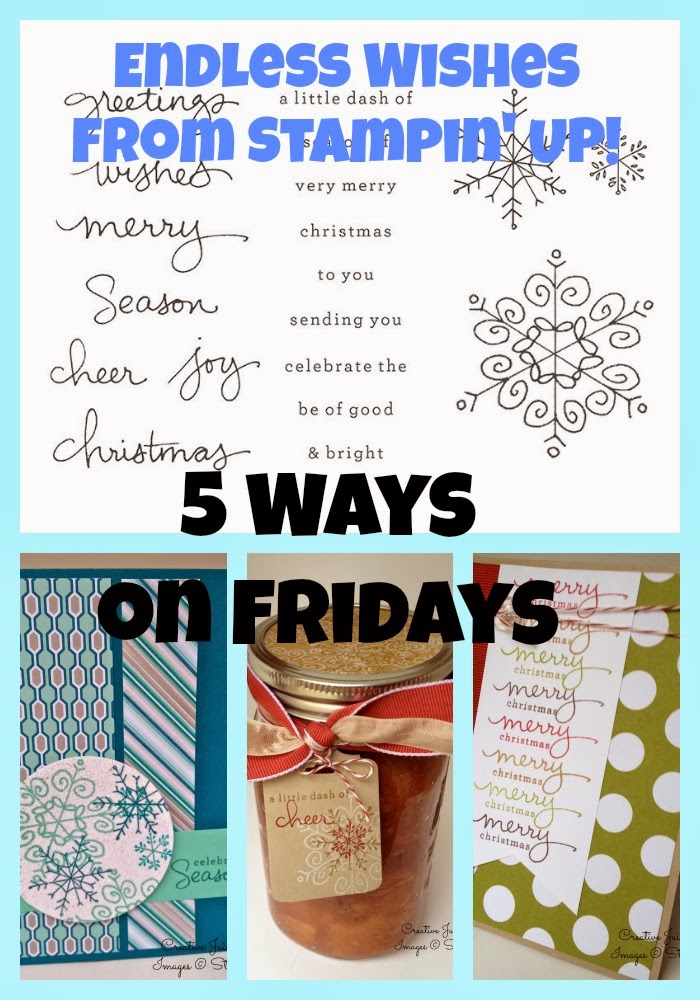
Today I’m sharing FIVE amazing ways to use the new Envelope Punch Board from Stampin’ Up! (Item #133774). Once you see these, you’ll NEED your own and you can order it from My Stampin; Up! Store Since it’s Halloween season, I made most of my samples using the Witches Brew Designer Series Paper (132185), Toil & Trouble and Tags 4 You stamp sets (Holiday Catalog) and Label Bracket punch (132153)

1. Make Envelopes. Stating the painfully obvious, but hey…that’s what it was made for! Just remember this: Envelopes don’t always have to hold just a card 🙂

If you haven’t seen how the Envelope Punch Board works, WATCH the Training Video from Stampin’ Up! I also love having a liner inside the envelope and the best video tutorial I’ve seen (using just a small square of Designer Series Paper) is from Mary Fish and her tutorial can be seen HERE. 

2. File Folder Cards. These unique cards are so much fun to make and you could create a whole slew of little file folders to organize things like photos, paper embellishments, receipts, etc.

Patty Bennett’s Video Tutorial explains how simple these are, and once you’ve made a few, you just can’t stop! 

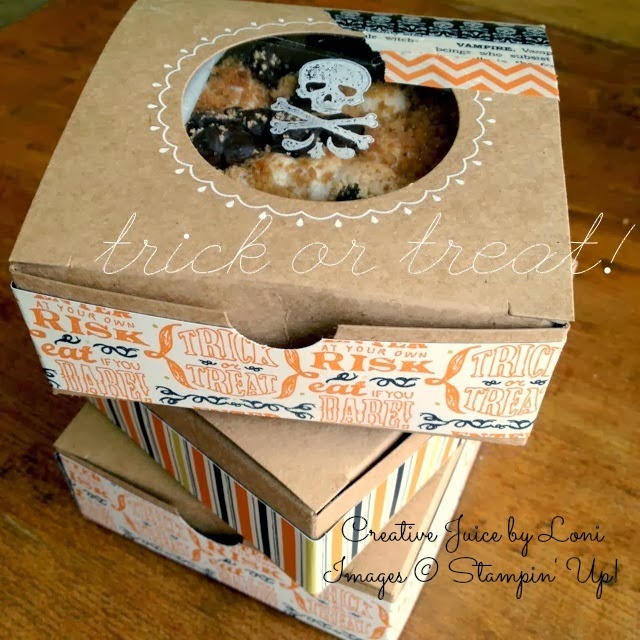
3. Boxes. Yep, that’s right: The Envelope Punch Board can make BOXES! Here are two of my top picks (because they are both simple, and I’m all about easy!)

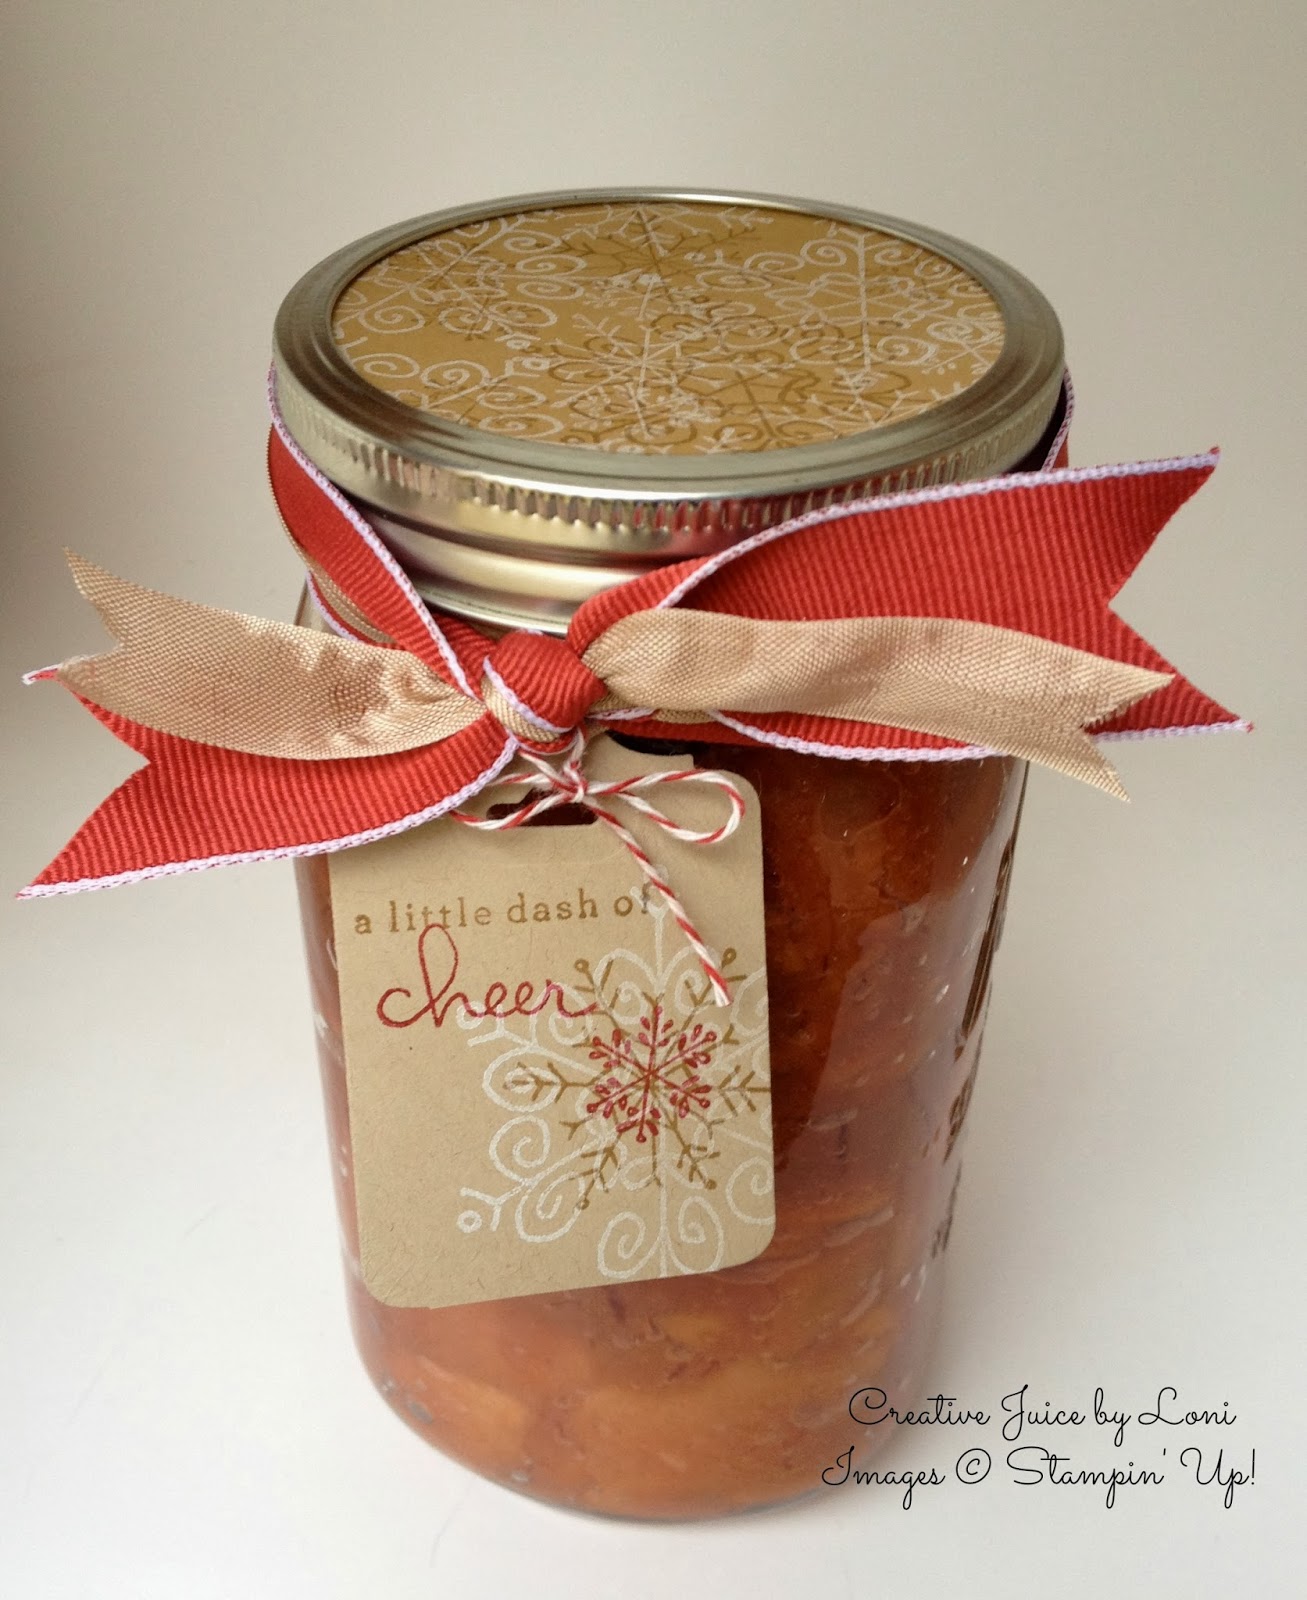
Elaine Schader (at Elaine’s Creations) made this box to hold some eerily adorable Halloween tags from four envelopes made with the Punch Board. Check it out on HER BLOG.

Designed to hold 4 cards & envelopes, I discovered (after I whipped this one out in no time flat) that this little gem also holds a King Size Kit Kat! I followed the instructions by Cindy Beach at Stamp, Paper and Ink. The only modification I made was to use my Word Window punch to create a place to insert the top flap and hold it closed.

Learn to make another candy bar box on THIS video tutorial by Janet Wakeland

4. Advent Calendar. When I saw this on the Stampin’ Up! blog post  (scroll down past the Game Day banner to see the instructions and downloadable PDF for dates) I thought it was GENIUS!

5. Envelope Tag Book. Here’s one for the memory keepers…or this could be a fun way to present love coupons, a grandma brag book or just for fun.

Tricia over at the Efficient Crafter is the artist for this project and her motto, “Quick…Let’s Craft!” tells me she’s my kind of lady! View her tutorial HERE. 
——————————————————

So there you have FIVE different ways to use the new Envelope Punch Board! It’s a MUST HAVE tool for your Craft Closet and you can order it in Loni’s Stampin’ Store today. If you have another great way to use the EPB, leave a comment below to help compile a resource for more excellent ideas!

post signature

Bottle Bib Pocket: Whip One Up In a Jiffy (Video Tutorial)

Waiting in line at the Cal Ranch store in Spanish Fork, I saw a display of awesome bottled pop. One that caught my eye was called, “Dang! That’s Good” Root Beer...even the bottle cap was cute! The colors effused FALL and the Stampin’ Up! Sweater Weather came to mind. So I grabbed a handful of bottles and decided I’d figure some way to use them 🙂

Then I went shopping and saw the Caramel Apple bite by Russell Stover and if you know me well, I’m an even bigger sucker for CARAMEL than I am for chocolate (and that’s sayin’ something). So I put another handful in my cart and whistled all the way home!

My solution? What I call a “Bottle Bib Pocket”! It was actually inspired by a project made by my friend Pam Clyde, whose artistry is beautifully detailed. I’m more of a quick and easy crafter, but I think you’ll like both 🙂

I made a video tutorial for the simple one…I’ll let Cal Ranch know they better stock up on “cute” soda pop 😀 I suspect it tastes as good as it looks, but I don’t know as I’ve been giving all mine away to my Stampin’ Up! hostesses as I demonstrate them! Want me to teach you and your friends? Book a party during October!

post signature

A Shapely Birthday

I’ve needed to make birthday cards for my Stampin’ Family, and the sketch over at Create with Connie & Mary inspired me to make this simple, shapely and cheerful greeting (with a little embossed bling on the birthday)!

Don’t be afraid to take a sketch and turn it on it’s side, like I did with this one:

Card Recipe (all supplies from Stampin’ Up!):

Stamps: Blue Ribbon (wood~131964 or clear~125981)
Ink: Bermuda Bay (131171) and Raspberry Ripple (126859)
Paper:  Calypso Coral, Bermuda Bay, Very Vanilla card stock, Birthday Basics DSP(130145) 
Accessories: Iridescent Ice Embossing Powder (131930), Heat Tool (129053), Big Shot (113439), Oval Accent Bigz Clear die (127055),  Ovals Collection framelits (129381), 2-3/8″ Scallop Circle punch (118874), Occasions Paper Piercing Pack (129387), Paper Piercing Tool (126189) and Stampin’ Pierce Mat (126199).  

As always, you can order supplies HERE and don’t forget that Designer Series Paper (DSP) is Buy 3, Get 1 FREE this month and if you order on my website during July 2013, enter hostess code JF3KWJT7 because someone will be the “Mystery Hostess” and get some fun goodies this month!

I’m going to make a bunch of these cards with the other papers in the same pack and I’ll post a picture on my FB Fan Page, if you want to see samples in varying colors and designs 🙂

post signature

Husband Survival Kit

While I could list off a few excuses for being away for over a week, I think we’ll just skip them and go straight to showing a few samples of things I created for the Boutique last weekend 🙂

One of the kits I made was this one:

Every man I showed it to asked if I had one with ALL “I’m Sorry” cards (LOL) So I’ll share that one:

I just discovered that the Occasions Alphabet stamp set fits perfectly into the Four Frames set, which coordinates with the Decorative label punch (120907)! Well, duh…that makes easy cards when paired with some Designer Series Paper!

I am going to miss the Simply Scrappin’ Kits when they retire at the end of the month because while they are perfect for creating amazing scrapbook pages, they also make fun cards. The birthday card above was created with pieces of the Razzleberry Splash kit (126930).

Obviously there are 5 cards in each kit, but that’s all I have time to share today. I have extra kits left over and will get them listed on my FOR SALE page later, and next week I’ll be sharing a video on how to make the box, so come back soon!

post signature