Fall Bird Card for a color challenge, Winterly Tree Tops by Stampin' Up!

Flowers & Feathers

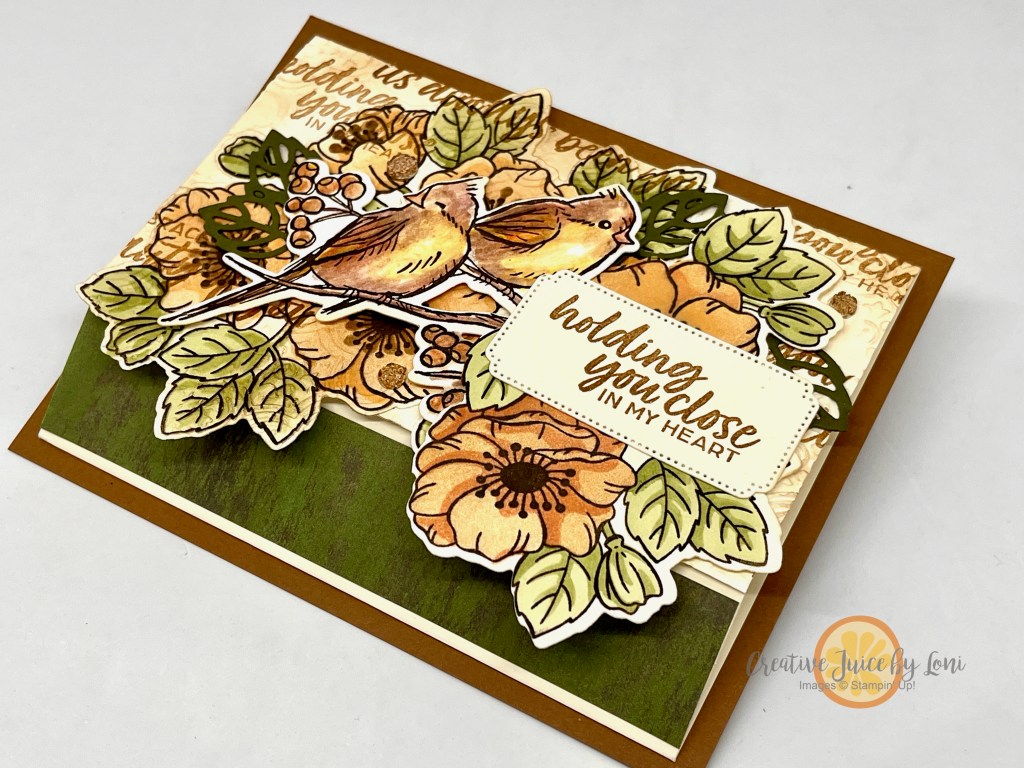
Another sleepless night as I dreamed of creating this card 🥱 … trying to decide if creativity is a blessing or a curse!

The idea came from the #tgifc492 Inspiration challenge:

Think of it like a mashup of two songs, but two stamp sets: Enduring Beauty for the flowers and Winterly Tree Tops for the birds.

I wanted to give it a fall vibe, so picked a palette of Pecan Pie, Very Vanilla, Peach Pie, and Mossy Meadow (almost sounds like a recipe!). With a lot of layers and texture, it feels vintage and the sprinkle of three Drusy Embellishments adds a bit of glittery elegance.

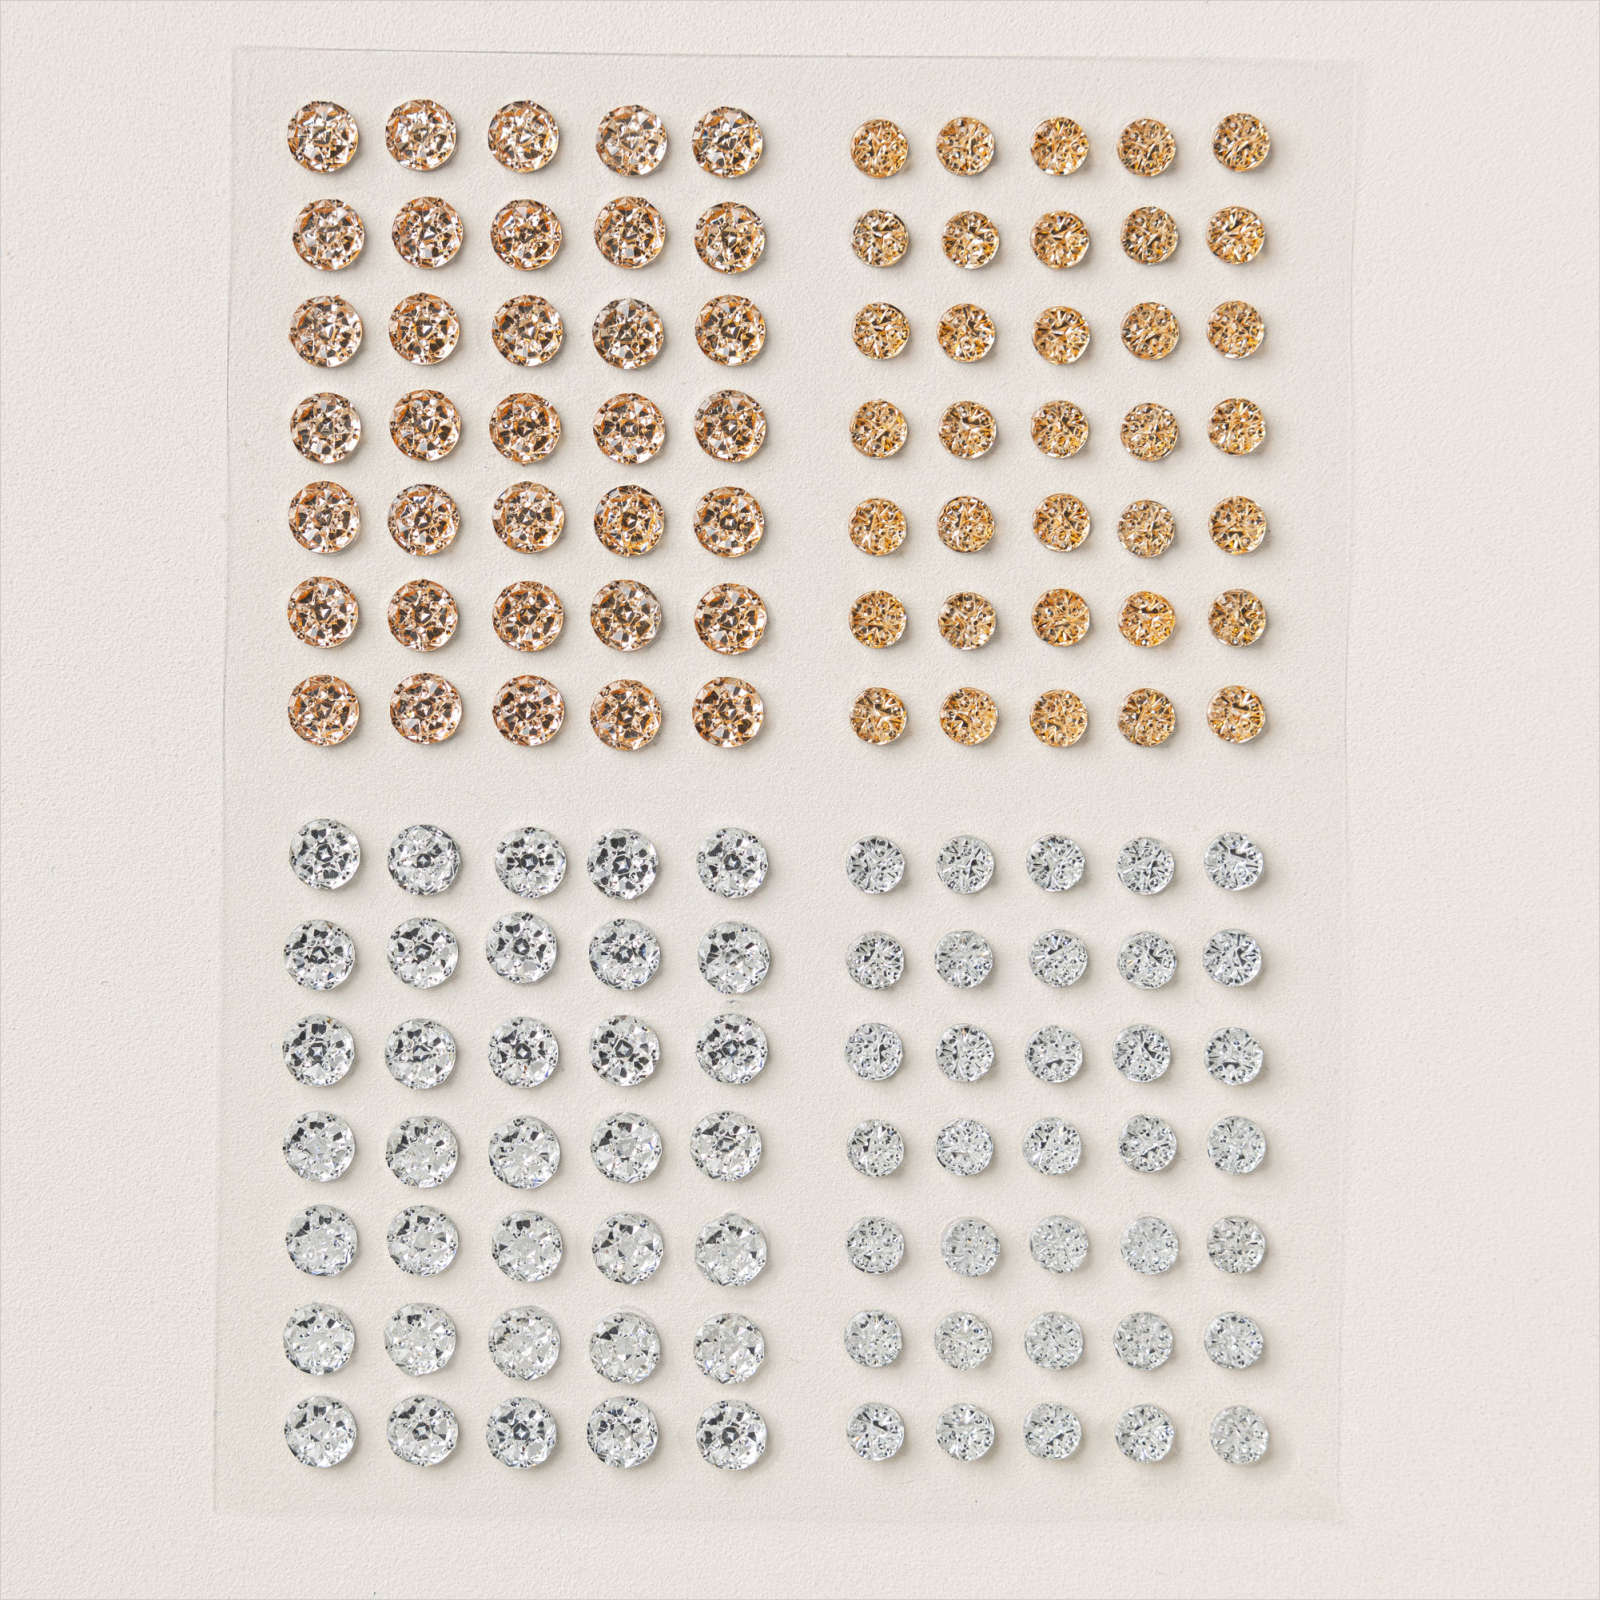
TRIVIA TIME: “DRUSY” is an adjective that means “covered in minute crystals” and can describe the inside of a rock cavity that is lined with tiny crystals. These embellishments are truly gorgeous, but not easily mailable, as they do make the card quite bumpy. It needs a padded envelope if you are mailing it!

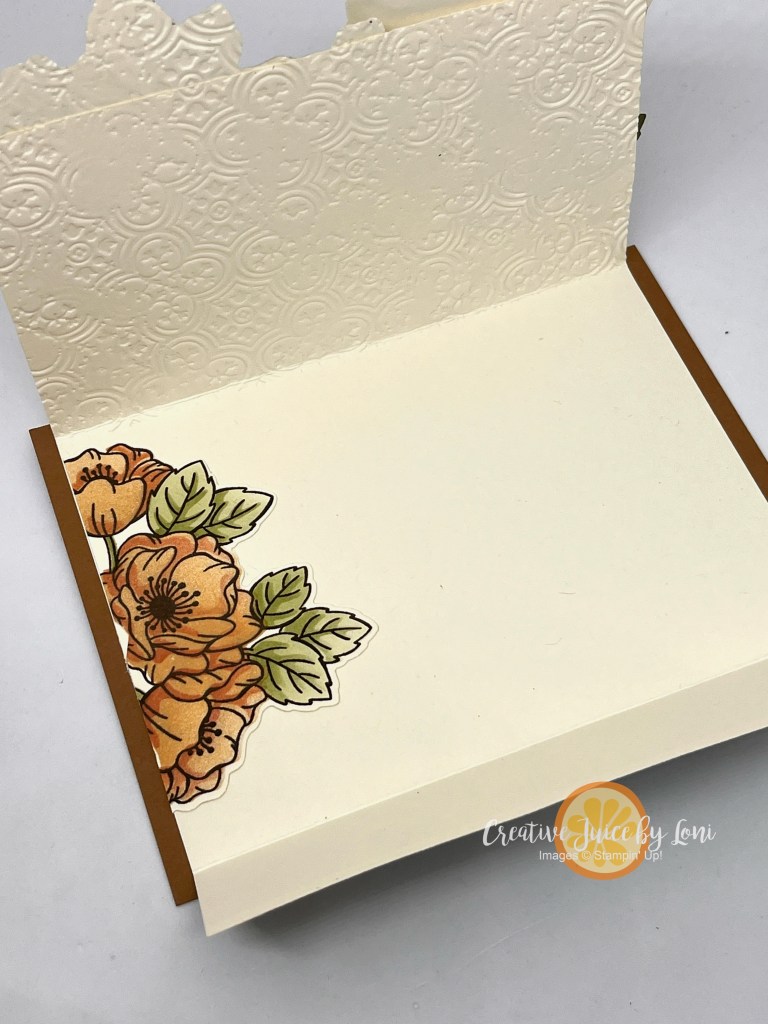
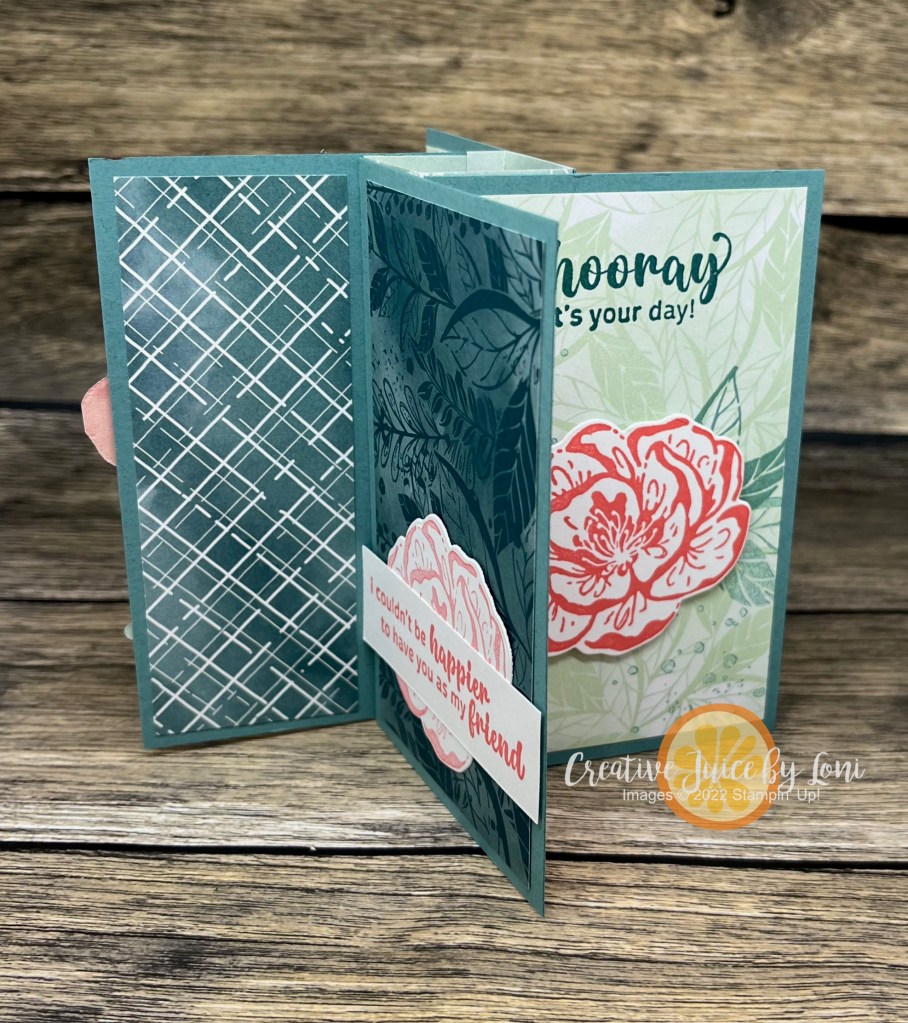
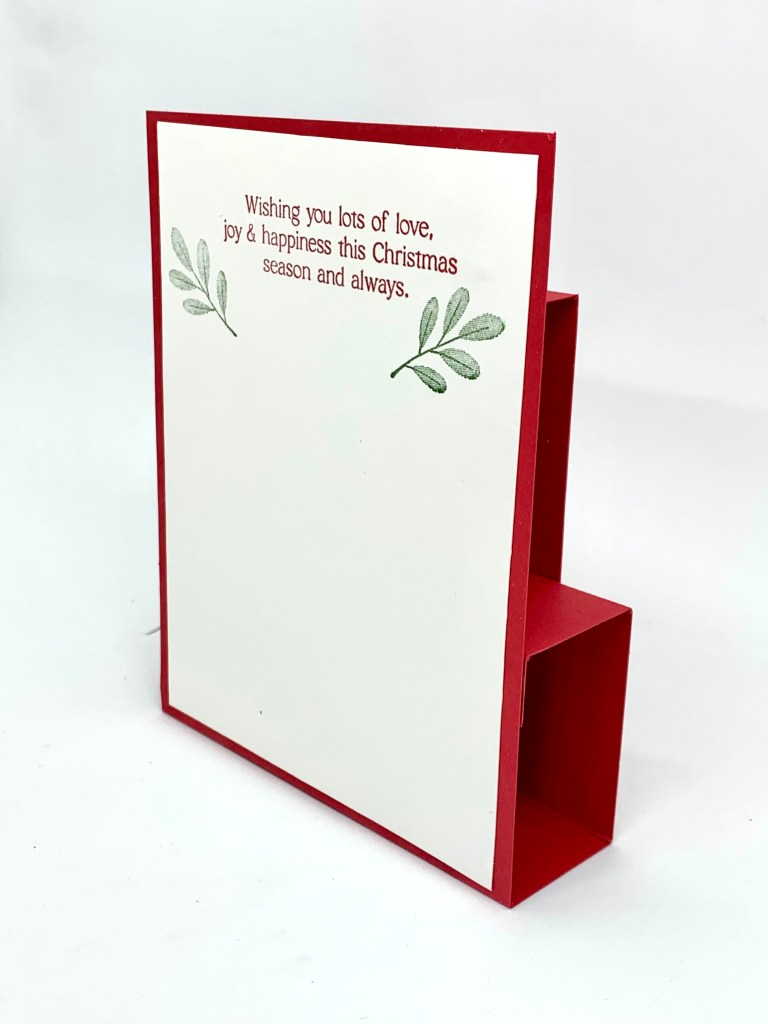
Peek inside the card:

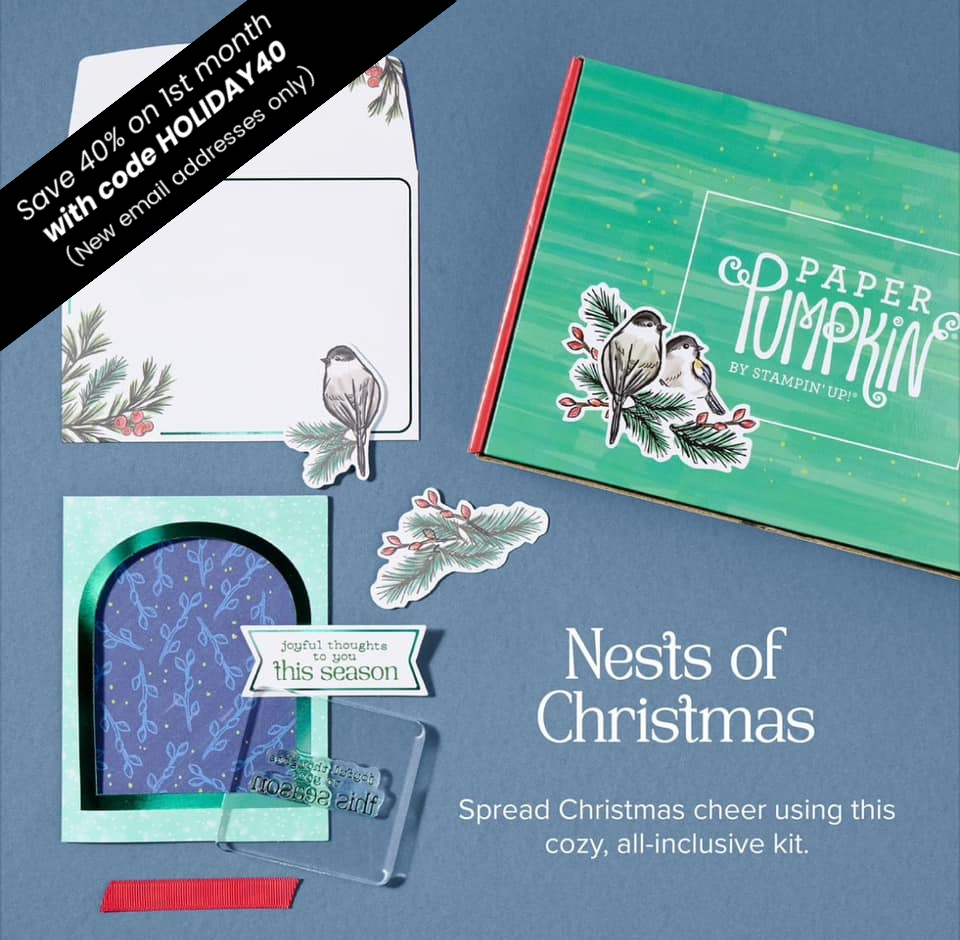
Winterly Tree Tops is a part of the larger Nests of Winter Suite and features the beautiful birds. You may be interested in the coordinating craft kit called Nests of Christmas that is part of our crafting subscription service (Paper Pumpkin). It’s only available if you subscribe by October 10th, and if you use promo code HOLIDAY40 as a first-time subscriber, you’ll get your first kit at 40% off!

Now that the card is finished and shared with you, I’m looking forward to a nap!

Product List

Pinwheel Tower Card

You are going to want to make this card, believe me!

Since most of our Designer Series Paper is discounted through June 30th, I’ll be demonstrating some projects to inspire you to pull out your patterned paper and use every last scrap. You can set an alarm for Mondays and join me live on my Facebook Page or YouTube Channel at 12:30 pm MT, or watch the replay at your convenience.

Without further adieu, here is the fabulous Pinwheel Tower Card I taught today:

It opens up to stand and displays 4 panels! This card is best created in landscape orientation, giving you plenty of area on each panel to decorate or write a message. The finished size of this card (laying flat) is 4.25″ x 5.5″, so it fits into our Basic Medium Stampin’ Up! envelopes perfectly.

You’ll be delighted at how EASY this fancy card is to create and if you want to craft along with my video below, gather these supplies:

  1. One 4-1/4″ x 4-1/4″ piece of Designer Series Paper
  2. Four pieces of 2-1/2″ x 4″ Designer Series Paper that coordinate (don’t have to be the same pattern, but from the same pack) with another four 1-1/2″ x 4″ pieces of Designer Series Paper.
  3. Four 2-3/4″ x 4-1/4″ panels of card stock that match one of the colors from your Designer Series Paper
  4. Simply Scored Board (or paper trimmer with scoring blade)
  5. Adhesive

Once you’ve made a Pinwheel Tower Card, you may want to make a larger version in a slimline card, which could also be a “mini album” if you add photos to some of the panels!

This version is 9″ x 4″ when flat, so it fits into a legal envelope (don’t forget to stamp your envelope, too).

For this larger version, here are the supplies you’ll need (and adjusted measurements):

  1. One 4″ x 4-1/4″ piece of Designer Series Paper (still score along the longest side at each inch)
  2. Four pieces of 3-3/4″ x 4-1/4″ Designer Series Paper (or cardstock) with another four 3-1/4″ x 3-3/4″ pieces of Designer Series Paper (or cardstock and scraps of Designer Series Paper, as shown)
  3. Four 4-1/2″ x 4″ panels of card stock that match one of the colors from your Designer Series Paper
  4. Simply Scored Board (or paper trimmer with scoring blade)
  5. Adhesive

I used the BRIGHT & BEAUTIFUL Designer Series Paper along with the Sweetest Cherries stamps and Cherry builder punch on the Slimline version, and will list the supplies for the Hello, Irresistible original card below.

REMEMBER THE PAPER IS ON SALE THROUGH JUNE 30, 2023 – SAVE 15%!

Product List

A Thank-You Faux Step Card

Have you explored the Online Exclusive products in my Stampin’ Up! Store? One of the ones I’ve been loving is the Hello, Irresistible Suite and this Faux Step Card is a snap to put together using the products in the suite!

This is a Portrait (tall) version of the Rain or Shine card I created a few months ago (watch the tutorial HERE) and the card base measurements are:

  • Card Base is 11″ x 4.25″ (scored at 2″, 4″ and 7.5″)
  • Designer Series Paper: 4″ x 1.75″ (Pretty Peacock lattice piece) and 4″ x 3.25″ (leaves).
  • Tall panel is 2.25″ x 11″, scored at 5.5″
  • Designer Series Paper is 2″ x 5.25″ (Flirty Flamingo pink piece)

Emboss the greeting in white embossing powder on Basic Black card stock and fussy cut for the front. I did use the now-retired white seam binding ribbon around the bottom step panel, but you can substitute any that you have in your collection.

The coordinating dies cut the flowers from both the stamp set AND the Designer Series Paper, as I’ve done here, and then I embellished with a few of the Frosted Dots (also in the suite) using mini glue dots to adhere to the center of the flowers, or scattered across the front.

Once you make this card, you’ll want to make many more just like it, so cut your paper accordingly! Shop the supplies here:

Product List

Valentines Day on Taco Tuesday

An opportunity such as this won’t happen again for 12 more years- the next time Valentine’s day is on a Taco Tuesday isn’t until 2034!

Our family has a classic comfort meal…and yes, it’s TACOS. We’ve eaten tacos for Thanksgiving and Christmas Eve. It’s time to bring them to the day of LOVE & affection. Luckily, my husband shares our obsession, because this card will be for him:

This Double-Z fold card was fun to make at Stamp Club last night, too! The crafters didn’t even complain about fussy cutting or “stuffing” the taco with lettuce, cheese and tomatoes:

A scalloped circle die, a standard hole punch and a few scraps of paper make it easy to create the taco toppings: Scrunch up a few scalloped wedges of Granny Apple Green card stock and glue it behind the taco, then stuff in the other pieces with a dot of liquid glue.

A sheet of craft foam with an adhesive sheet adhered to the back can be cut out on the Cut & Emboss Machine and adhered to the front to give it a chunky texture!

If you haven’t made this type of card before, here are the measurements for this one:

  • Card base: 4-1/4″ x 11″, scored at 2-3/4″ and 5-1/2″
  • Smaller Z-Fold: 2-3/4′ x 10″, scored at 4-1/2″ and 7-1/4″
  • Designer Series Paper: 4″ x 2-1/2″ and 4″ x 5-1/4″
  • I added a piece of 3″ x 3″ Basic Black card stock

Want to create your own version? Here are the supplies I used for my Spec-Taco-Lar Valentine:

Product List

Rain or Shine- a Fancy Fun-Fold Card

Faux (pronounced FO) means “an imitation” and in my own way of thinking, it also means “a better idea than the original”. This is certainly true of this unique card fold, because this “fake” version is so much easier than the one with a lot of tricky cuts and scores!

While I used the Rain or Shine suite for my card, I look forward to seeing how YOU use this easy tutorial:

Did you catch that the February Paper Pumpkin craft-kit-in-the-mail “Sunshine & Smiles” coordinates with the “Rain or Shine” Suite that is full of the cutest critters? Make sure you are subscribed by February 10th for this kit that will create 9 radiant cards with a peek-through component!

PLUS, there is a coordinating add-on die duo you can pre-order for the February Paper Pumpkin kit…while supplies last:

Product List

Framed Pop-Up Shadow Box Card

When you want to mail something a bit fancier than a regular birthday card, try this very versatile design: It folds flat to fit into an envelope, but pops open to stand up and the frame makes it feel like a piece of art:

It’s simple to create and I made the video to help you step-by-step:

Just push in the folded sides to slide it into an envelope:

While the Framed Florets bundle (stamps and dies) are also in the Stampin’ Up! 2023 January-April Mini Catalog which goes live for customers on January 5th, THE BEAUTIFUL Designer Series Paper is a preview exclusive only through January 4th, so DON’T MISS IT.

Product List

Glad you stopped by…Hope you are in your stamping studio EVERY DAY of 2023!

Fitting Florets & Christmas Card Class

Starting TODAY, the Fitting Florets Collection (a pre-release from Stampin’ Up!’s 2023 January-June Mini Catalog) is ready to add to cart – with some of the limited time products only available while supplies last! The BUNDLE will be available through June 2023, but you’ll want to get the whole collection ASAP to use through the holiday season.

Let me show you two versions of a simple “fancy fold” card using some of these pretty products from my live crafting video “sneak peek” yesterday!

To make this fold, you need a piece of 8.5″ x 5.5″ card stock and score at 3″ and 7.25″ along the longer side with the Simple Scored board (or your paper trimmer and scoring blade). Layer on a piece of 5.25″ x 2.75″ Fitting Florets Designer Series Paper (available only while supplies last) on the front left side of card and a 1″ x 5.25″ piece on the front right flap.

The Framed & Festive stamp set could be combined with ANY Christmas paper, stamps and accessories and the font makes is playful and perfect.

One way to play with this new collection will be to attend the Christmas Card Class THIS SATURDAY, November 5th at 3 pm in Hurricane, Utah:

You’ll create 8 gorgeous greeting cards for the holiday (2 each of 4 different designs, including envelopes) for just $20, and one of the cards is designed with the Fitting Florets collection. Remember to bring scissors and adhesive, but if you forget or need more, we’ll have both scissors & adhesive + refills available for purchase at the class.

Reserve your spot by November 2nd by clicking the button below, or send Venmo to Loni-Spendlove

Sweet Candy Cane Stand-Up Step Card

Here’s a taste of Christmas Cheer in greeting-card form, and while it stands up to display, it folds FLAT to mail!

Crafters at the Kane County Crafter’s Convention also made this card using the Sweet Candy Cane suite last weekend. It’s one of my favorite fancy folds, and it’s easier to make than you would imagine! Here’s how:

For the card base, you’ll need:

  • 10.5″ x 4.25″ Real Red card stock, scored at 1/2″, 1.75″, 3.75″ and 5″
  • 5.5″ x 3″ Real Red card stock, scored at 1/2″ and 1.75″
  • 4″ x 5.25″ Pool Party card stock: Die cut stripe background from the center of this piece
  • 4″ x 1.75″ piece of Sweetest Christmas Designer Series Paper
  • 3.5″ x 2.75″ Pool Party card stock (optional: emboss with Wintry 3D embossing folder)
  • 5.5″ x 4.25″ Basic White: Stamp candy canes, leaves and sentiment, cut out with coordinating dies
  • 4″ x 5.25″ Basic White for back of card, where you can write a message when sending

A quick video on how to assemble:

Product List
Sweet Candy Canes Bundle (English)
$51.25
Sweetest Christmas 12" X 12" (30.5 X 30.5 Cm) Designer Series Paper
$12.00
Real Red 8-1/2" X 11" Cardstock
$9.25
Pool Party 8-1/2" X 11" Cardstock
$9.25
Real Red Classic Stampin' Pad
$8.00
Garden Green Classic Stampin' Pad
$8.00
Pool Party 3/8" (1 Cm) Sheer Ribbon
$6.00
Stampin' Cut & Emboss Machine
$125.00
Simply Scored
$30.00
Tear & Tape Adhesive
$7.00
Multipurpose Liquid Glue
$4.00
Stampin' Dimensionals
$4.25
Wintry 3 D Embossing Folders
$10.00

“Witching” You a Happy WCMD!

Today, card makers all over the world are observing World Card Making Day by making – and mailing – handmade greeting cards! YOU are welcome to create along with Stampin’ Up! from 2-5 pm MT virtually HERE!

Maybe you’ll want to break out of the traditional card style and try something new, like a fancy fold! This little lady “witches” you a fun day…it’s in the cards!

Once you slide the belly band off, here’s how it opens:

This type of card suits almost every stamp set and Designer Series Paper combo! Give it a try.

Just a reminder: Tomorrow (10/2/22) is the last day to register for the Utah County Fall StampFest on Saturday, October 8th! Click to get your ticket:

New at SU! Designer Series Paper

We’re back with project ideas from around the globe to help you use your favorite Designer Series Paper! And what perfect timing, as many of our pretty patterned papers are ON SALE this month (July 2021) for 15% off:

While the Expressions in Ink paper is a SPECIALTY paper (and not on sale), I wanted you to see how gorgeous it is with the gold veins running through the watercolor images, so take a look:

This is a fancy fold that shows off BOTH sides of your DSP and you can use as a card (portrait) OR a pocket card (landscape).

To make the card, begin with a 5-1/4″ x 11-3/4″ piece of Designer Series Paper and score it along the long side at 1-3/4″, 4-3/4″ and 7-3/4″. Next, accordion fold it so that you have the piece you want on top, then adhere the back of the largest panel to a 4-1/4″ x 5-1/2″ piece of card stock for a sturdy matte around your paper.

Here is the card open. I did tie the ribbon around the smallest panel and adhere it down so the ribbon won’t slide off, but you can leave the front flap free, if you’d like.

The Expressions in Ink Designer Series Paper also coordinates with the 2021-2023 In-Colors, so you can mix and match the designs and colors!

For this version, the measurements are the same, but I tied the ribbon all the way around all the layers of DSP before attaching it to the card stock matte, creating two “pockets” where you can slide the card you’ll write in in the top pocket and a gift card into the shorter pocket.

The photos really don’t do the sparkle justice, but I hope you get the feel for what you could create with it! I’ll list the supplies used at the bottom of this post.

Now it’s time to hop over to Linda’s blog to see what she’s created with the Hand-Penned paper~

Product List
Expressions In Ink 12" X 12" (30.5 X 30.5 Cm) Specialty Designer Series Paper
$15.00
Basic White 8 1/2" X 11" Cardstock
$9.75
Fresh Freesia 8 1/2" X 11" Cardstock
$8.75
Fresh Freesia 3/8" (1 Cm) Open Weave Ribbon
$7.00
Polished Pink 8 1/2" X 11" Cardstock
$8.75
Polished Pink 3/8" (1 Cm) Open Weave Ribbon
$7.00
Pale Papaya 8 1/2" X 11" Cardstock
$8.75
Pale Papaya 3/8" (1 Cm) Open Weave Ribbon
$7.00
Label Me Fancy Punch
$18.00
Dressed To Impress Photopolymer Stamp Set (English)
$18.00
Biggest Wish Photopolymer Stamp Set (English)
$17.00
Tuxedo Black Memento Ink Pad
$6.00
Versamark Pad
$9.50
Heat Tool (Us And Canada)
$30.00
Heat & Stick Powder
$6.00
Gilded Leafing Embellishment
$9.00

July 2021 New at SU!: Designer Series Paper

Tricia’s Stamping Creations: Tidings of Christmas DSP

Stamping the Cape: In Good Taste DSP

De Kijkkast: Hand-Penned DSP

Creative Juice by Loni: Expressions in Ink Specialty DSP << YOU ARE HERE!

Moore Fun Stamping: Hand-Penned DSP

The Flying Stamper: Bloom Where You’re Planted DSP

Gifted Hands, Ink!: Simply Elegant Specialty DSP

Joni in the Spotlight Stamping: Expressions in Ink Specialty DSP

Stamping Flair: Sweet Symmetry DSP

Mamie & Papyrus: You’re a Peach DSP

Playing with Papercrafting: Hand-Penned DSP

Scraphexe: In Color DSP

Stamping with the Copper Cropper: Bloom Where You’re Planted DSP

24/7 Inkspiration: Bloom Where You’re Planted DSP