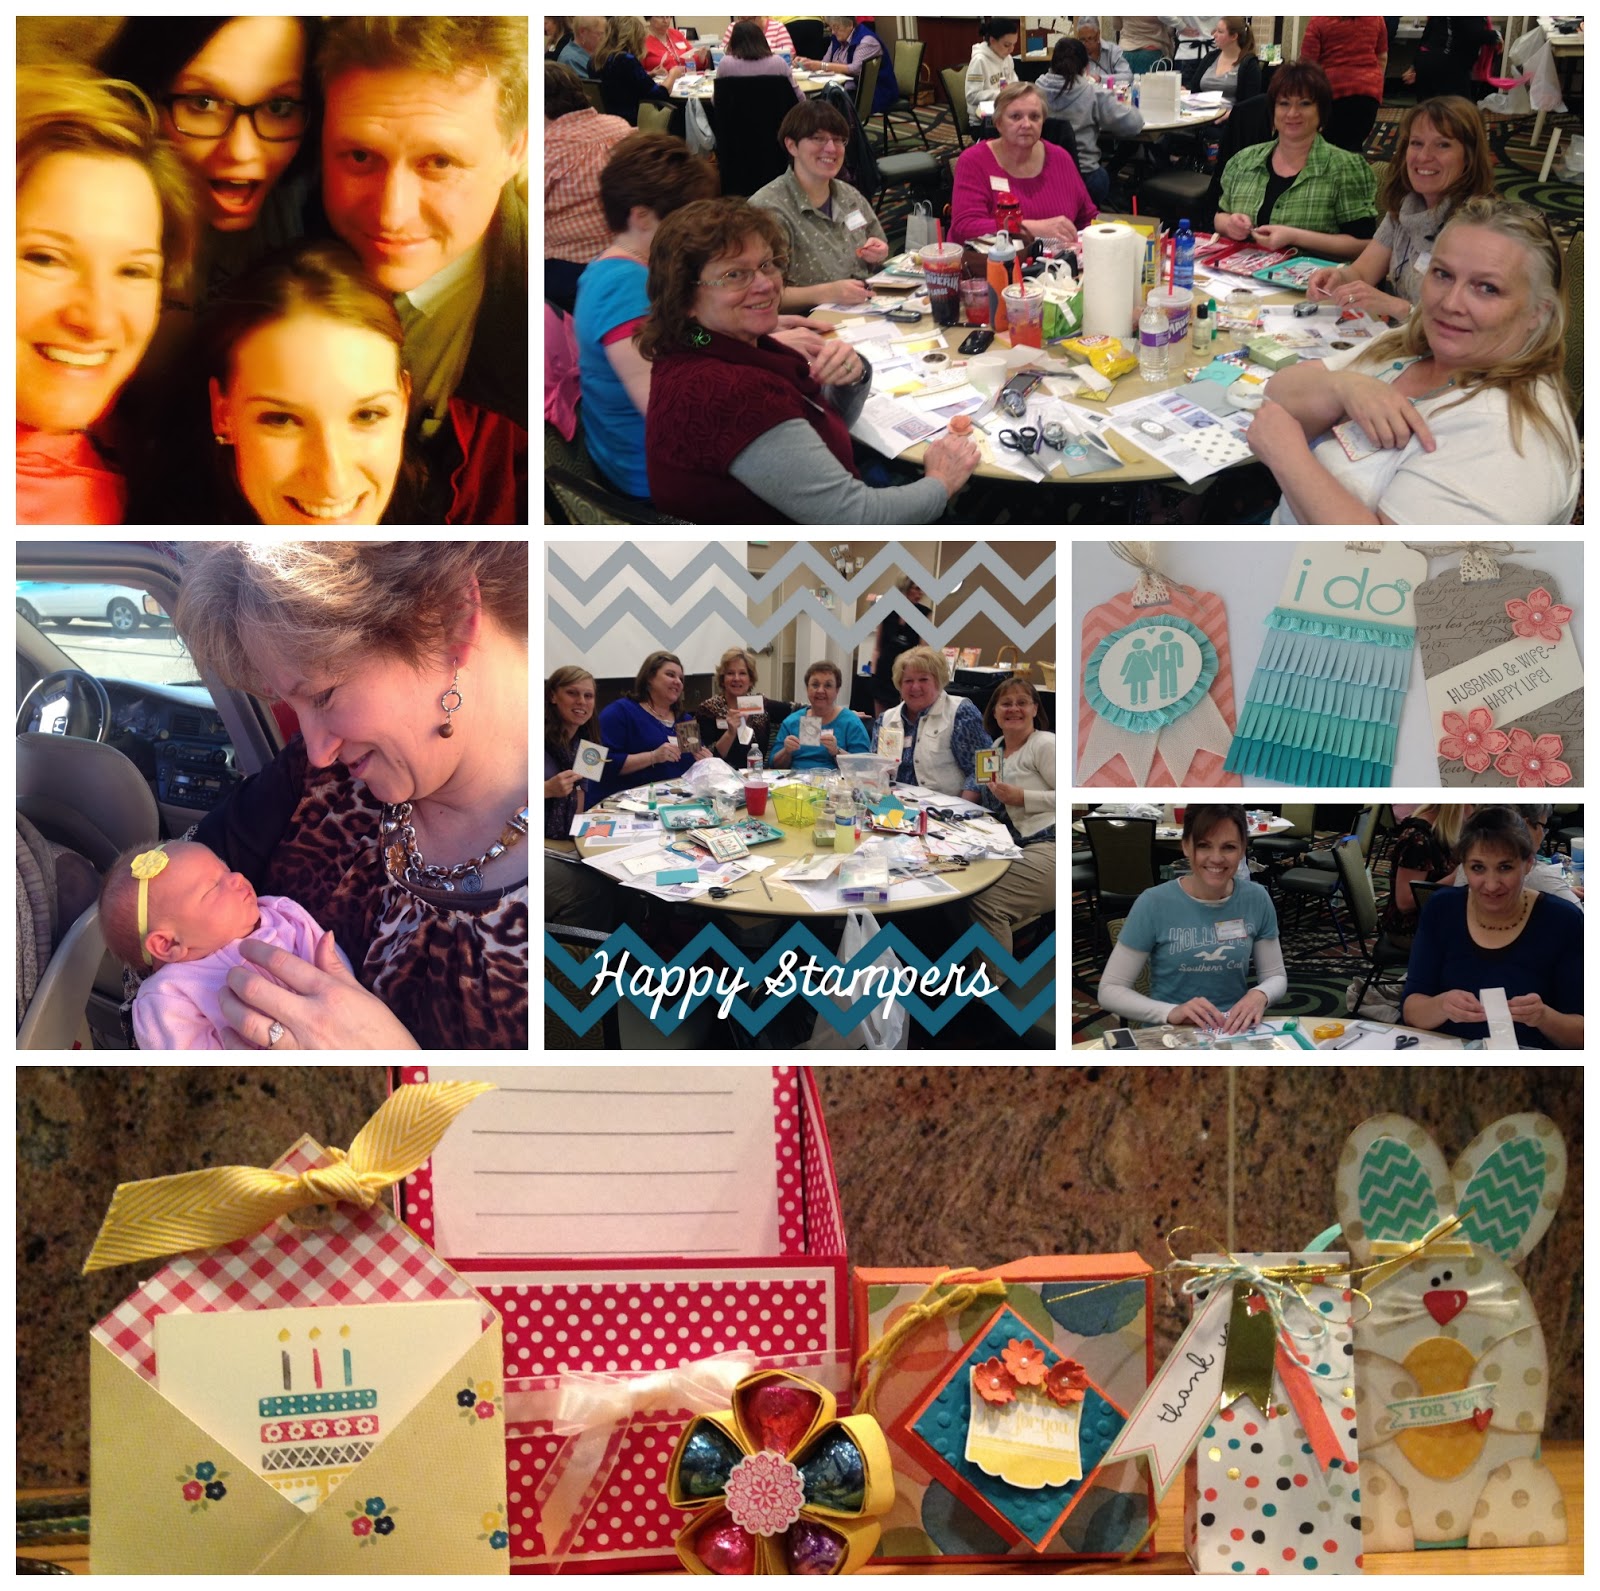
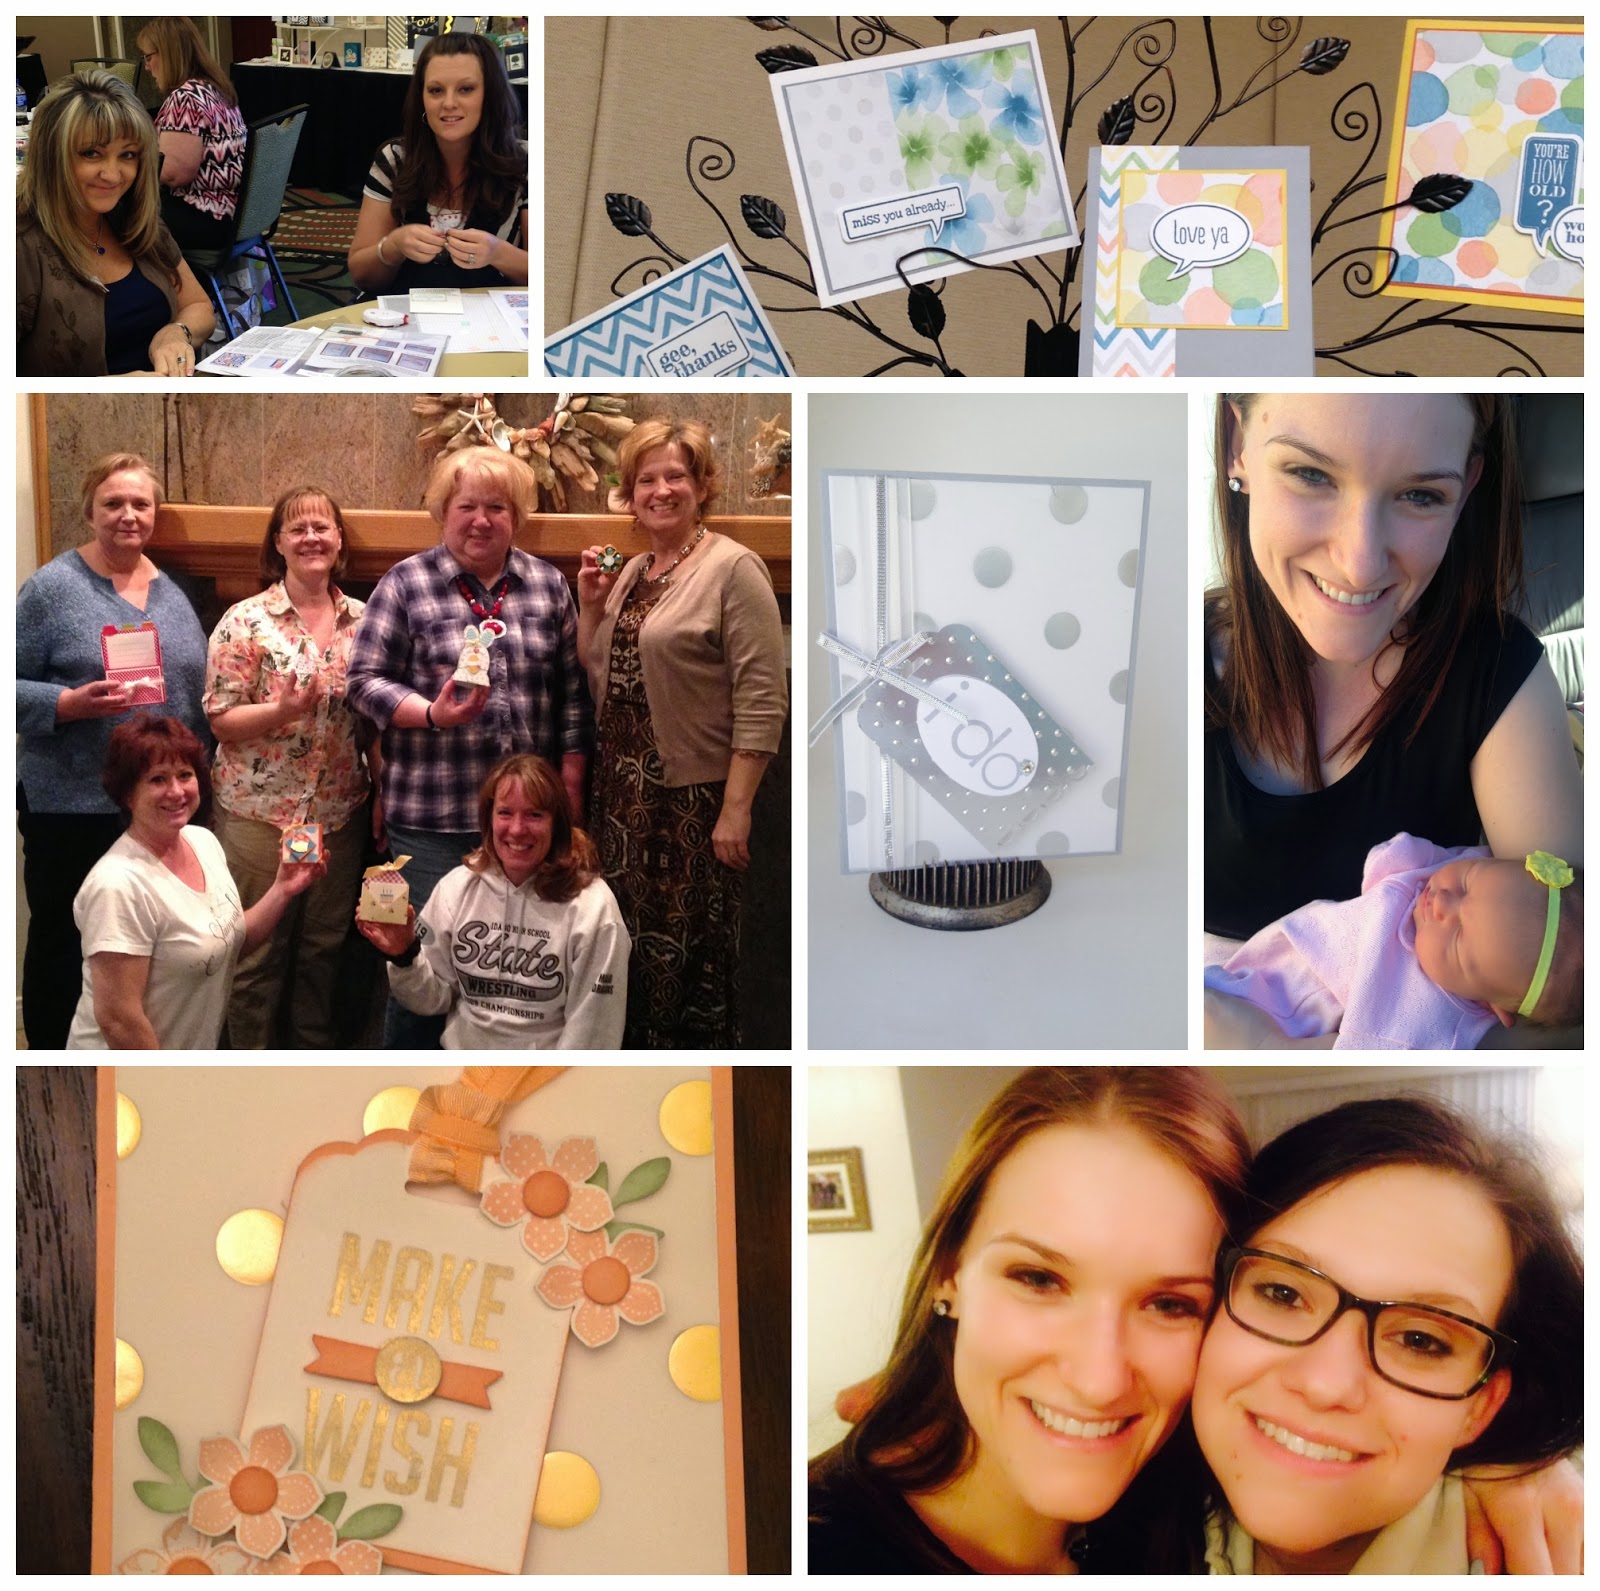
Sometimes life comes at you all at once! That happened to me last week: A death, a birth, a visit from my daughter, a trip to southern Utah, a card class, a shoebox swap, a stamp day, a funeral, an emergency family council and a red-eye flight to send my girl back to D.C. on the same night as Daylight Savings, followed by early morning church!
I should have snapped a pic at the funeral, but didn’t think of that 😦
All in all, it was a great adventure and one I won’t soon forget!
I’ve learned to stop saying, “When life slows down, I will _______” because life isn’t about to slow down anytime soon! Instead, I make time for the things that are important to me, including creativity. If you need a creative escape this weekend, come on over to my Stamp-a-Stack card class!
Create 8 lovely greeting cards for $15! Bring scissors & adhesive (SNAIL refills will be available to purchase). Crafting is more fun with a friend and first-timers can attend for 1/2 price, so invite your neighbor, mother and BFF!
Reserve your spot by Thursday, March 13th:
And FYI, click below to check out the newest deals, stamps and downloads:
Get the party started! Begin with some printed invitations, choose a color and some embellishments, and you've got yourself a party! Make a banner, place cards, gift bags...the pieces are printed, die cut, and ready for you to personalize. It's simple, fast, and still totally YOU. Watch it all come together here:
You have lots of reasons to celebrate now you have seen how easy it is to put your party décor and invitations together.
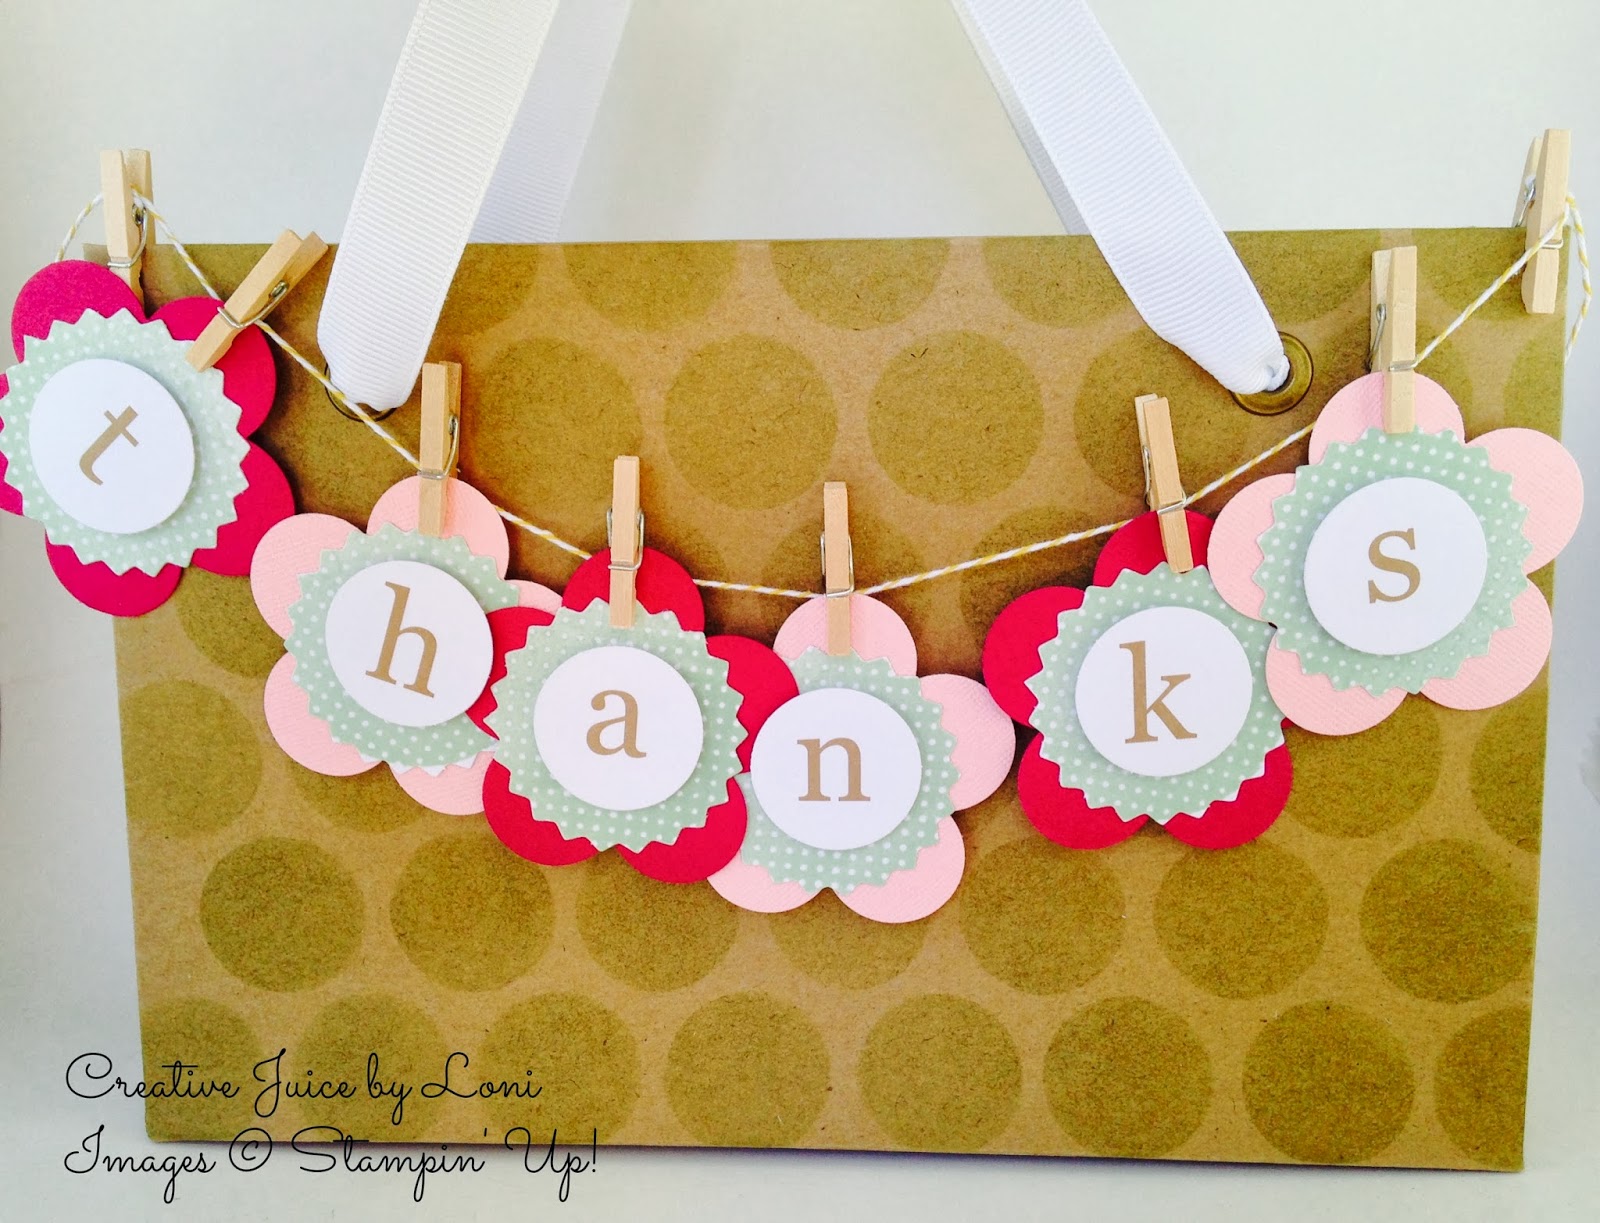
I was pretty excited about the February Paper Pumpkin kit! Since I needed a bag for a thank you gift, I pulled it out and played with it today.
As I was assembling the letters to say “THANKS”, I realized that the piece of paper they came on was a perfect polka dot template:
You do need to flip it around to get each corner, but it worked perfectly with a little sponging. I guess you could use the Pistachio Pudding ink spot that came with the kit to do this, too, but I didn’t think of it until afterward.
Since it was a flower-themed gift, I just punched out a few flowers with the Fancy Flower punch (item #118073) for the letters and everything else was in the kit!
The lighting seems a little weird today, so apologies for that, but I think you get the idea 🙂
Here’s a look at the February Kit (unless you just signed up for Paper Pumpkin, in which case you received the Welcome Kit):
Thanks for choosing Loni Spendlove as your demonstrator when you sign up for Paper Pumpkin! And FYI: signing up before March 31, 2014 means you get a set of markers FREE in your Welcome Kit…
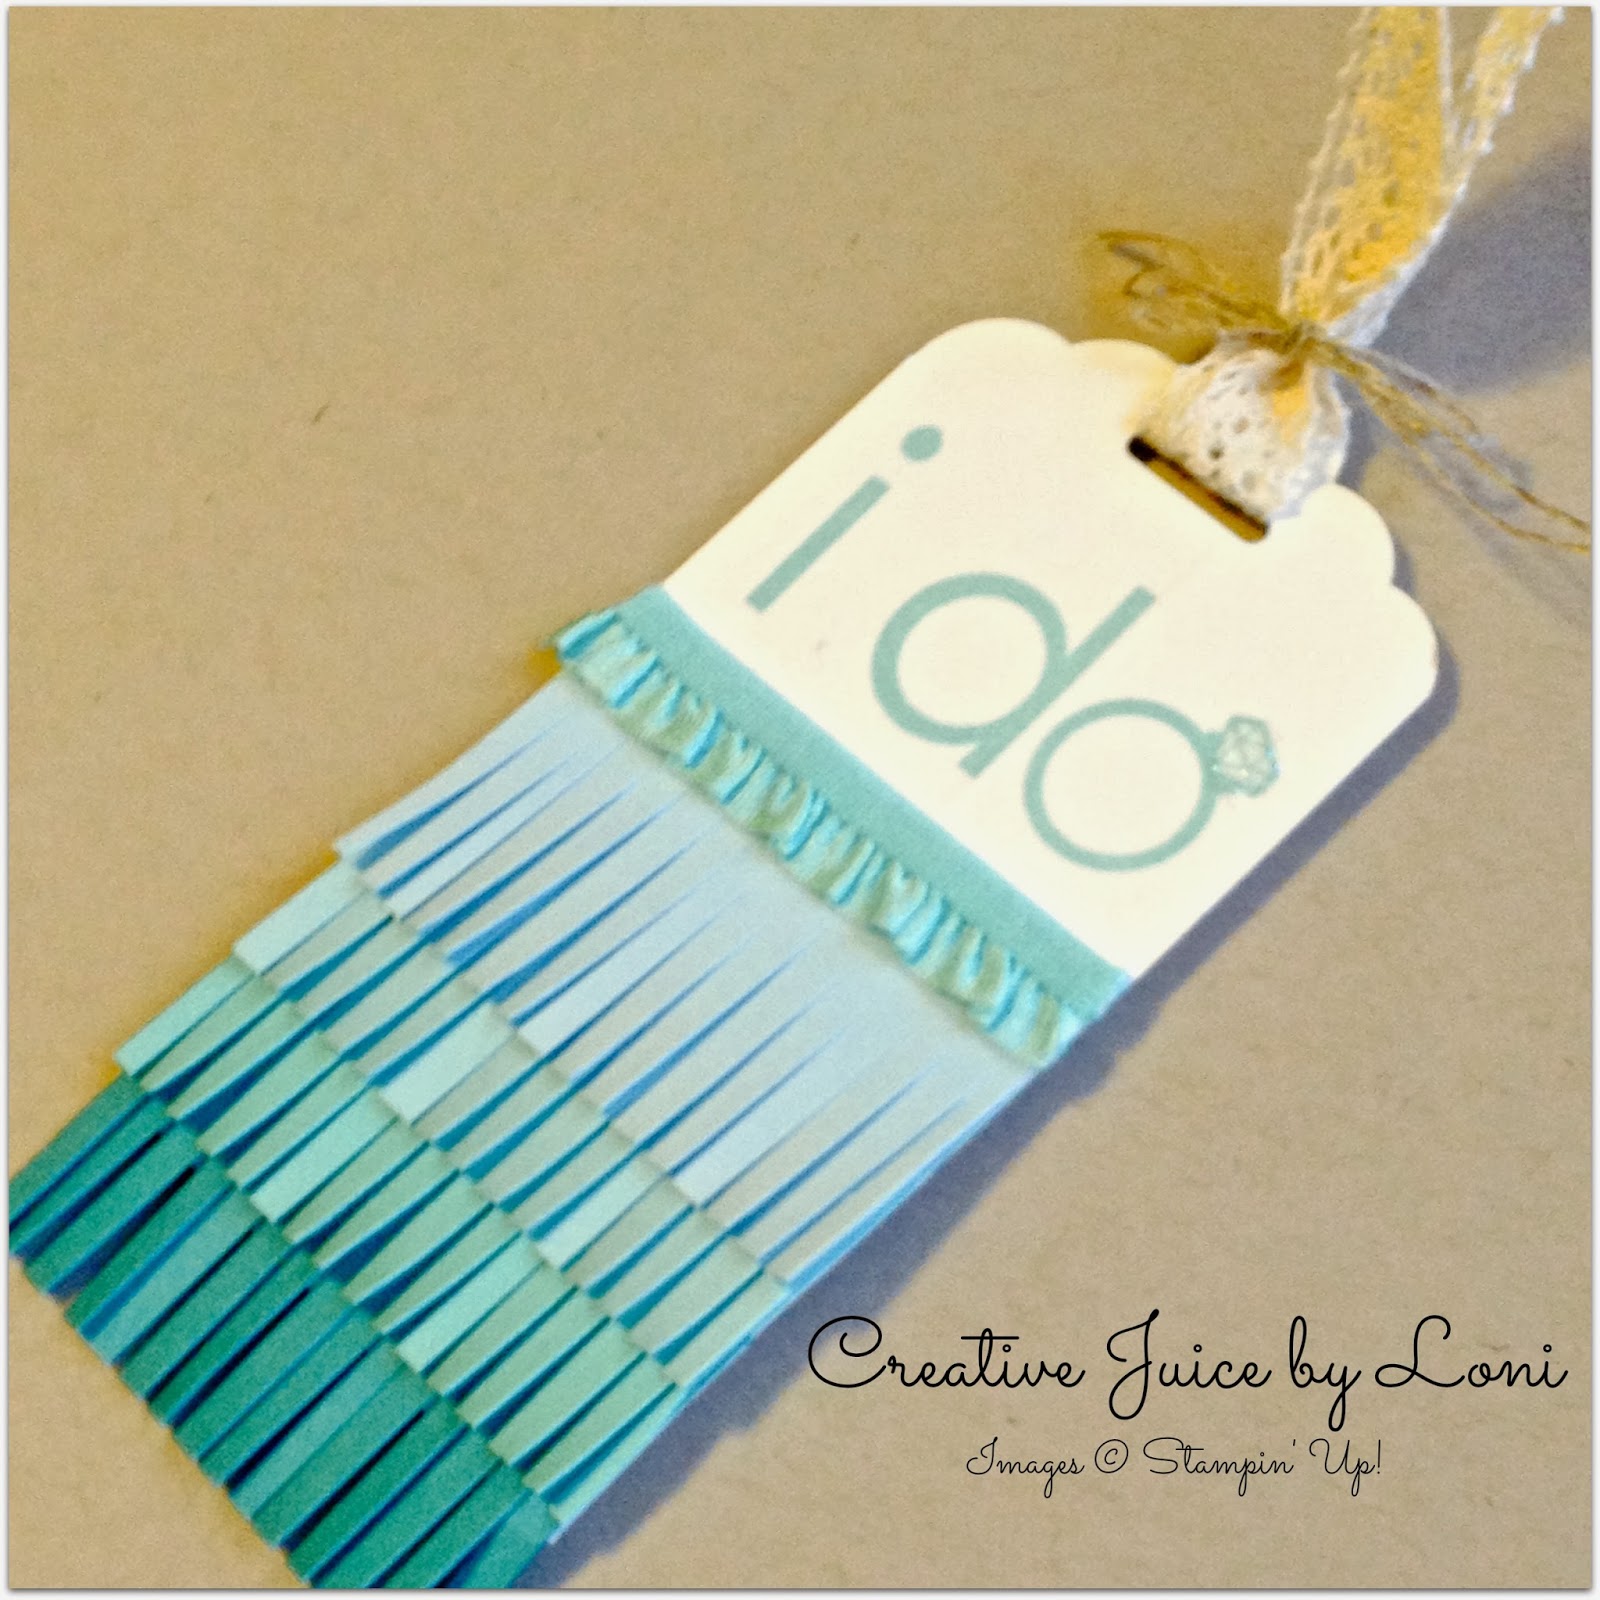
Quickly becoming the most essential tool in my "crafting kitchen" the new tag topper punches are one of my favorite products in the Occasions catalog! Most tag punches punch out the entire tag, so you're limited to one size, but these just punch out the top of a tag so you can choose how long you want your tag to be! It also punches out the hole for a tassel or thread AT THE SAME TIME: It's like TWO punches in one 🙂 Try either the scalloped (#133323) or angled (#133324) tag topper. Can't choose? Get both!
Thanks for watching today. Makes creating bookmarks, tags, and bag toppers quick and easy…
Every living room, every work cubicle, every nursery, every school locker and every holiday needs a banner! It's as simple as this: choose your paper and ink, then stamp and cut using the Big Shot machine. Framelits dies make precision placement a snap, and you'll get perfectly cut shapes every time.


Wood mount bundle #134815 (also available in clear-mount $143816)
------------------- SUPPLIES -----------------


 Save 15% when you purchase the Perfect Pennants Stamp Set and coordinating Banners Framelits Dies together in the bundle 🙂 Then start making every day a BANNER DAY!
Paper flowers are beautiful but cutting them by hand is tedious, especially if you’re making a bunch. Now you can cut a flower in seconds with the Spiral Flower Originals Die (#129379) and the Big Shot. And you can cut multiple sheets at one time or use different materials. Once the flowers are cut, just roll and adhere. Make one, make a ton—either way, you’ll be done in no time!
As you can see the Spiral Flower die is a fun addition to your Big Shot collection! What will YOU create with paper flowers?
Welcome to another edition of “5 Ways on Fridays” where you will learn unique and different ways to use a Stampin’ Up! product!
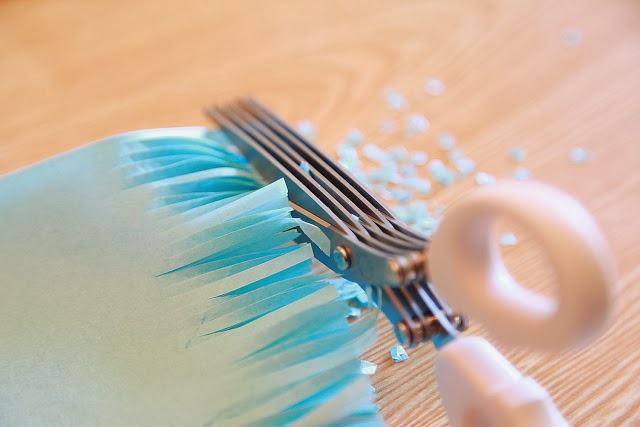
Today we are talking about Fringe Scissors Certain projects are easier when you have the right tools and this is one of those tools: Every time you squeeze the handles of your fringe scissors together, you are cutting not once, not twice, but FIVE TIMES! Talk about conserving energy 🙂
“What can I do with them besides making grass?” you may be asking yourself. You’ve come to the right place!
1. Fringe scissors make Ombre Fringe cards and tags in a jiffy! For this tag, I used Soft Sky, Pool Party, Coastal Cabana and Island Indigo card stock, along with the new Tag Topper punch:
While you are “fringing”, check out this adorable Fringe Chandeliermade by Lauren Elise for the Knotty Bride:
2. Create a crepe paper garland! This tutorial from Yesterday on Tuesday shows a few different styles and hello! This is super fast with your fringe scissors:
3.Flowers or “pom poms” are adorable accents to any project.
Lisa Brown from inkandinspirations shows you how fun and easy these are to make using Stampin’ Up! Crepe Filter Paper:
Thanks Lisa!
4. If you cut across your fringe the opposite way, you end up with CONFETTI!
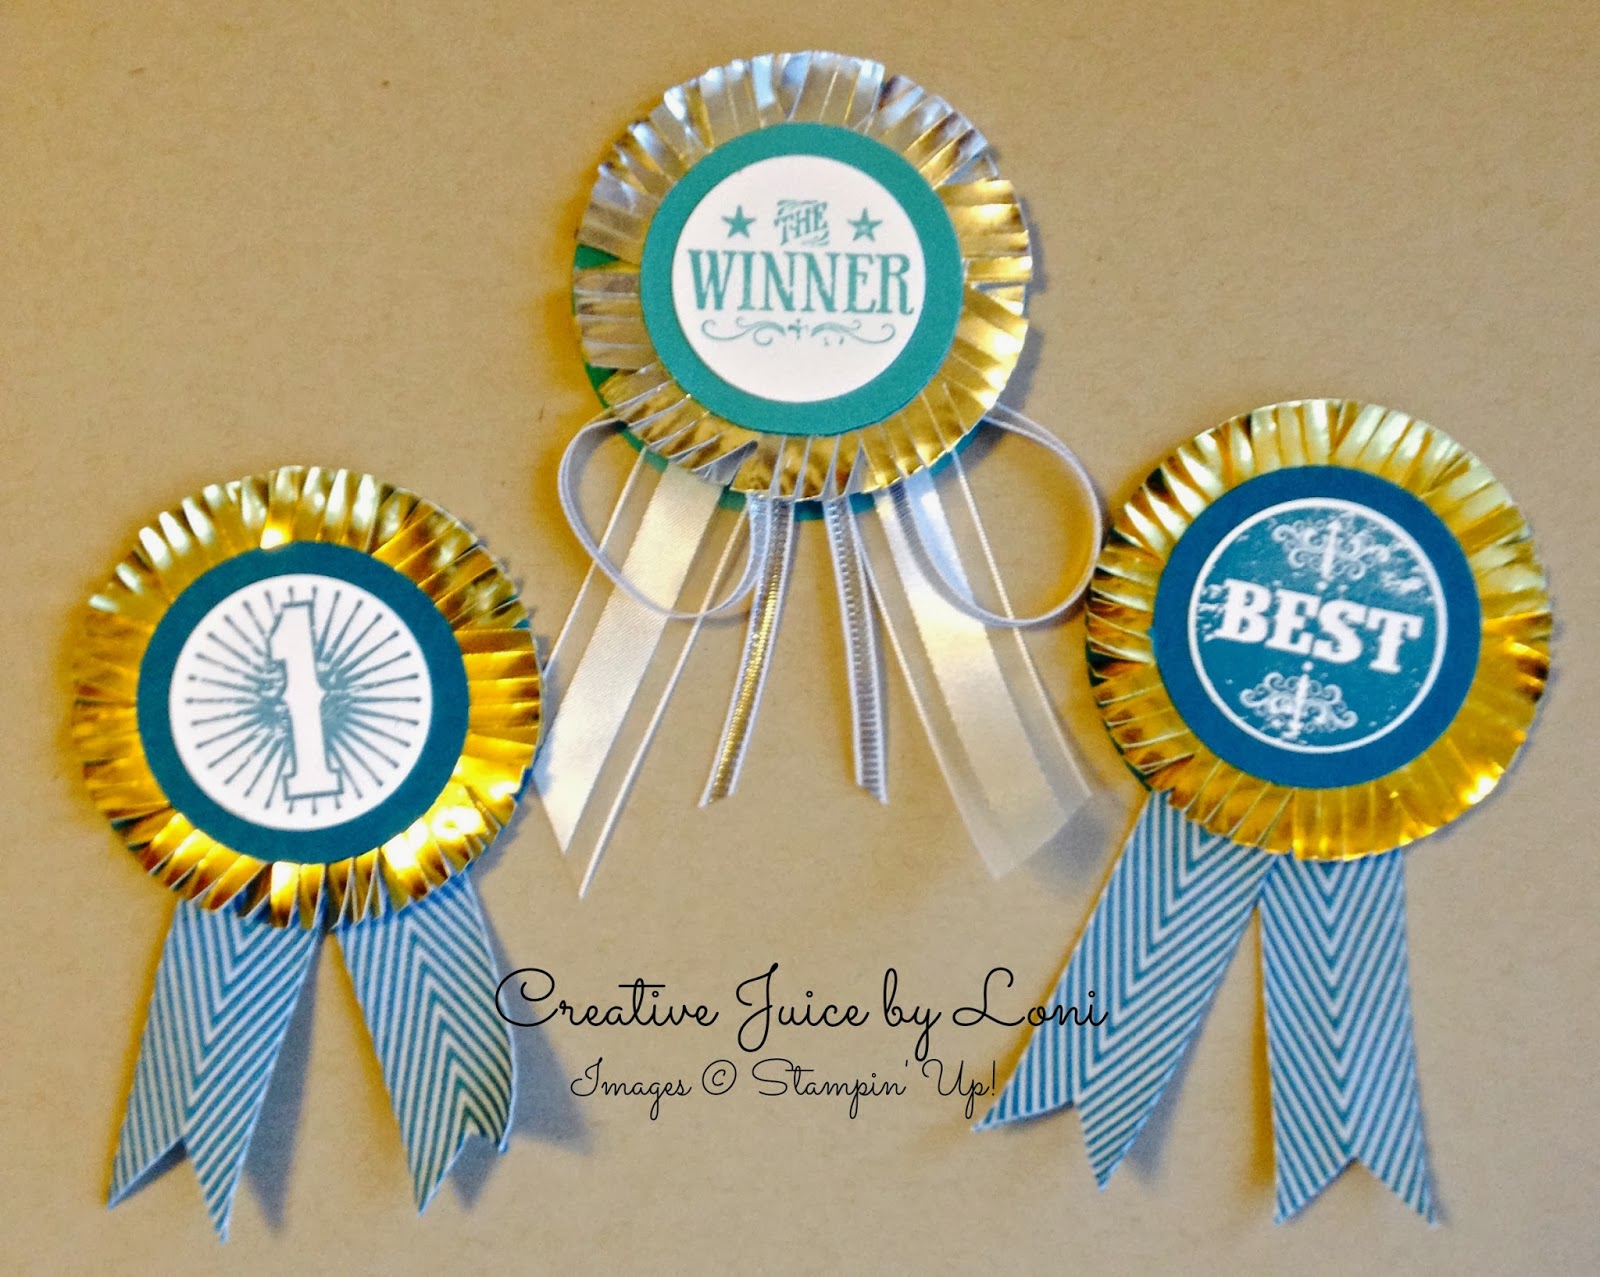
At Stampin’ Up! Leadership last month, Shelli demonstrated how to create a shaker card using the confetti made with fringe scissors: Cut the corner of a clear envelope to the size you need (in this case, just a smidge taller than the photo frame die cut). Stamp image on top of clear envelope with Stazon, then seal the confetti in with a thin strip of sticky strip. Place behind the die cut and voila! Shake away!
5. A strip of fringe from Designer Series Paper or crepe paper is easy to adhere around a curved object like a basket or hat brim:
For these medallions, I just punched two circles and cut in from the edge. I used two because when you cut into the circle, some of the pieces fall off and it’s not perfectly round, so layering them gives the illusion they are still circles 🙂
At just $9.95, these scissors are an awesome addition to your crafting toolbox! Order your Fringe Scissors in my Stampin’ Up! store today and start living on the edge 🙂
After creating a few Valentine Samplers with my Stampin’ Family and stamp clubs, I had a few of these squares left over:
Since I couldn’t let them go to waste (quilters and scrapbookers, you know what I mean, right?) I had to repurpose them and use them somehow. So I created some simple Valentines for my kids:
Small Essentials Wooden Elements accents (#132258)can make a big impact on your craft projects. They're small, fun, and customizable—stamp on them, ink them, spritz them. Looking for just the right words? Prove your hipness with words from the coordinating Hip Notes Stamp Set. They're sized just right to fit on the Essentials Wooden Elements.
The Hip Notes stamp set is also available in clear-mount (#133504)
Thanks for watching. Now you're hip, you're cool, and you've got the 4-1-1.