I love using my stampin’ supplies to create home decor and this fall candle wrap makes me feel warm and positively glowing with gratitude for things like batteries, pumpkin chocolate chip cookies and spectacularly colored autumn leaves!
To get the tutorial for this project, click on the picture for a .pdf to print. And if you need the supplies listed, you can order them in my online store here.
Since this is a battery-powered candle (and won’t melt down) you can create a wrap for different seasons and enjoy the glow all year round!
P.S. The candles are on sale at Costco right now 🙂
Welcome to another edition of “5 Ways on Fridays” where you will learn unique and different ways to use a Stampin’ Up! product!
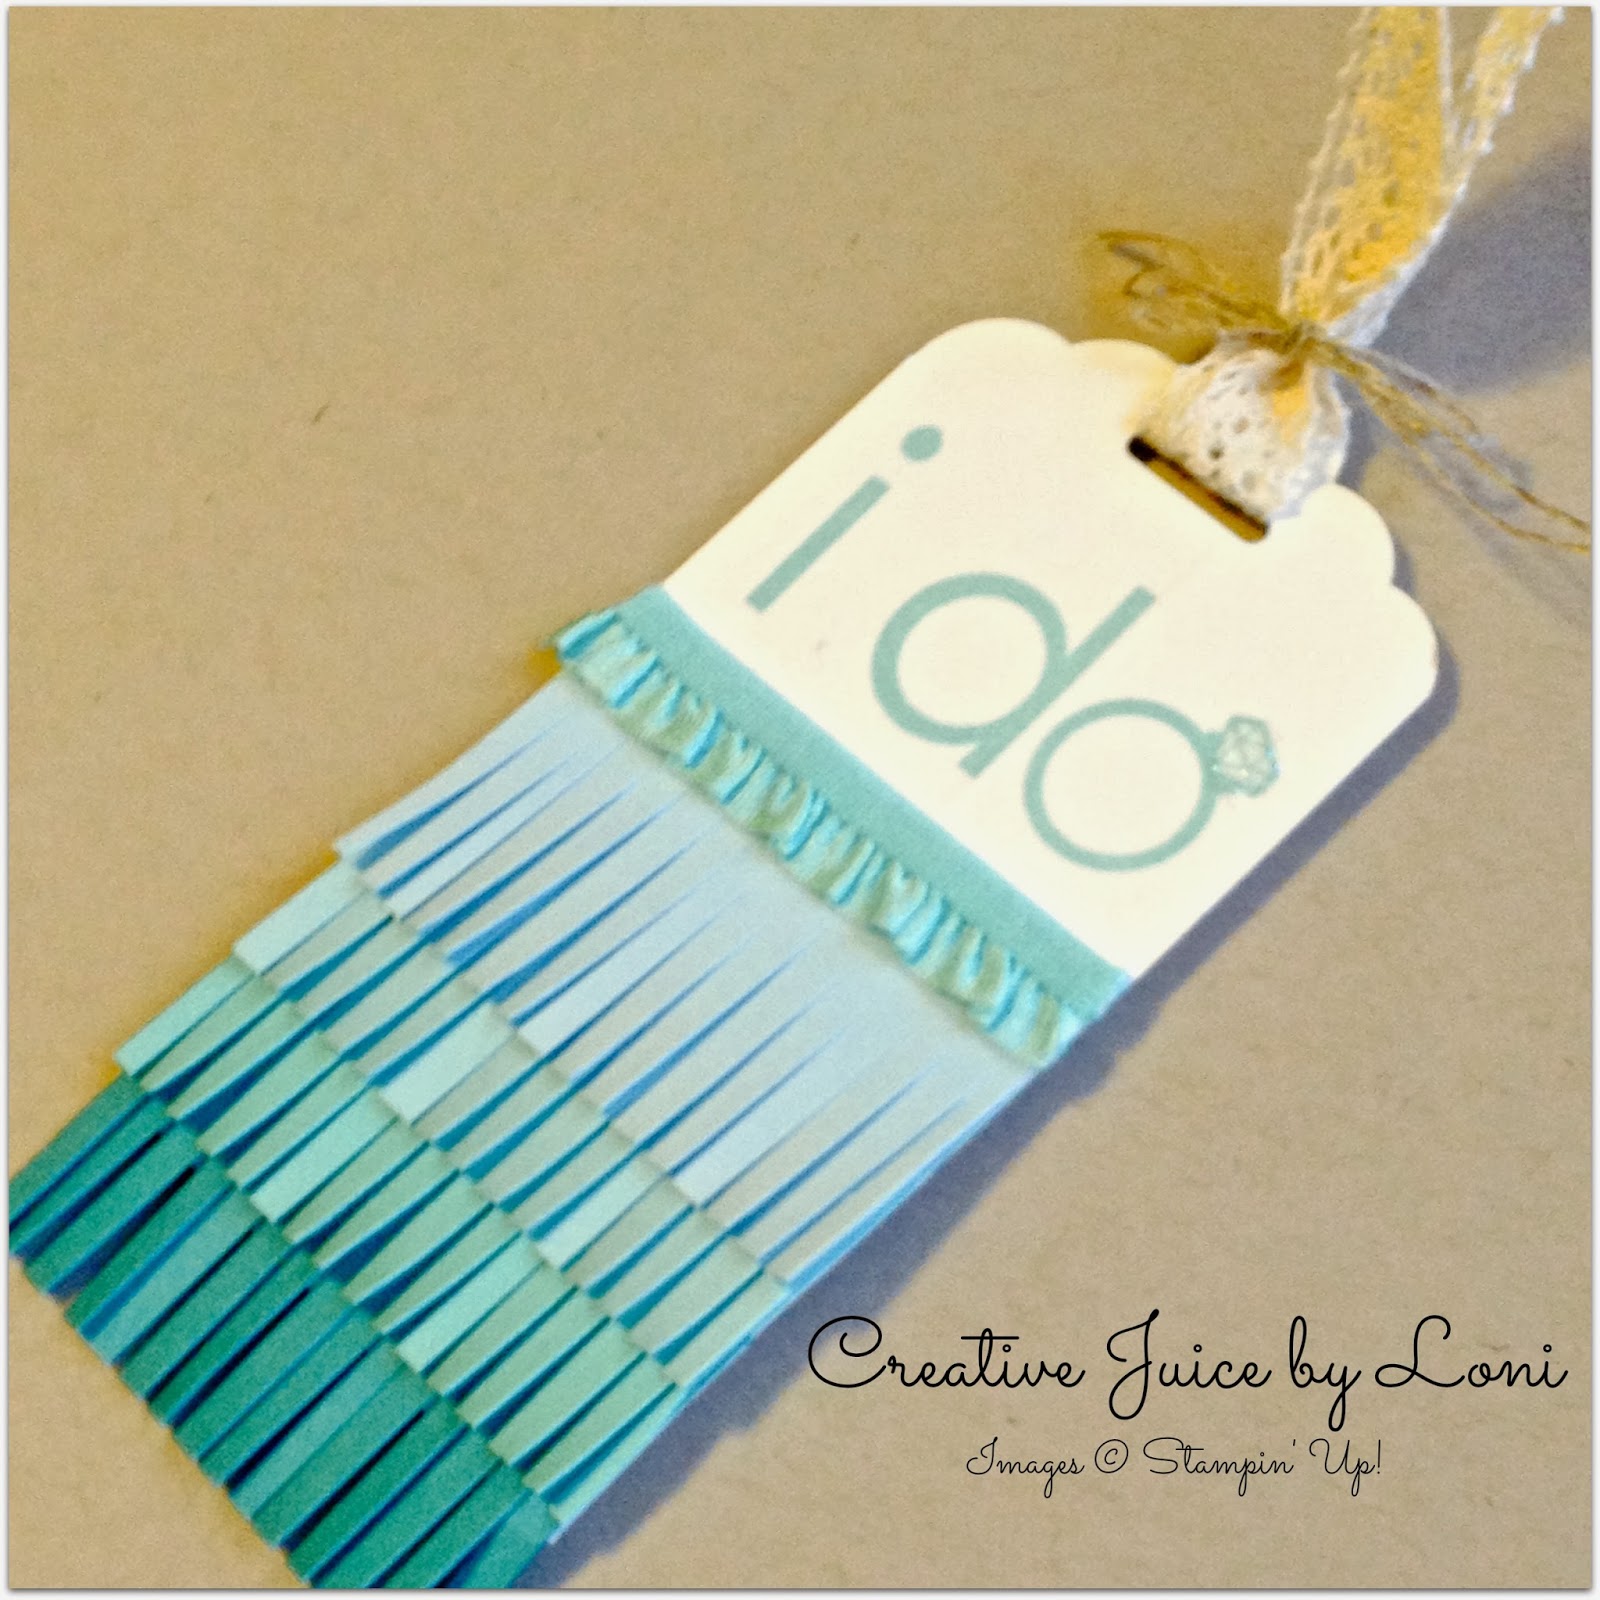
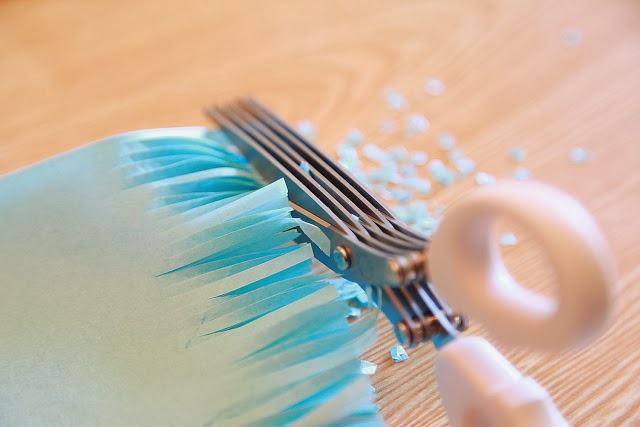
Today we are talking about Fringe Scissors Certain projects are easier when you have the right tools and this is one of those tools: Every time you squeeze the handles of your fringe scissors together, you are cutting not once, not twice, but FIVE TIMES! Talk about conserving energy 🙂
“What can I do with them besides making grass?” you may be asking yourself. You’ve come to the right place!
1. Fringe scissors make Ombre Fringe cards and tags in a jiffy! For this tag, I used Soft Sky, Pool Party, Coastal Cabana and Island Indigo card stock, along with the new Tag Topper punch:
While you are “fringing”, check out this adorable Fringe Chandeliermade by Lauren Elise for the Knotty Bride:
2. Create a crepe paper garland! This tutorial from Yesterday on Tuesday shows a few different styles and hello! This is super fast with your fringe scissors:
3.Flowers or “pom poms” are adorable accents to any project.
Lisa Brown from inkandinspirations shows you how fun and easy these are to make using Stampin’ Up! Crepe Filter Paper:
Thanks Lisa!
4. If you cut across your fringe the opposite way, you end up with CONFETTI!
At Stampin’ Up! Leadership last month, Shelli demonstrated how to create a shaker card using the confetti made with fringe scissors: Cut the corner of a clear envelope to the size you need (in this case, just a smidge taller than the photo frame die cut). Stamp image on top of clear envelope with Stazon, then seal the confetti in with a thin strip of sticky strip. Place behind the die cut and voila! Shake away!
5. A strip of fringe from Designer Series Paper or crepe paper is easy to adhere around a curved object like a basket or hat brim:
For these medallions, I just punched two circles and cut in from the edge. I used two because when you cut into the circle, some of the pieces fall off and it’s not perfectly round, so layering them gives the illusion they are still circles 🙂
At just $9.95, these scissors are an awesome addition to your crafting toolbox! Order your Fringe Scissors in my Stampin’ Up! store today and start living on the edge 🙂
Back from Stampin’ Up! Leadership and trying to organize myself enough to make a blog post, but I’m slow at picture editing…meanwhile, I took a few moments to be creative this morning so I could play along with the Friday Mashup!
I know it looks like it’s on a card, but it’s really tied to a box 🙂
Well, I had this ready for last Friday when my computer was out of commission…and wouldn’t you know it: Stampin’ Up! sold out of this awesome Photopolymer stamp set on Tuesday!!! GRRRR…
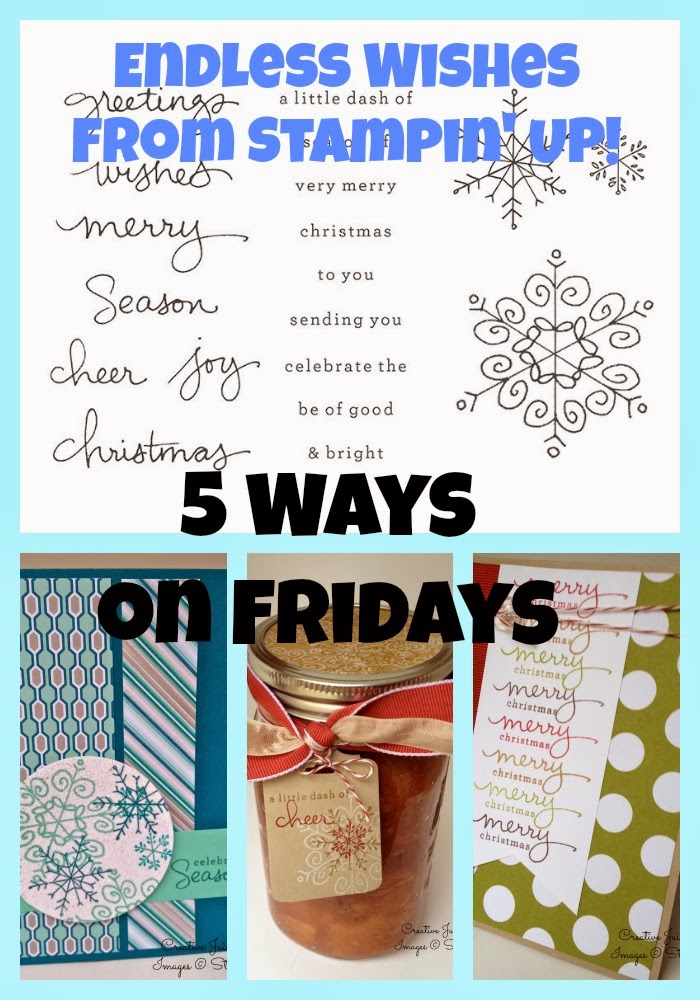
But I’m sharing it anyway because of all the time and effort I put into it, and those of you who were lucky enough to snag one before they sold out~ You’re Welcome! Of course, many of the designs & techniques could be re-created with another snowflake stamp set, such as Festive Flurry 🙂
P.S. Endless Wishes *is* available as a digital brush set (item #136559) for all you digi-crafters and if SU! changes their minds and produces more, I’ll make sure to update this post (we can hope, right?)
1. Faux Diamonds. This is always a big hit and so very easy! I gave step-by-step instructions on the Faux Diamond technique in this post. The Designer Series Paper is from the Winter Frost Specialty DSP (132341)
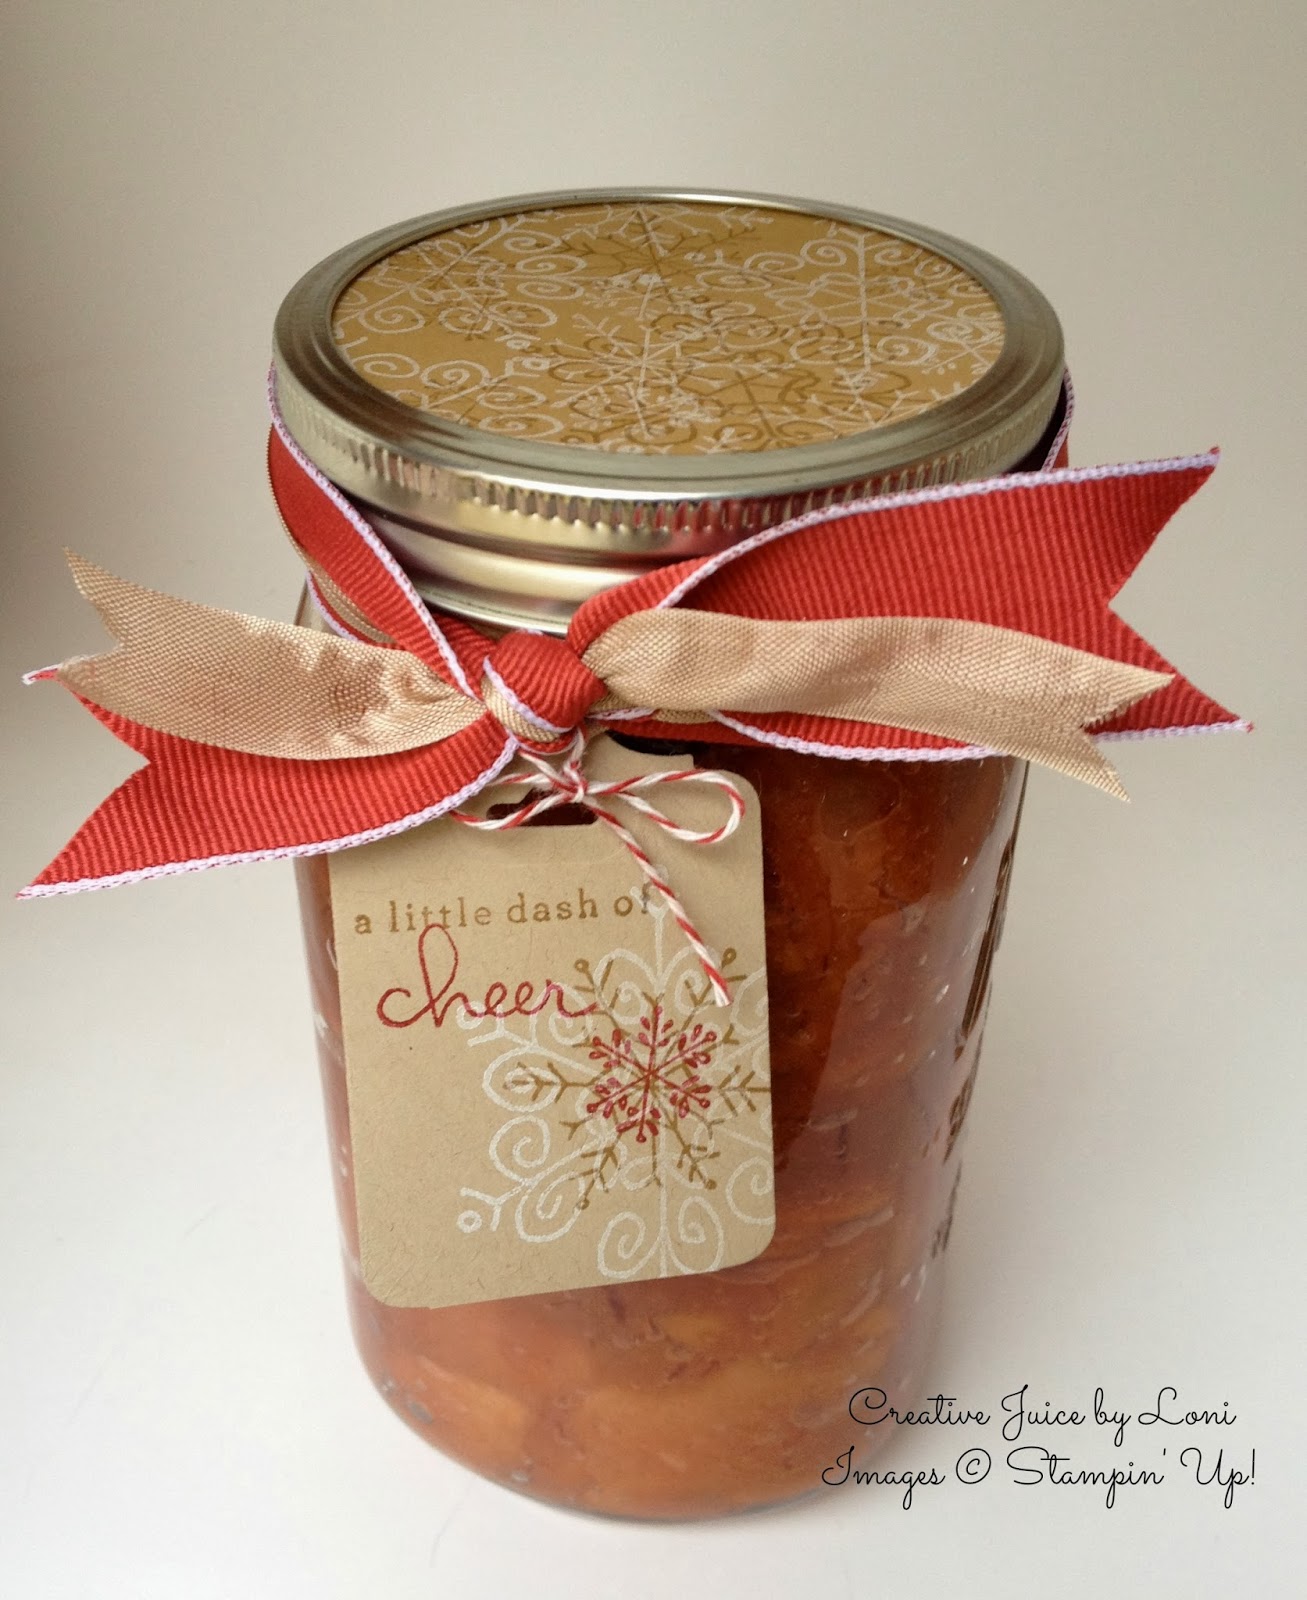
2. Random Stamping. Just go crazy with it. Let them overlap, go off the edge of the paper and layer them on top of one another. I really loved the look of White/Baked Brown Sugar/Cherry Cobbler on Crumb Cake card stock and even stamped a piece to go on top of my jar of apple pie filling.
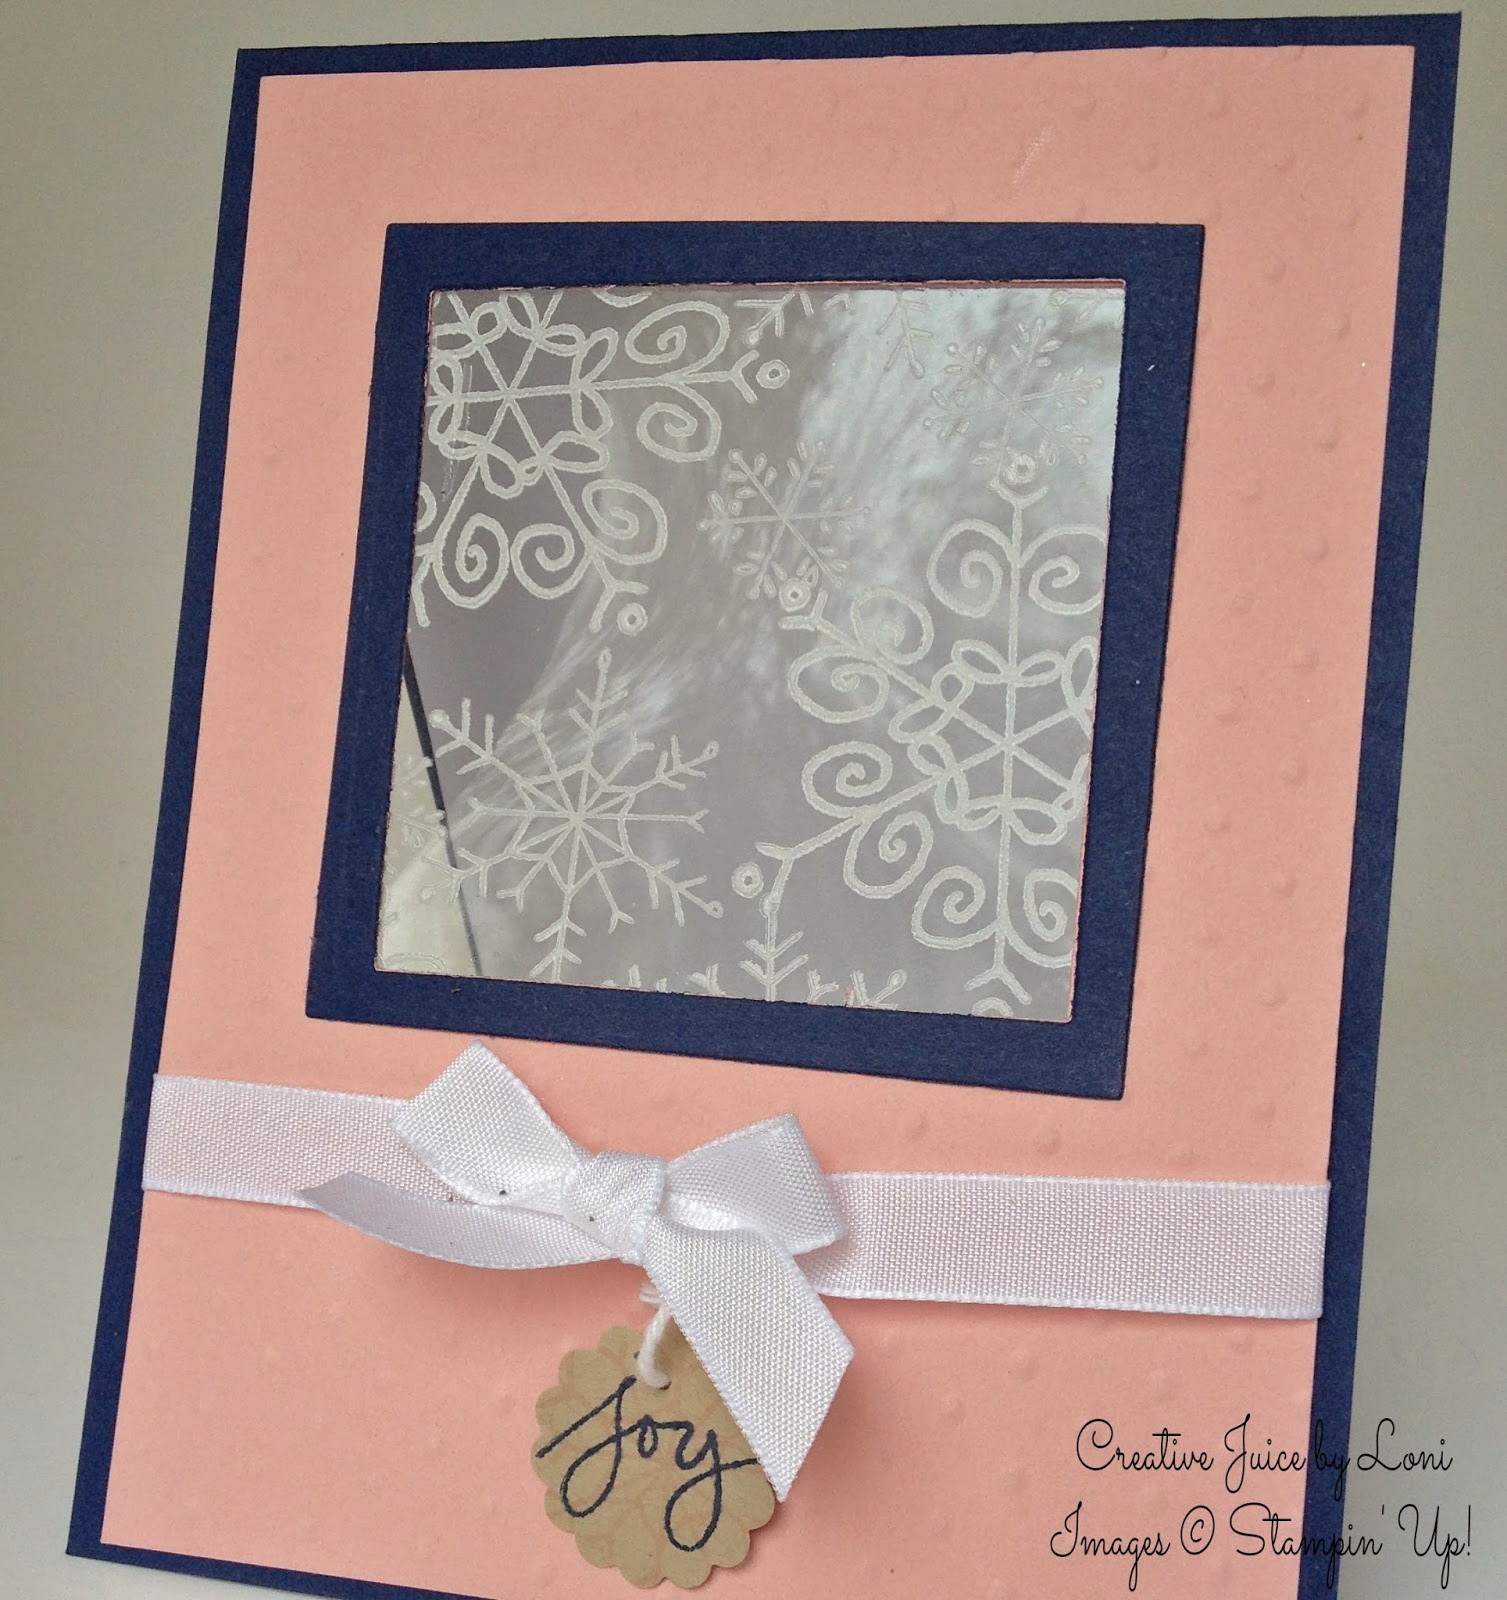
3. Make a Window. The Squares Collection Framelits (130921) and the Big Shot (113439) create perfect windows. I used a piece of a window sheet and stamped the snowflakes using the White Stazon ink pad (106960), then placed it between the Navy and (polka dot embossed) Blushing Bride layers to appear that you were gazing outside to a frost covered world.
4. Use the Words. While the snowflakes are delicate and delightful, the words are what sold me on this set. It’s awesome to be able to mix up the script with the print and come up with dozens of greetings. So cute! I paired the greetings with some of the Season of Style Designer Series Paper (132340), the 1″ Cherry Cobbler Grosgrain ribbon (132135) and Cherry Cobbler Baker’s Twine (123125) and a Vintage Faceted Designer Button (127555).
5. Monochrome Embossing. The words & snowflakes on the white were simply stamped using the Silver Encore pad (132141) and I embossed in silver on the Silver Foil Sheet (132178). This card is stunning in person, though the photo doesn’t do it justice (sorry…I tried). Just because it needed MORE bling, I added the Silver Glimmer paper (124005) as a layer, too!
Stamped snowflakes are much warmer than the real thing, eh?
Have you ever read the Create-Your-Own-Adventure chapter books where you can choose what happens next at the end of every page? Well this gift is a little like that 🙂
Enclosed in this adorable box (with an acetate sleeve) are 2-1/2″ cards and blank tags, along with stamped and punched “card candy”. The recipient can choose the greeting for the occasion and quickly put together a gift card or tag to match the need…like this:
I’m sure you’ll come up with many great uses for this idea, but here’s what I used to create this one:
Stamps:Label Love Ink: Crisp Cantaloupe, Early Espresso, Island Indigo, Summer Starfruit Paper: Soho Subway Designer Series Paper (item 130140), Crisp Cantaloupe, Summer Starfruit and Very Vanilla card stock Accessories: Tag a Bag Gift Boxes (130927), Big Shot Die-Cutting Machine (113439), Chalk Talk framelits (129983), Summer Starfruit Stitched Satin Ribbon (126846), Stampin’ Dimensionals (104430), 7/8″Scallop Circle (129404) and Artisan Label (130920) punches. NOTE: Label Love stamp set and Artisan Label punch are also available in a bundle for 15% off.
Pretty excited about the two newest products from Stampin’ Up! because both would be awesome gifts to give a friend or yourself. In fact, I plan to do both 🙂
First is the Everyday Occasions Card Making Kit (Item 134797) and you get everything (minus scissors & adhesive) to create 20 cards for just $29.95: NOTE: These are only available while supplies last!