Have you got your FREE digital downloads this weekend?
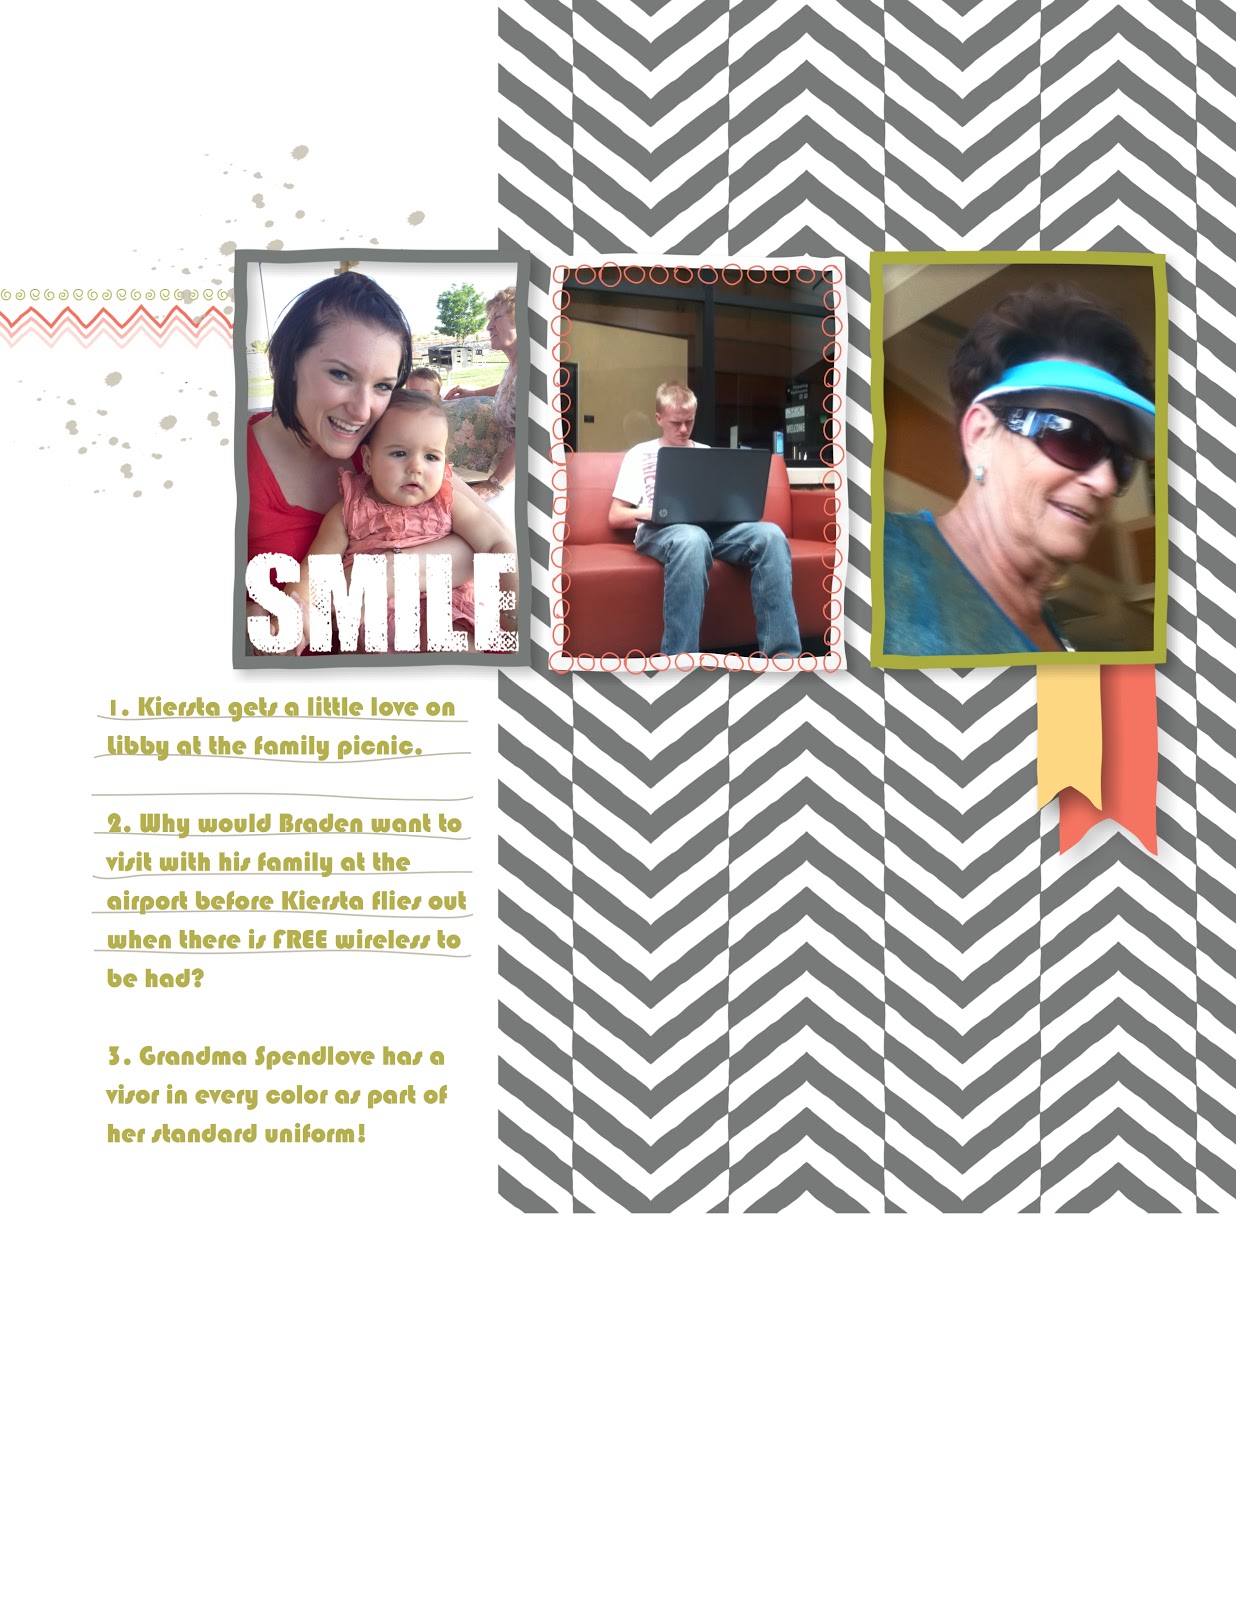
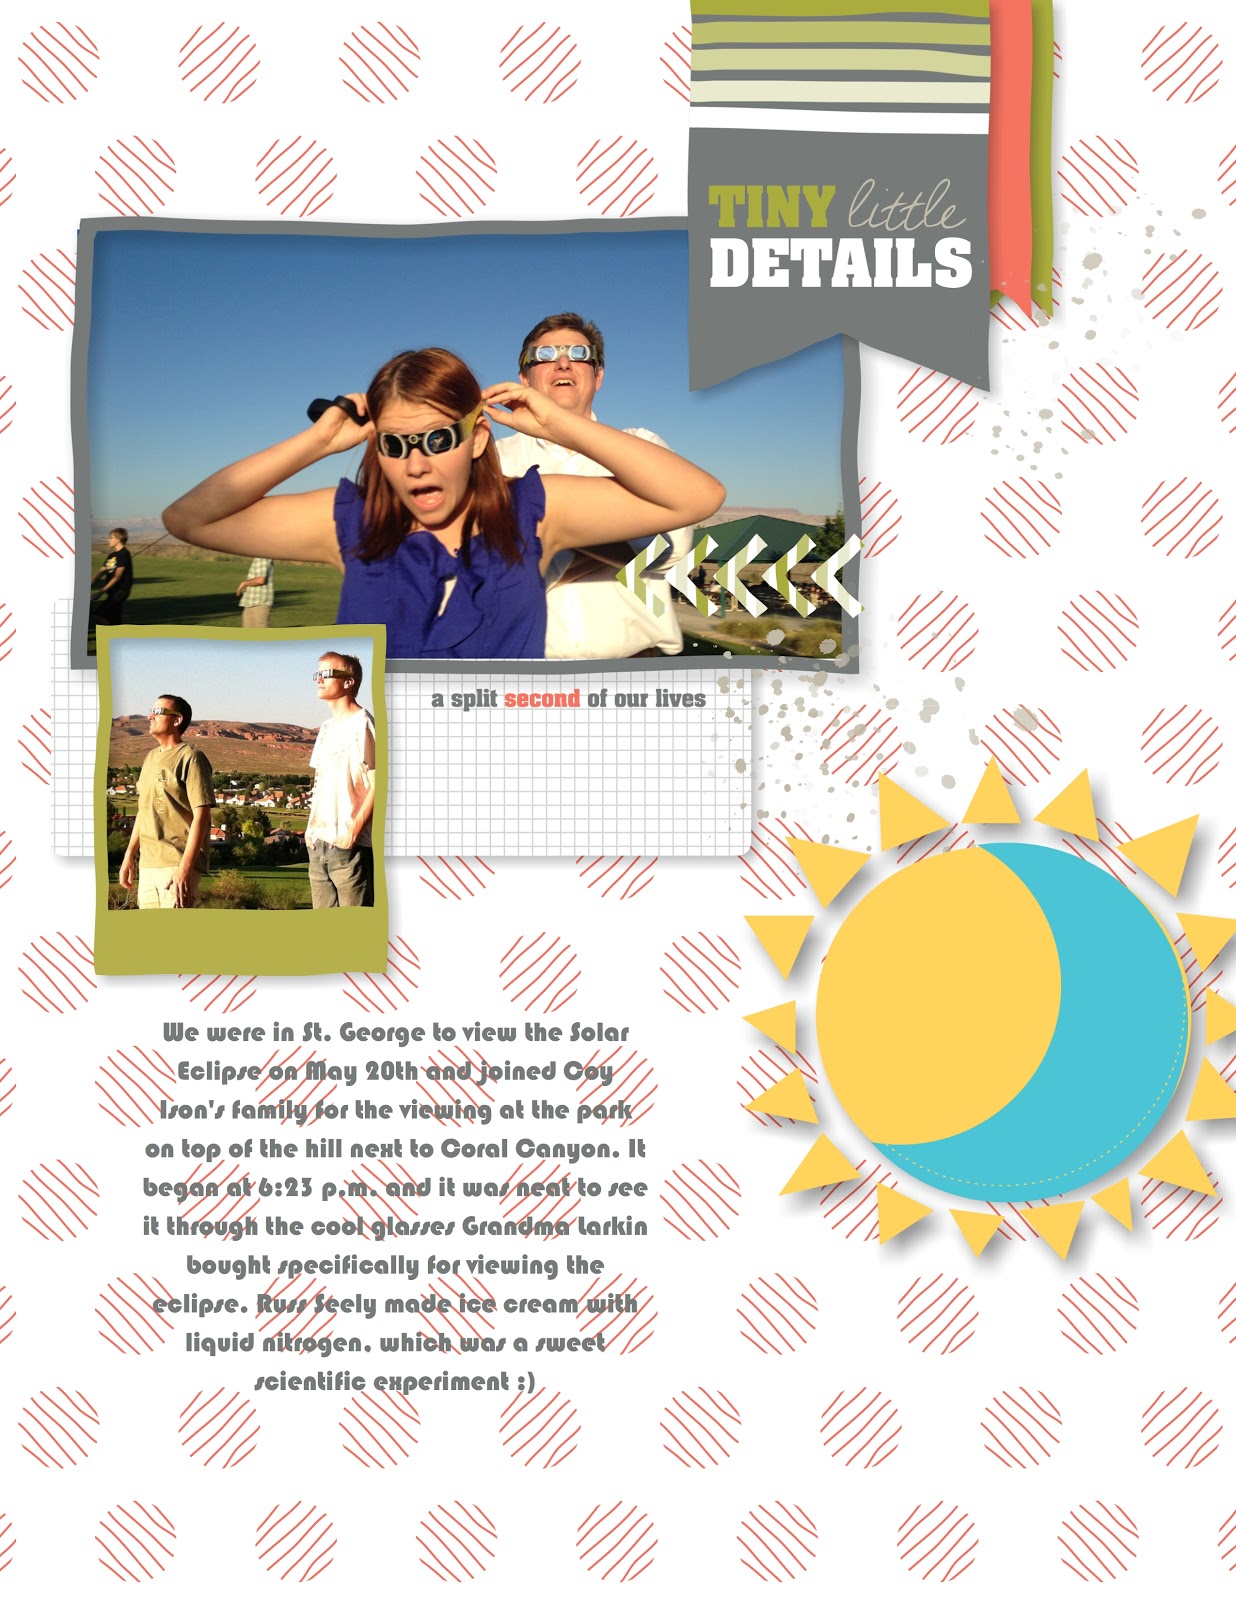
This is the Split Second layout you can get while Stampin’ Up! is celebrating Digital Scrapbook Day all weekend long! I added the sun/moon image for the Eclipse theme. Granted, you get it as a 12×12 page spread and I may be the ONLY person on the planet who still does 8×11 pages (besides my sister Megan) so I am so excited that with My Digital Studio 2, you can RESIZE your projects:
If you haven’t downloaded your FREE downloads, click below and get them before November 5th!!! And don’t forget: You can download and try out My Digital Studio 2 for 30 days free in my store, too.
I love it when you can combine TWO challenges and get one simply sensational card! Today I combined the color challenge over at Create with Connie & Mary with the Fall-To-Layout 210 sketch at the Clean & Simple blog and came up with this holiday card:
I debated whether to add something to it, but I *really* like it just the way it is…and with the silver glimmer paper, it’s even prettier in person! Of course, I tend to gravitate toward simple and elegant cards with a touch of sparkle, but I hope you like it too. It used a-little-bit-of-this and a-little-bit-of-that Designer Series Paper…why not pull out your stash and try your hand at this sketch too? The stamp is from the “Greetings of the Season” set on page 8 of the Holiday Catalog (which you can download from my sidebar).
Let me share the EASIEST way to make a perfect “flag”…taught to me by one of my Stampin’ Family, Kelly H. WARNING: This may change your life! Start by cutting a slit straight into your paper from the side center where you want the flag to be:
Then cut from the corners into the point of your slit. I KNOW!!! It’s so simple! I haven’t used a square punch since she showed me this! Thanks again, Kelly 🙂
Don’t forget to leave your comment because I am still giving away all the cards I share here in September to celebrate my 20th Anniversary with Stampin’ Up!
Update: Connie will be getting this card in the mail…thanks for visiting, Connie! I admire your work and am happy to share this card with you 🙂
My apologies for being absent for so long! What could I blame it on?? End of school? Yard work? A Solar Eclipse?
Yes to all of the above, but that is no excuse, really. If you have been following my Facebook Page, you’ll know that I have been pretty faithful with the Retirement Parade this month (a card each day showcasing the Stampin’ Up! sets that will be retired in less than a week now!!).
I have been thinking about sharing this for a while, so today I want to give some hints for creating your own envelopes with the Simply Scored and Diagonal Plate. First, a video from Stampin’ Up! (Or if you are in too much of a hurry to watch the video, scroll down for a quick picture of how to create envelopes with the Simply Scored Diagonal Plate)
The Diagonal plate comes with measurements for a few basic cards, so let me share a quick reference for some other envelope sizes: Mary Fish (of Stampin’ Pretty) has created a fabulous chart HERE…print it off and then come back to add these sizes:
* For a 6×6 card size, the finished envelope is approx. 6 1/4″ square. Cut your paper to 10″ square and both “A” and “B” scores are at 4 1/2″ (BONUS: I’ll be demonstrating this envelope along with a scrapbook page you can mail at my JUNE workshops, so book yours today!)
* For a 2×2 card size, a finished envelope is approx. 2 1/8″ square. Cut your paper to 4″ square and score at 1 5/8″ on both A and B sides. I love to make these envelopes using vellum and the cards are a petite size for gift giving 🙂
REMEMBER: Some of these envelope sizes are too small to mail, so they must be given in person, allowing you time to visit with a friend as you deliver your thoughtful hand-crafted gift 🙂
Coming soon: A NEW envelope tutorial that you won’t want to miss!


