“If I ever go looking for my heart’s desire again, I shouldn’t look any further than my own backyard.” – Dorothy of Oz
Since there is “No Place Like Home”, I have two fun fold (and fairly simple) cards to share with you today using the Stampin’ Up! Coming Home bundle (which is retiring SOON!):
Use the tree and hill die (shown below) to cut off the top third of the front of your side-fold card, then stamp the houses in black on various colors of card stock, cut out and layer on the front of your card.
Coming Home Bundle
The second card is the same layout with different colors for a thoughtful welcome home card for a new neighbor:
The card opens to reveal the message, so you could change the sentiment and say “Welcome Home” for a missionary or someone coming home from a long time away.
I’ve created a .pdf tutorial for you to download with instructions and the supplies listed:
Introducing my December “Three for Free” kit: Featuring the Curvy Celebrations Early Release Bundle! When you order the Quite Curvy Early-Release bundle (from the January-June Catalog) OR the Quite Curvy Variety bundle (which includes the limited-release Curvy Christmas stamp set and Classic Christmas Designer Series Paper), I will send you a .pdf tutorial for THREE fabulous cards AND the supplies to create those cards in the mail!
Whether you are a “simple stamper” or a “sensational stamper”, you’ll find yourself reaching for these new stamping supplies when you want to send a sweet card or greeting! These are two extra ideas for you:
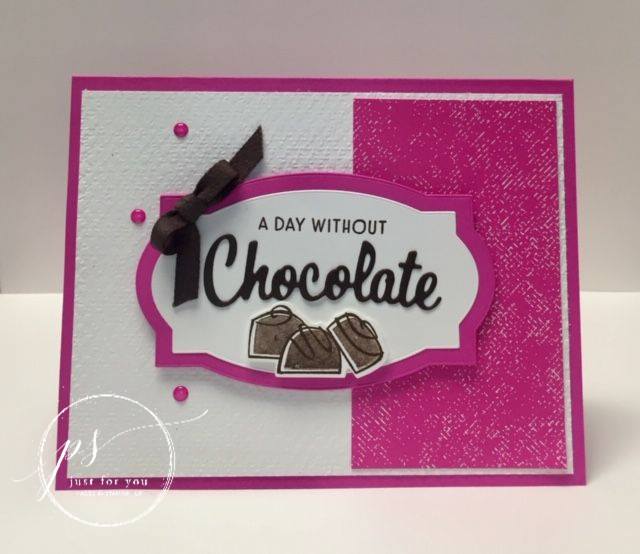
This next card is a mash-up of card elements I borrowed from other cards I had seen:
The label (from the Wild Rose Dies) was a lovely background for the spray of flowers
Welcome to our “Warm & Cozy” Blog Hop: The best way to view these projects from talented demonstrators around the world is wrapped in a blanket with a warm cup of cocoa!
Once you have hopped through all the blogs, you may either feel like crafting, OR having a nap. Either way, we’ve got you covered:
My project is a sign to hang from your door when a baby (or yourself) are sleeping! If you are a new mom, you should take this advice: “SLEEP WHEN YOUR BABY SLEEPS”. You need the rest, and during the winter, we need more sleep. Let this notice keep it quiet during that important time.
The photo-realistic textures of the In Good Taste Designer Series Paper felt cabin-cozy for my Naptime Door Sign and with the Playful Alphabet dies, you can say what you want to say! TIP:If you happen to drop a die in the garbage can while crafting, grab a magnet to fish it out (not saying that happened or anything…)
I made it the same size as a card (5.5″ x 4.25″) so you can mail it to a friend who just had a baby.
I’ve been really enjoying the new Water Painters for watercoloring…it’s so relaxing to color! Doesn’t the mother and baby fox from the Wildly Happy stamp set just make you want to curl up for a snooze?
All the supplies I used for this Warm & Cozy project are listed below and please leave me a comment before following the hop over to Terry’s blog to see what she’s cooking up with the Heartwarming Hugs bundle!
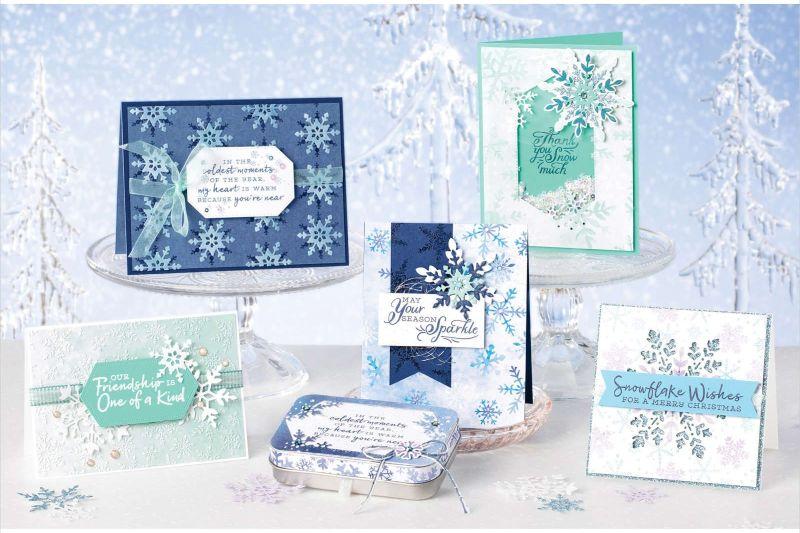
Pull on a cozy sweater before you start stamping with the Snowflake Splendor Suite~ It’s the perfect storm of winter crafting supplies!
Don’t be snow-blinded that this is just a holiday suite: The sensational sentiments will keep you stamping the whole winter through: Think of friendships and winter birthdays.
The Snowflake Splendor Designer Series Paper complements the stamps and dies with hand-painted, watercolor snowflakes in lots of icy purples and blues, but the tutorial I’m sharing changes up the colors and design for a bit of rustic glamour and a little tweak to the standard card size.
————————————————–
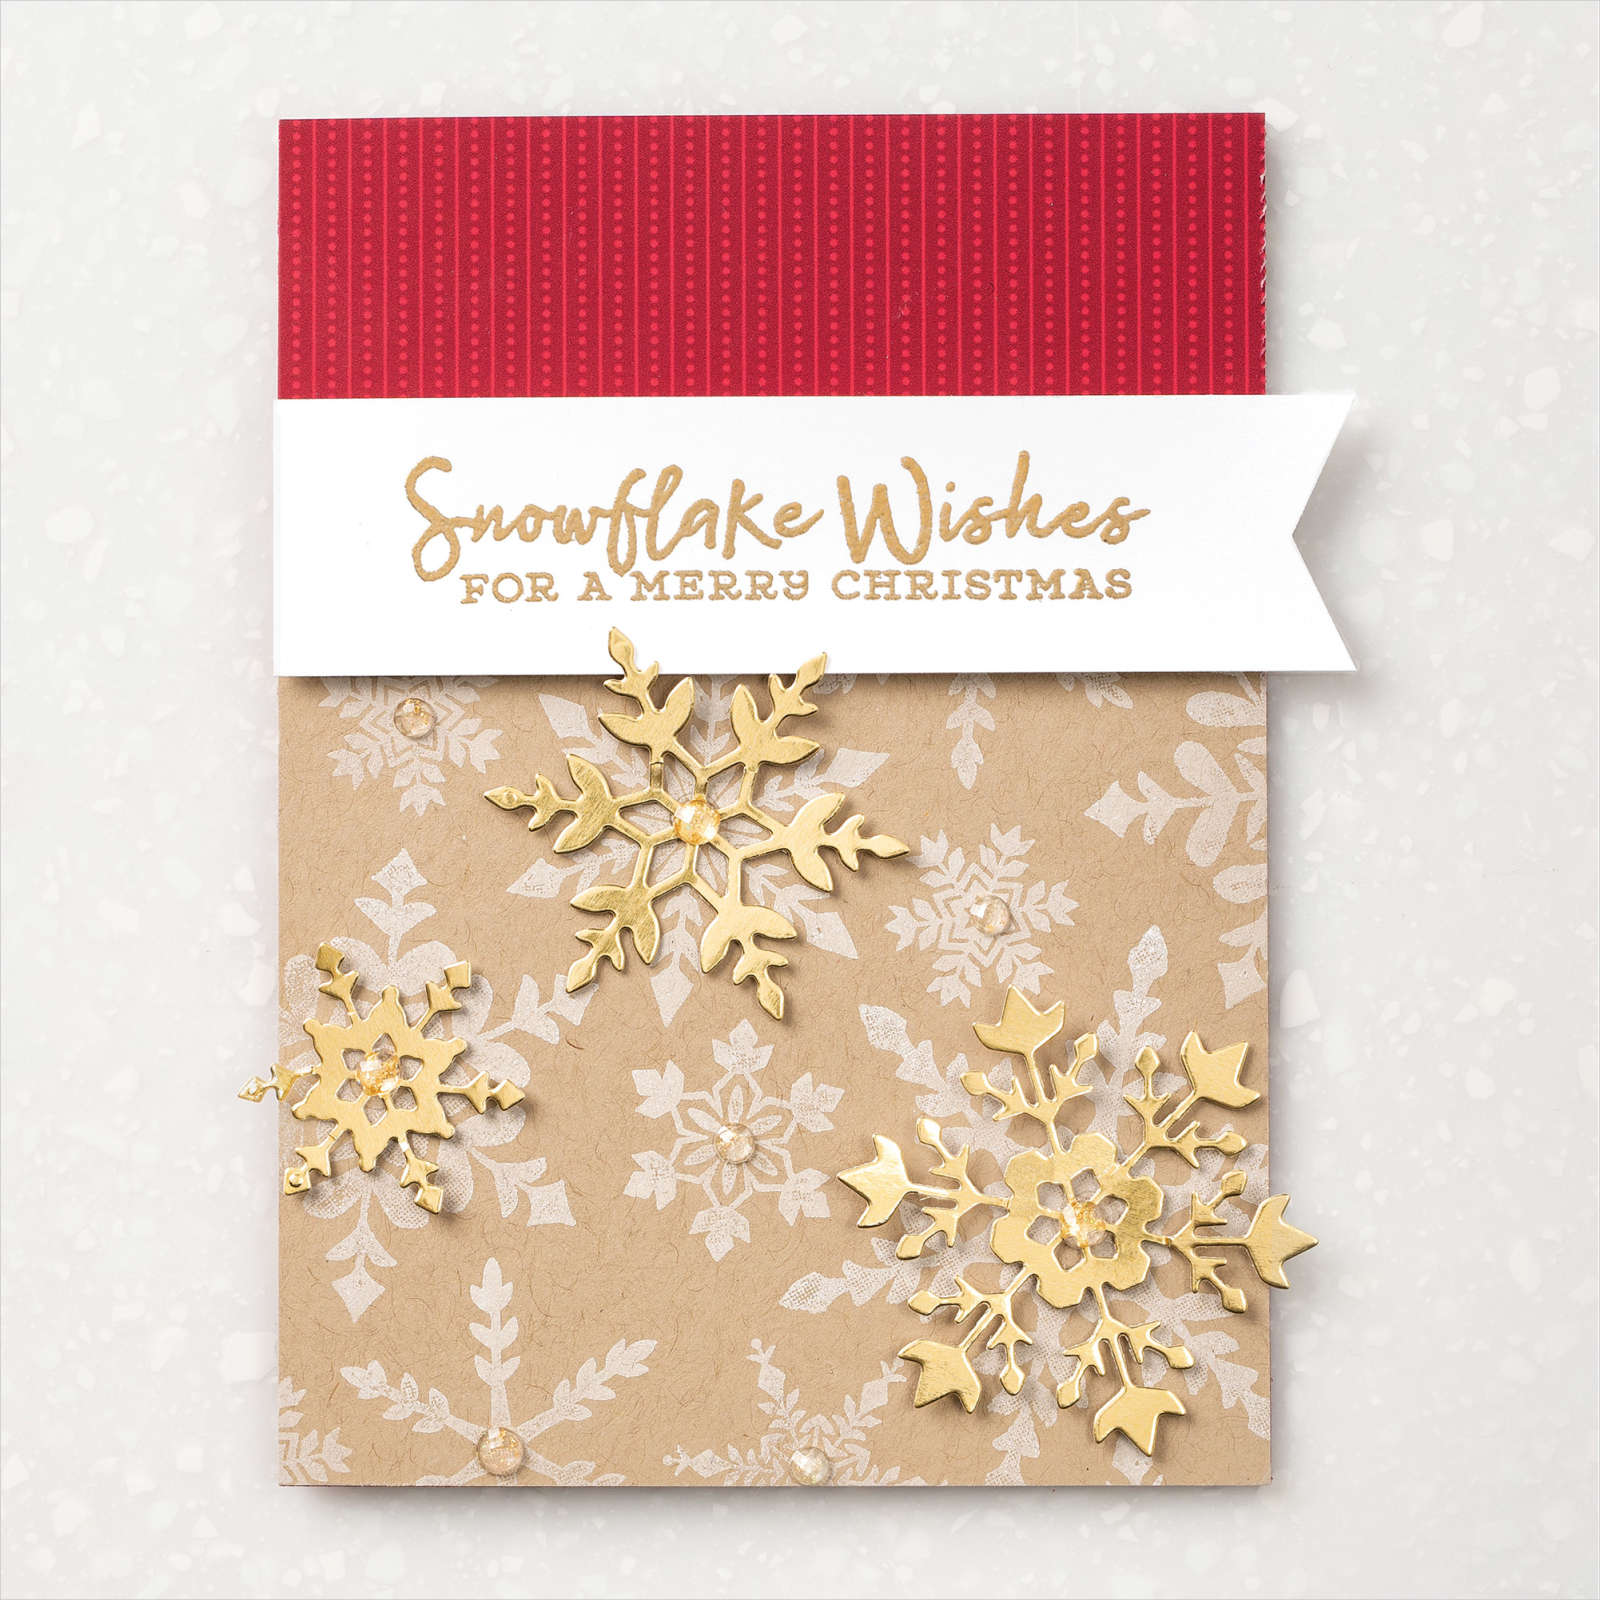
Rustic Glam Snowflake Wishes Card
Join my Email Newsletter List and receive my tutorials by email. With each mailing you will receive a picture of the finished project, a supply list, card layout, and a step-by-step tutorial.
PAPER
Crumb Cake (#120953), Whisper White Thick (#140272), Gold Foil Sheets (#132622), ‘Tis The Season 6″ X 6″ (15.2 X 15.2 Cm) Designer Series Paper (#153489)
INK
Whisper White Uninked Pad & Refill (#147277), VersaMark Pad (#102283)
TODAY Tuesday, November 24th ONLY! Get an early start on holiday shopping and take advantage of the 10% discount on select Annual Catalog items during the Merry & Bright Online Extravaganza!
Stock your stash for the New Year with extra savings on many bundles that are already discounted by 10% are included in this sale so enjoy a double-discount! Here are a just a few examples:
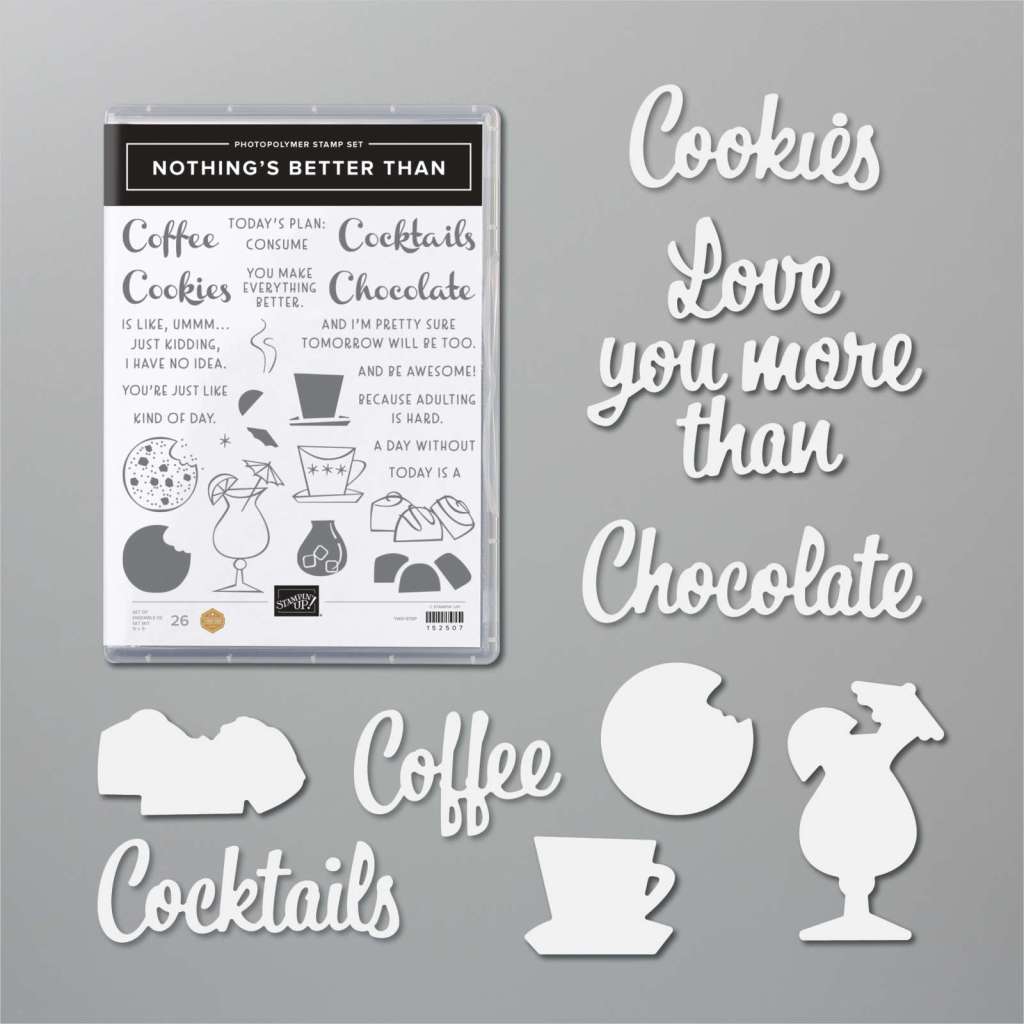
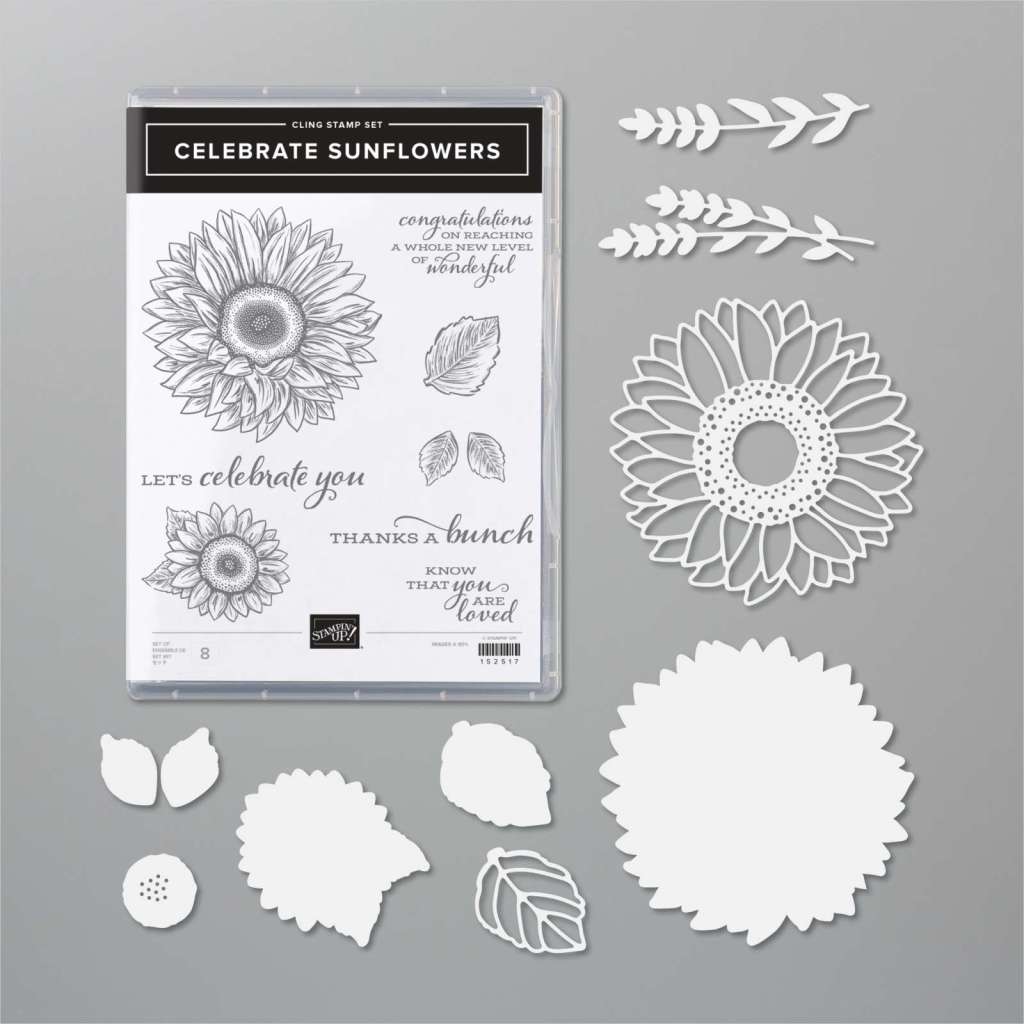
Birds & Branches BundleNothing’s Better Than BundleCelebrate Sunflowers Bundle
Warm Holiday Wishes~ We are a group of Stampin’ Up! demonstrators from around the world who are Hoppin’ with Holiday Crafting ideas to share with you!
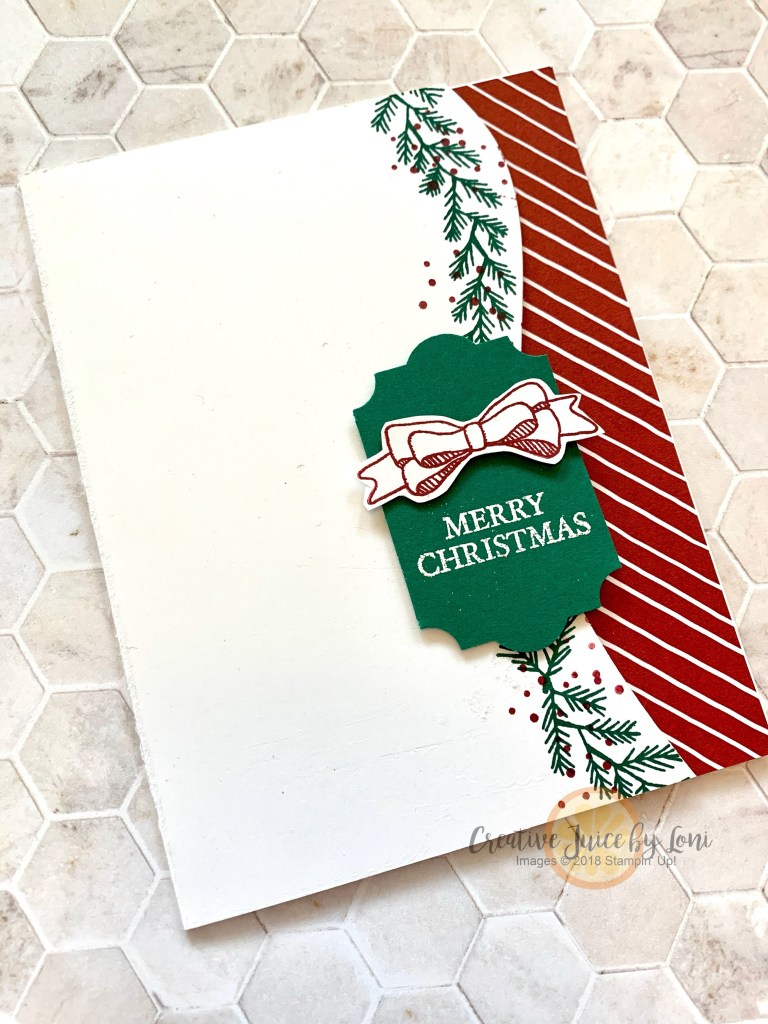
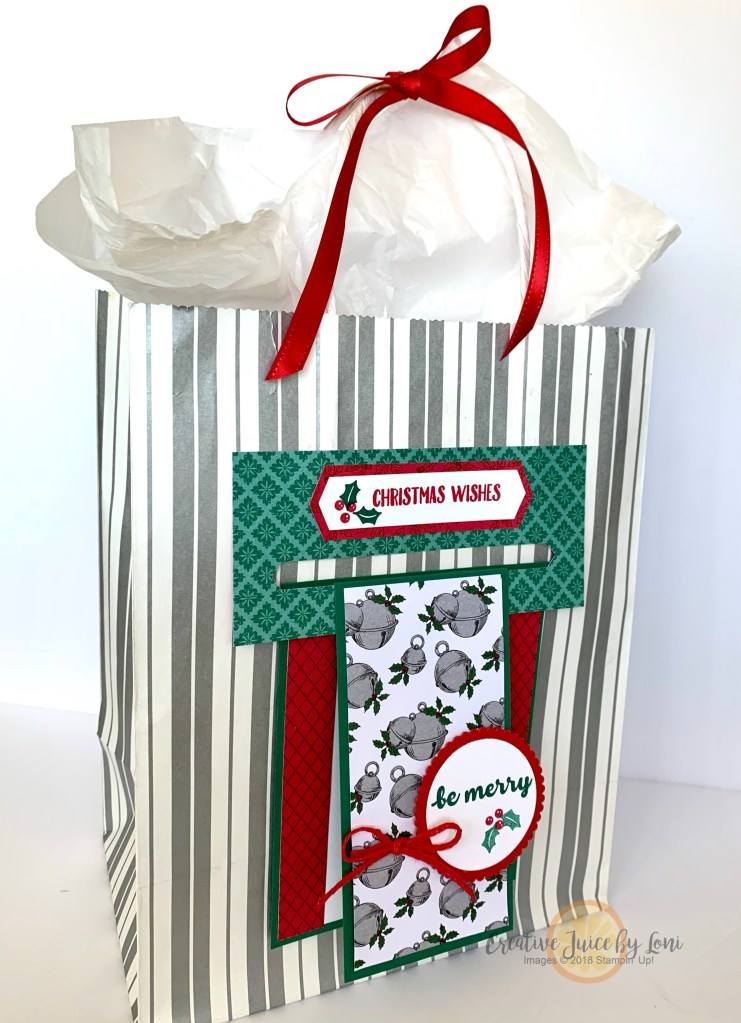
During GIFTING season, use your stampin’ supplies to package a pretty present:
Adding a card to the outside of a gift bag dresses it up and this one really rings with good cheer.
Did you know Stampin’ Up!’s “Tis the Season” Designer Series Paper (DSP) has patterns that match many of the stamps in our Holiday Catalog that don’t have their own coordinating papers? While the jingle bell paper is perfect for the Cherish The Season bundle, I paired it with the Banner Year bundle and it’s petite holly image.
To make the tab to hang the card from: you’ll need a piece of 2-1/2′ x 5-1/2″ Designer Series Paper and the Classic Label Punch: Push the paper all the way into the punch (with the edge of the punch lining up with the short edge of the paper) and punch all the way across until the other edge of the paper lining up with the other side of the punch. Adhere the *top* of the Designer Series Paper to the bag with Tear & Tape, leaving the punched side unattached so as to slide your card through.
NOTE: The card needs to open from the top hinge to be able to hang from the tab!
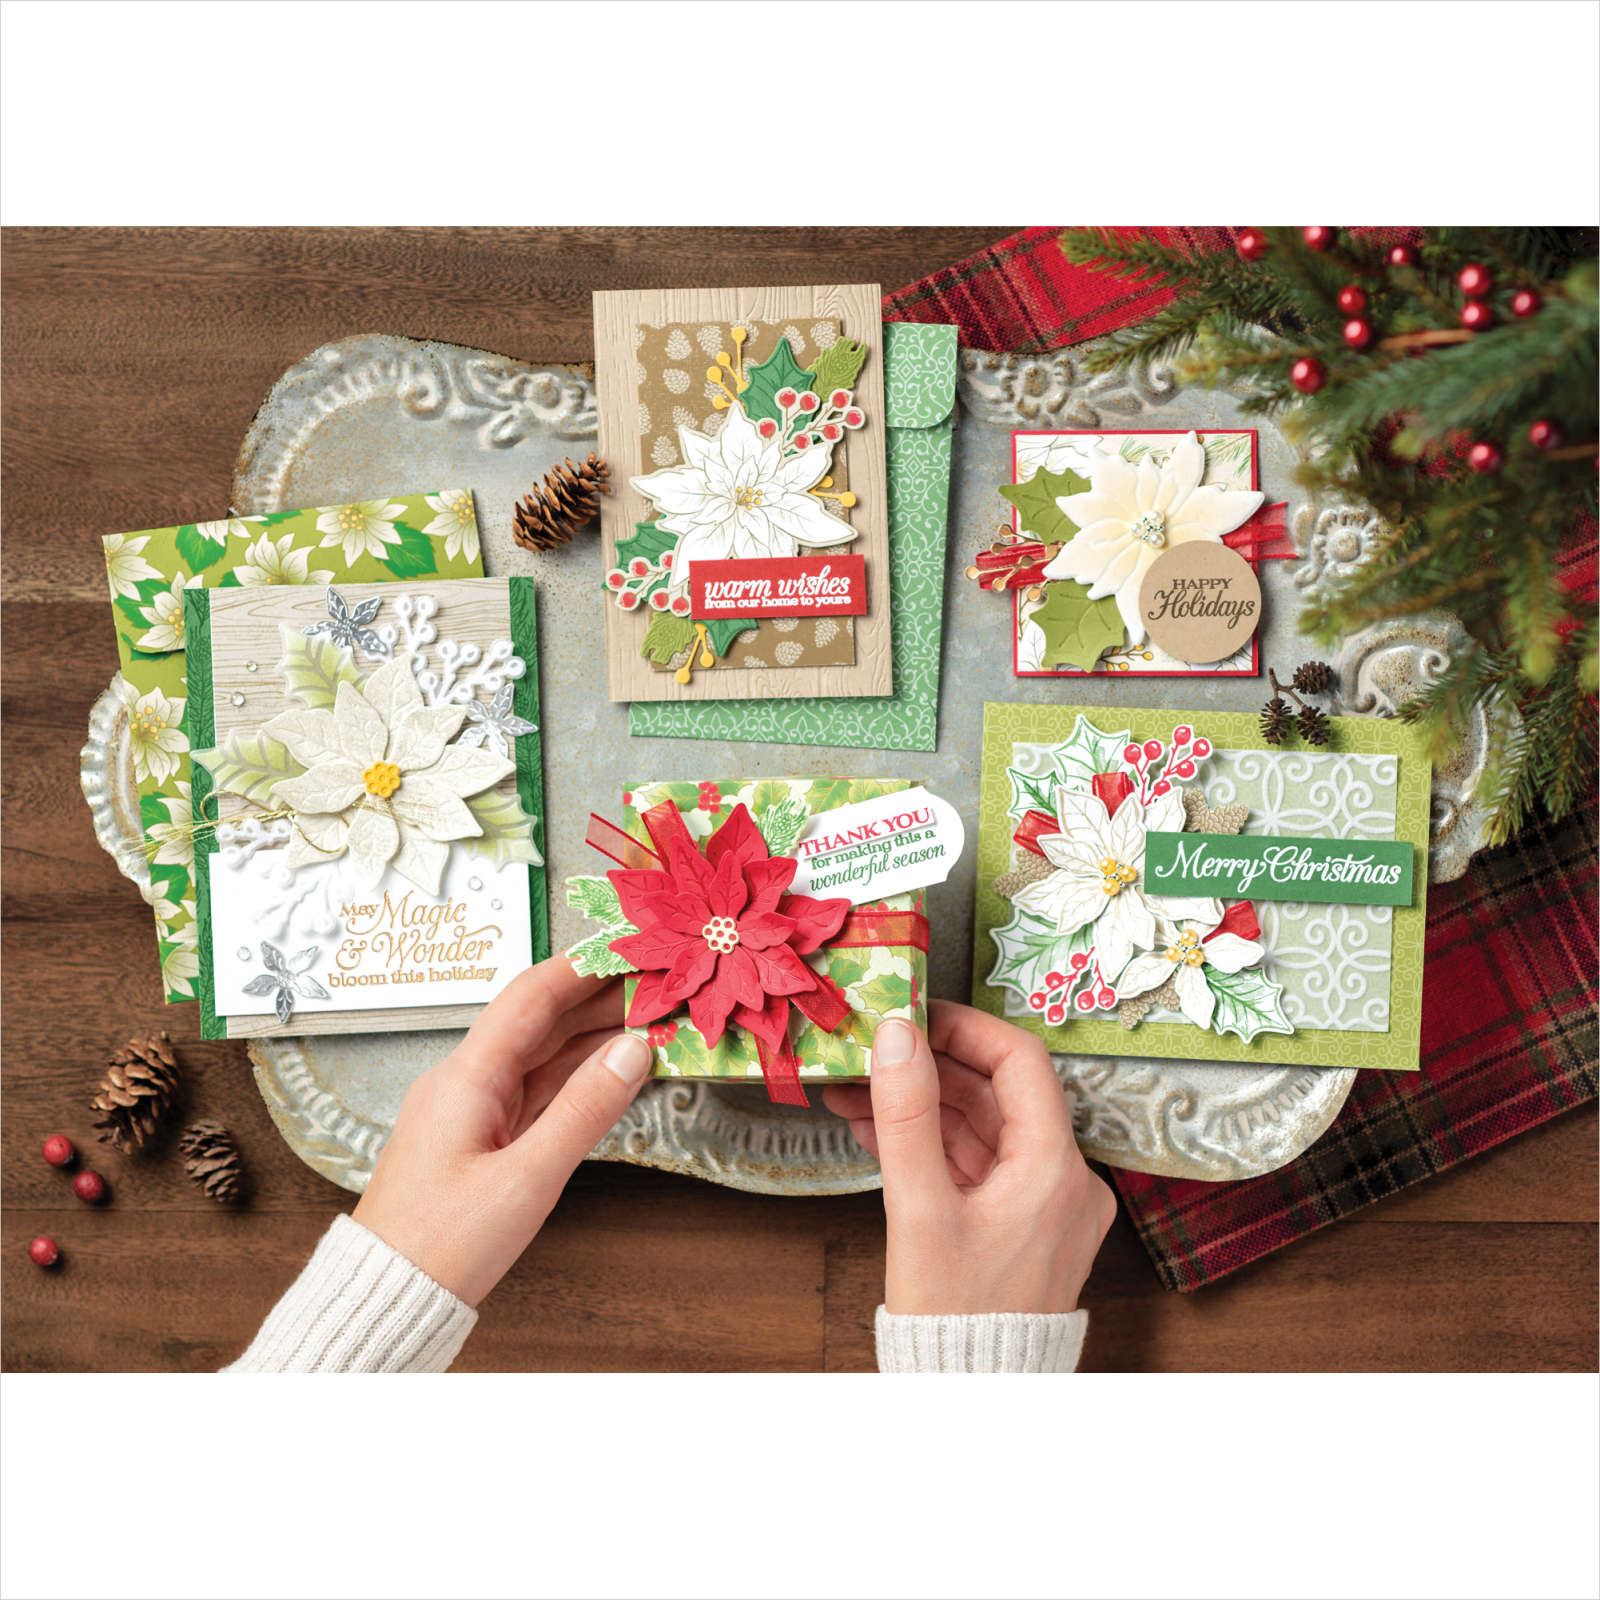
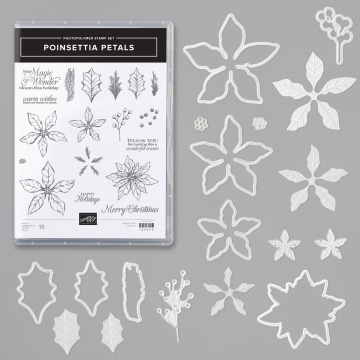
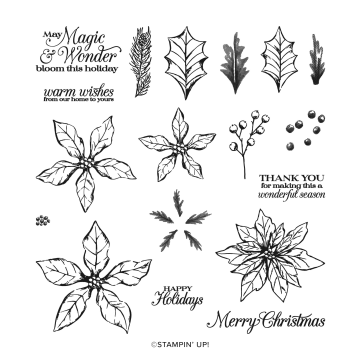
The ICONIC flower of the holidays, a poinsettia looks as elegant on your cards as it does on your table!
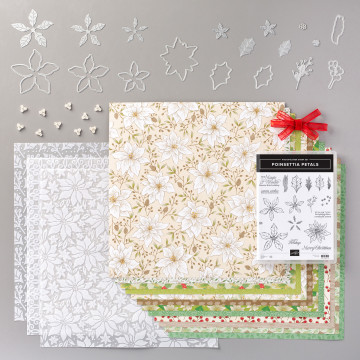
Special touches like the flocked vellum in the Plush Poinsettia Specialty Paper (#153486), the dazzling Beaded Pearls (#153534), and the elegant Real Red Sheer Ribbon (#153535) make this suite stand out and shine. I also love that the Poinsettia Dies (#153522) have duplicates of several dies. That means when you stamp the layering poinsettia and leaf images from the coordinating Poinsettia Petals stamp set (#153475), you can save time by cutting out two of each at one time. We all love to save time!
From traditional colors to modern, monochrome elegance you’ll be amazed at all the different styles you can create with this suite
————————————————–
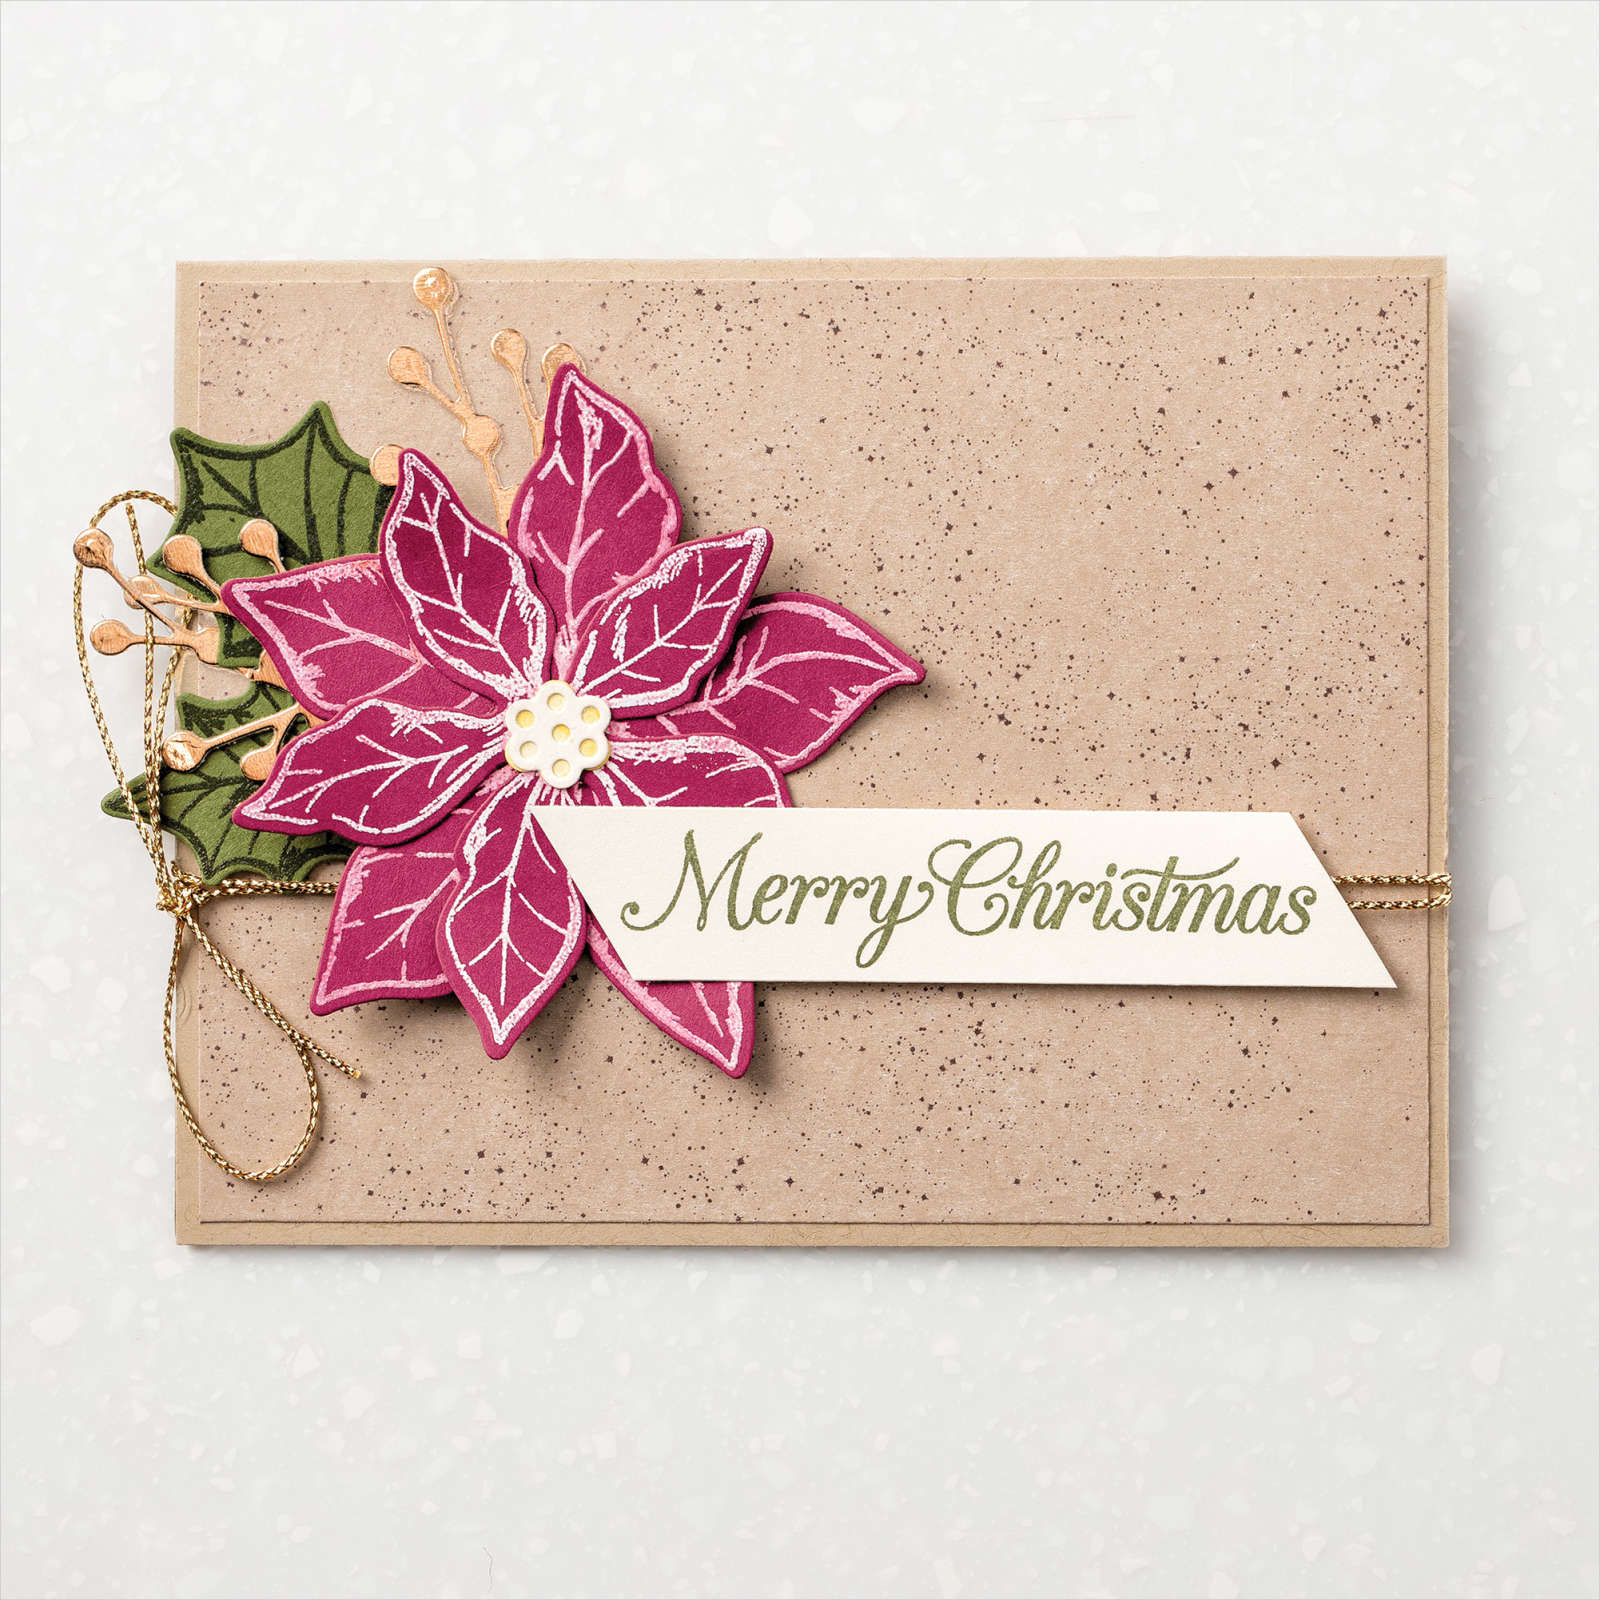
Poinsettia Petals Rustic Heat Embossed Card
Join my Email Newsletter List and receive my tutorials by email. With each mailing you will receive a picture of the finished project, a supply list, card layout, and a step-by-step tutorial.
PAPER
Very Vanilla (#101650)
Crumb Cake (#120953)
Mossy Meadow (#133676)
Merry Merlot (#146979)
Gilded Autumn Specialty Designer Series Paper (#153520)
Brushed Metallic Cardstock (#153524)
INK
VersaMark Pad (#102283)
Mossy Meadow (#147111)
TOOLS
Heat Tool (#129053)
Paper Snips (#103579)
ADHESIVE
Stampin’ Dimensionals (#104430)
Stampin’ SEAL (#152813)
Glue Dots (#103683)
EMBELLISHMENTS
Stampin’ Emboss Powder Clear (#109130 )
Stampin’ Emboss Powder White (#109132)
Wonder Of The Season Ribbon Combo Pack (#153537)
TIPS: Use the Scoring Tip of Take Your Pick Tool (#144107) to hold cardstock in place when heat embossing to avoid burning your fingers or smudging the image.
Embrace your CURVES: Especially in your craft room! These NEW curvy stamps and dies are the perfect twist to take your projects beyond the ordinary.
You can begin creating NOW with the early-release of the Quite Curvy Variety Bundle, part of which will be available January 5th… but you don’t want to wait and here’s why:
Through January 4th only, you can get the Quite Curvy Variety Bundle that includes two additional, exclusive, coordinating Christmas themed goodies and save 10% on it all!
Taking the curves into Christmas, I used the coordinating “Classic Christmas” Designer Series Paper stack to pull the theme all the way through, even though it stays with a monochromatic (Shaded Spruce) palette.
Another holiday card: The decorated edges really dress up the edge of a card…or make a pretty banner!
You won’t be able to get the Curvy Christmas stamp set or Classic Christmas 6″ x 6″ Designer Series Paper once it goes live with the 2021 January-June Mini Catalog; They are only available as part of this special pre-order period (or while supplies last) so don’t delay~ add a curvy touch to your Christmas projects while you can.
With a new month comes a new class in the mail: November’s 3 for Free class showcases some fancy typography in the Peace & Joy Bundle!
When you order the bundle from my Stampin’ Store during November 2020, you’ll receive 3 tutorials via email along with the consumable supplies to make the projects in your mail box!
What else will you need to make the cards this month?
Stampin’ Up! Ink Pads: Versamark or white craft ink, Highland Heather, Shaded Spruce, Granny Apple, Poppy Parade and Cherry Cobbler (some other colors can be substituted if needed)
I demonstrated this card as a bonus idea yesterday! It’s a good overview of what is included in the bundle, so take a moment to watch:
You are really going to enjoy creating the projects I’m sure there will be some you want to make in multiples, so grab your Peace & Joy bundle and message me with your favorite project!
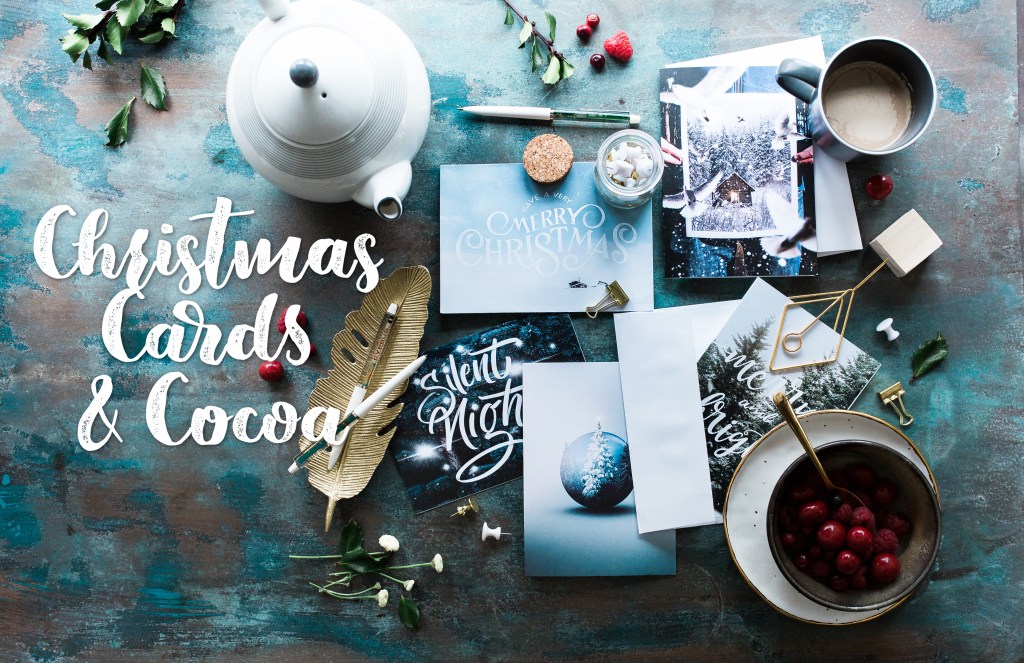
Cozy crafting with Christmas Cards and a Hot Cocoa Bar: The holidays don’t get merrier than this!
Request your card sets and come to my Cards & Cocoa class on Saturday, November 21st! There are 4 different card *sets* to choose from (each set includes 8 of the same card and matching envelopes) Each set is $16.
* PRE-Order up to 6 sets of cards ($1 per set discount if ordering 4 or more sets) by NOVEMBER 16th!! * Bring scissors and adhesive to complete your cards. Adhesive will be available to purchase at the class. * You may come and go at the time that works best for you between 10 am and 5 pm, but plan approximately 45 minutes per set of cards you plan to create.
TO REGISTER: Send a request for the card sets you wish to make to loni@sfcn.org by November 16th and I’ll send you a PayPal invoice (or you may pay with Venmo). Registration must be paid for by November 17th.
You can also join the Facebook Event page and invite friends to attend with you!


")
")
")


")
 Designer Series Paper")


 Braided Linen Trim")


 SHEER RIBBON")