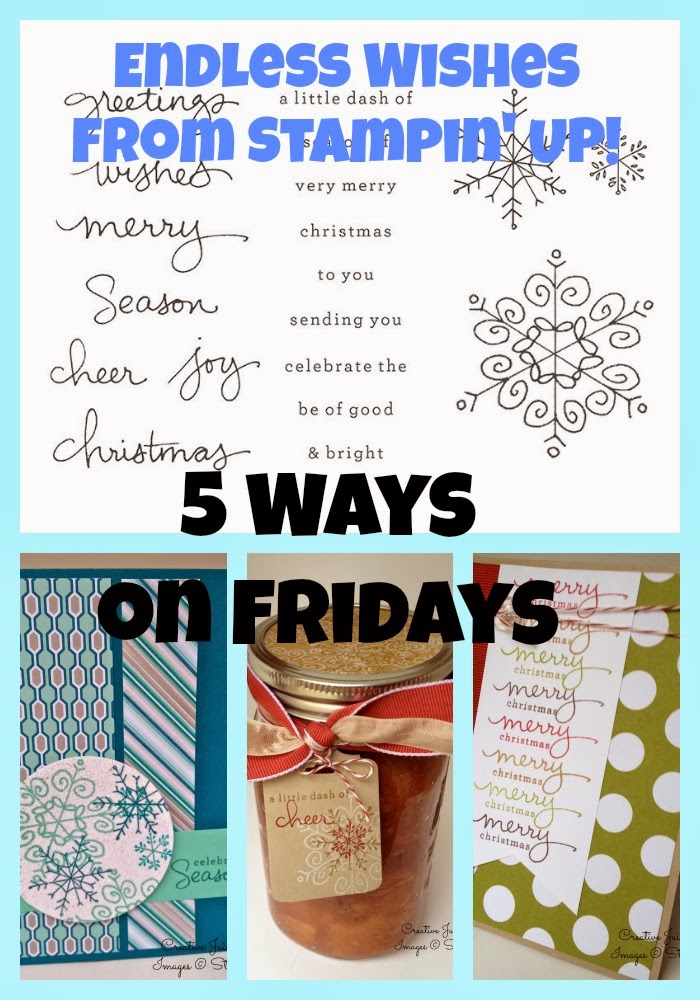
Well, I had this ready for last Friday when my computer was out of commission…and wouldn’t you know it: Stampin’ Up! sold out of this awesome Photopolymer stamp set on Tuesday!!! GRRRR…
But I’m sharing it anyway because of all the time and effort I put into it, and those of you who were lucky enough to snag one before they sold out~ You’re Welcome! Of course, many of the designs & techniques could be re-created with another snowflake stamp set, such as Festive Flurry 🙂
P.S. Endless Wishes *is* available as a digital brush set (item #136559) for all you digi-crafters and if SU! changes their minds and produces more, I’ll make sure to update this post (we can hope, right?)
1. Faux Diamonds. This is always a big hit and so very easy! I gave step-by-step instructions on the Faux Diamond technique in this post. The Designer Series Paper is from the Winter Frost Specialty DSP (132341)
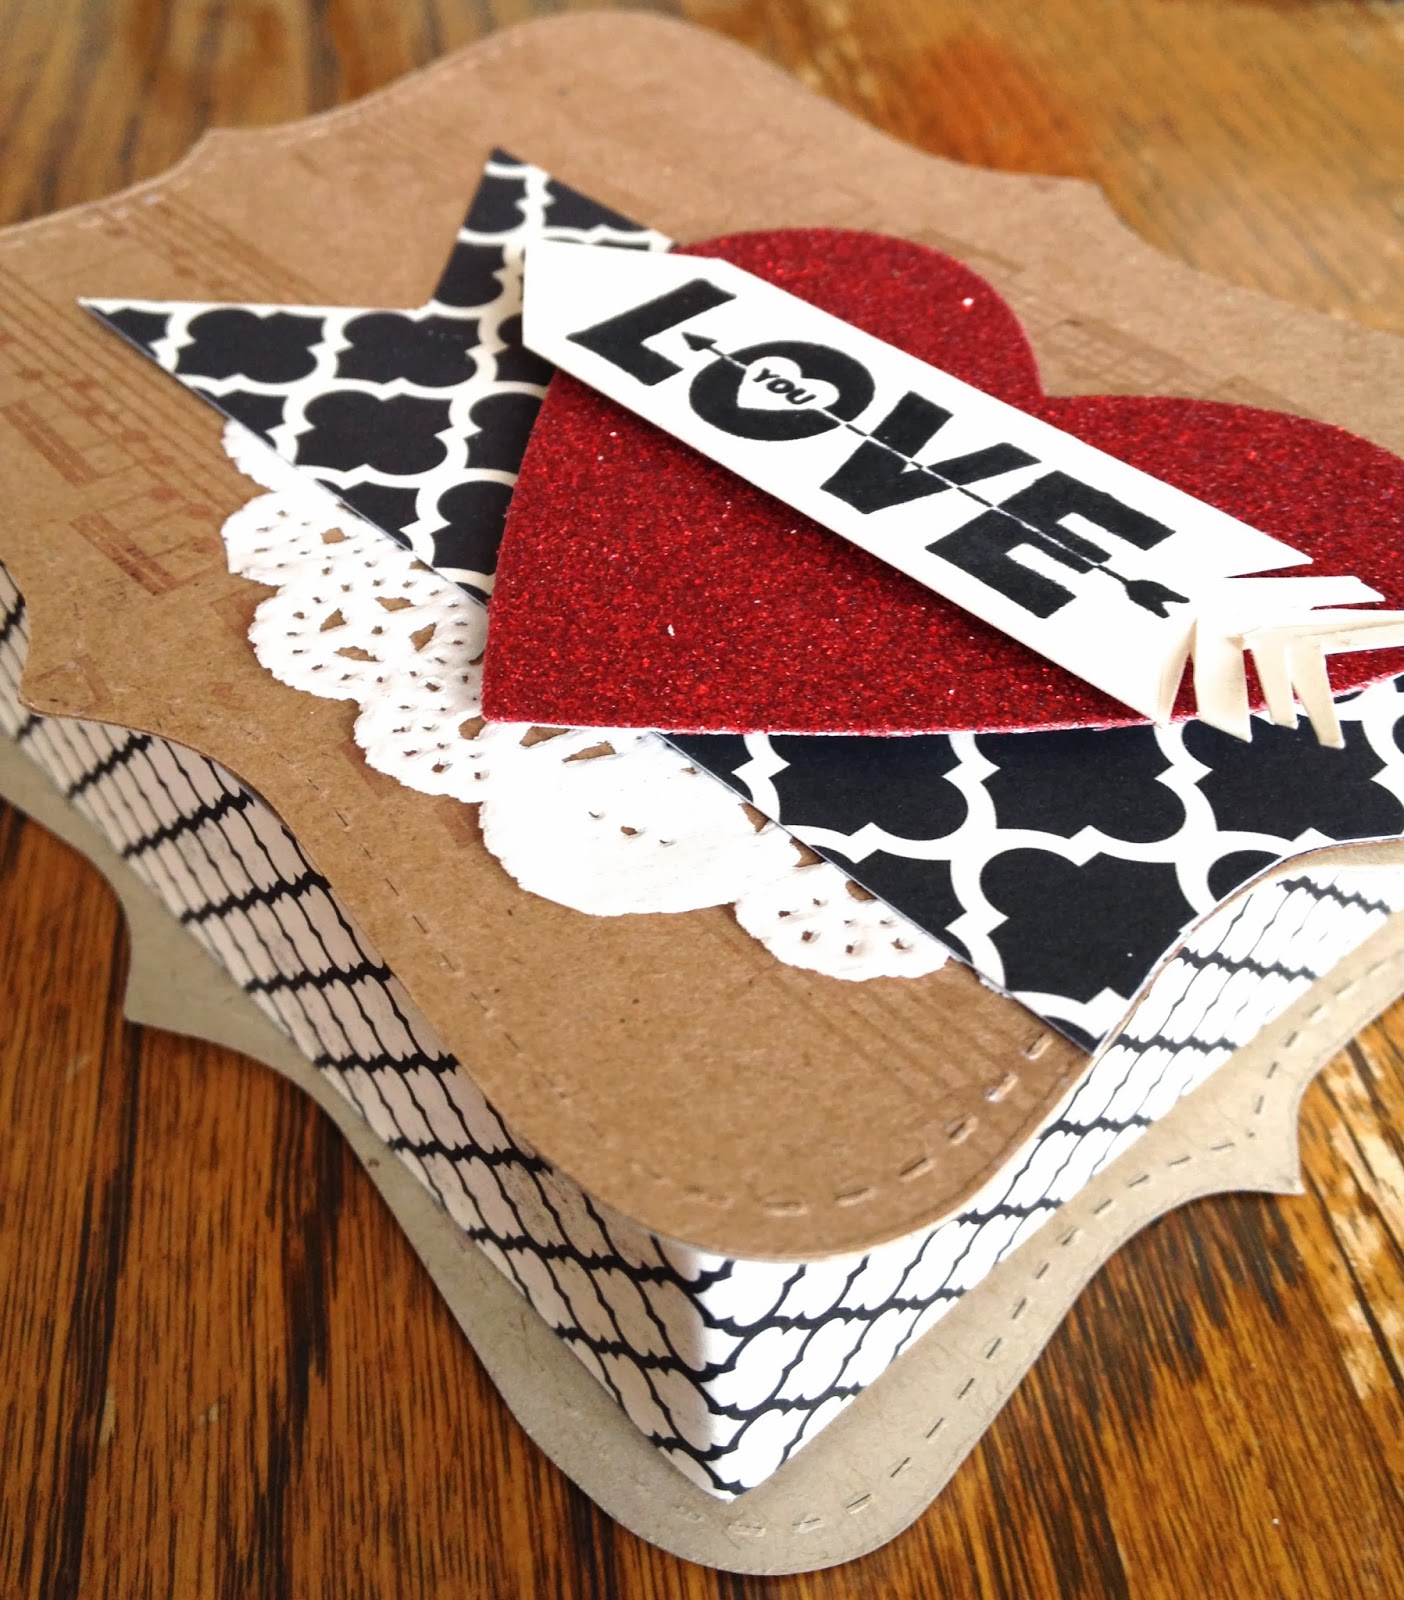
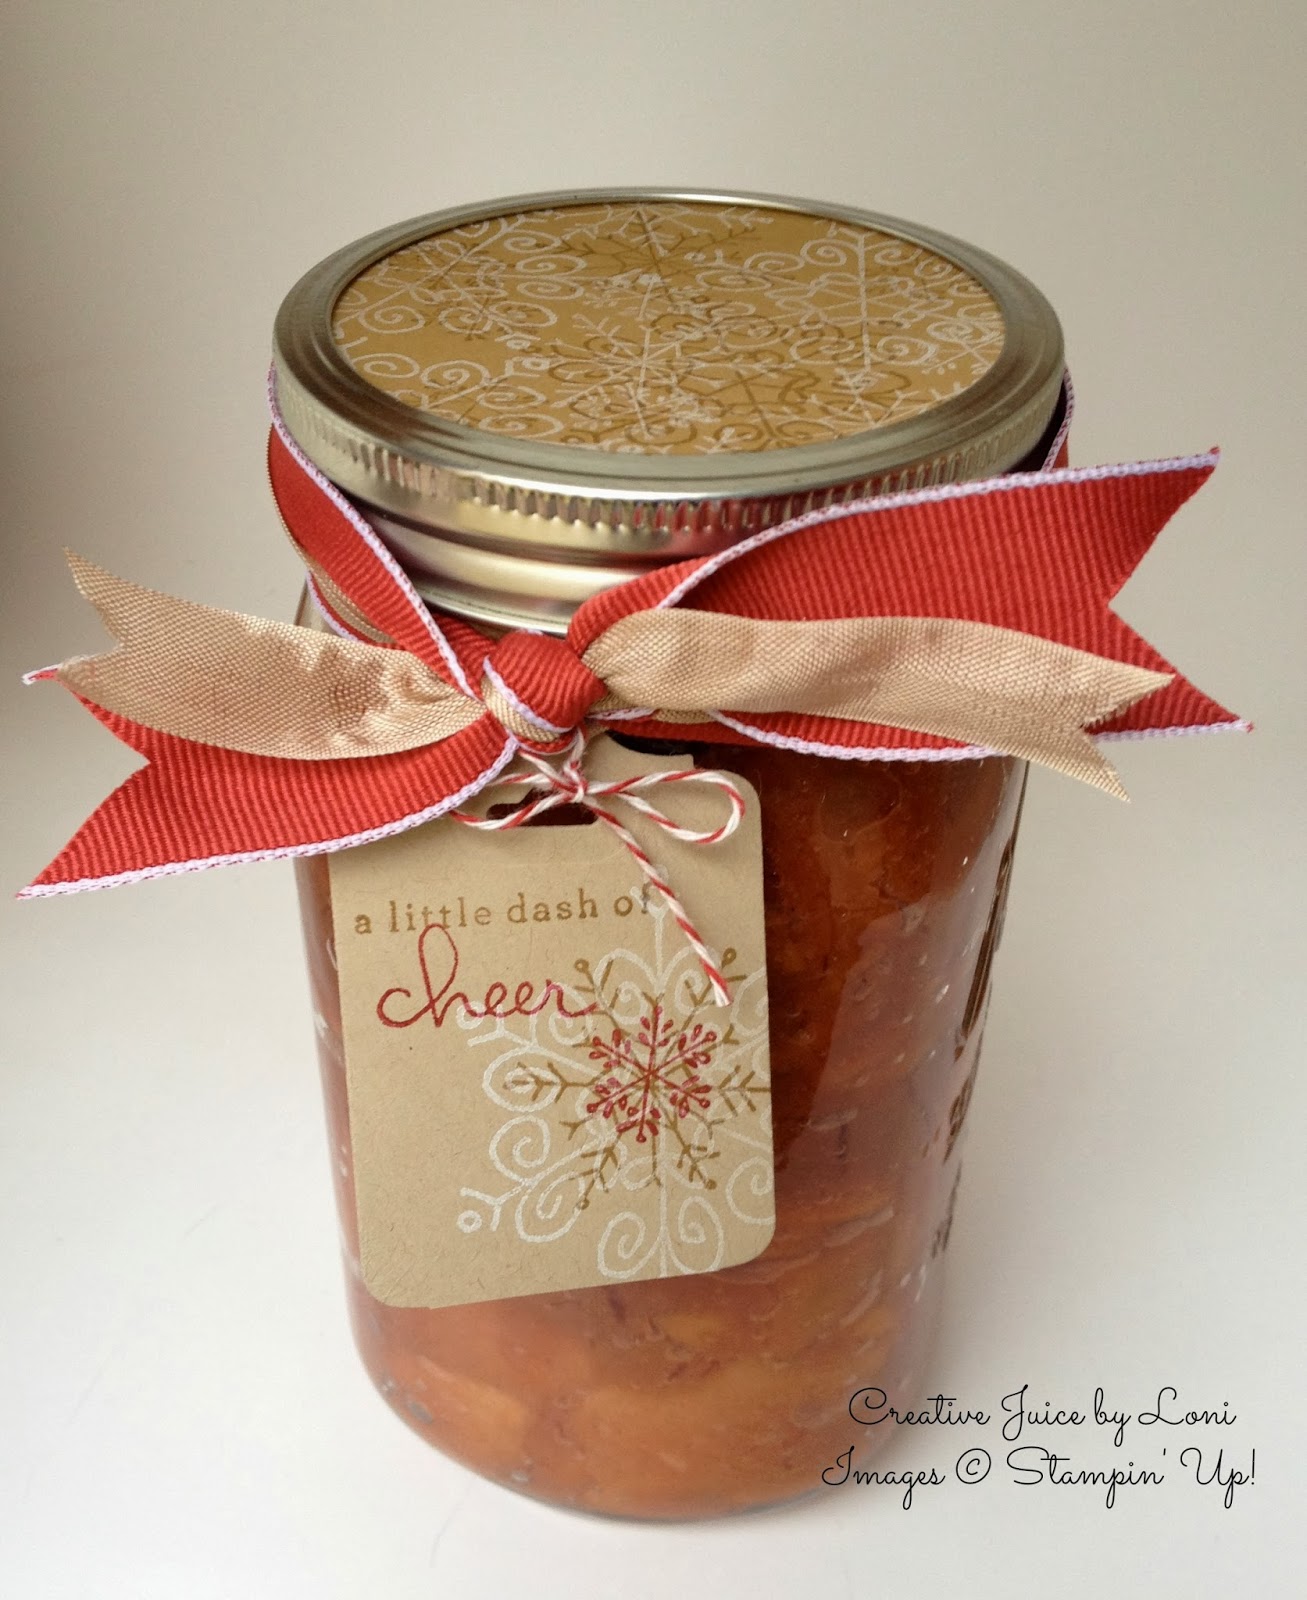
2. Random Stamping. Just go crazy with it. Let them overlap, go off the edge of the paper and layer them on top of one another. I really loved the look of White/Baked Brown Sugar/Cherry Cobbler on Crumb Cake card stock and even stamped a piece to go on top of my jar of apple pie filling.
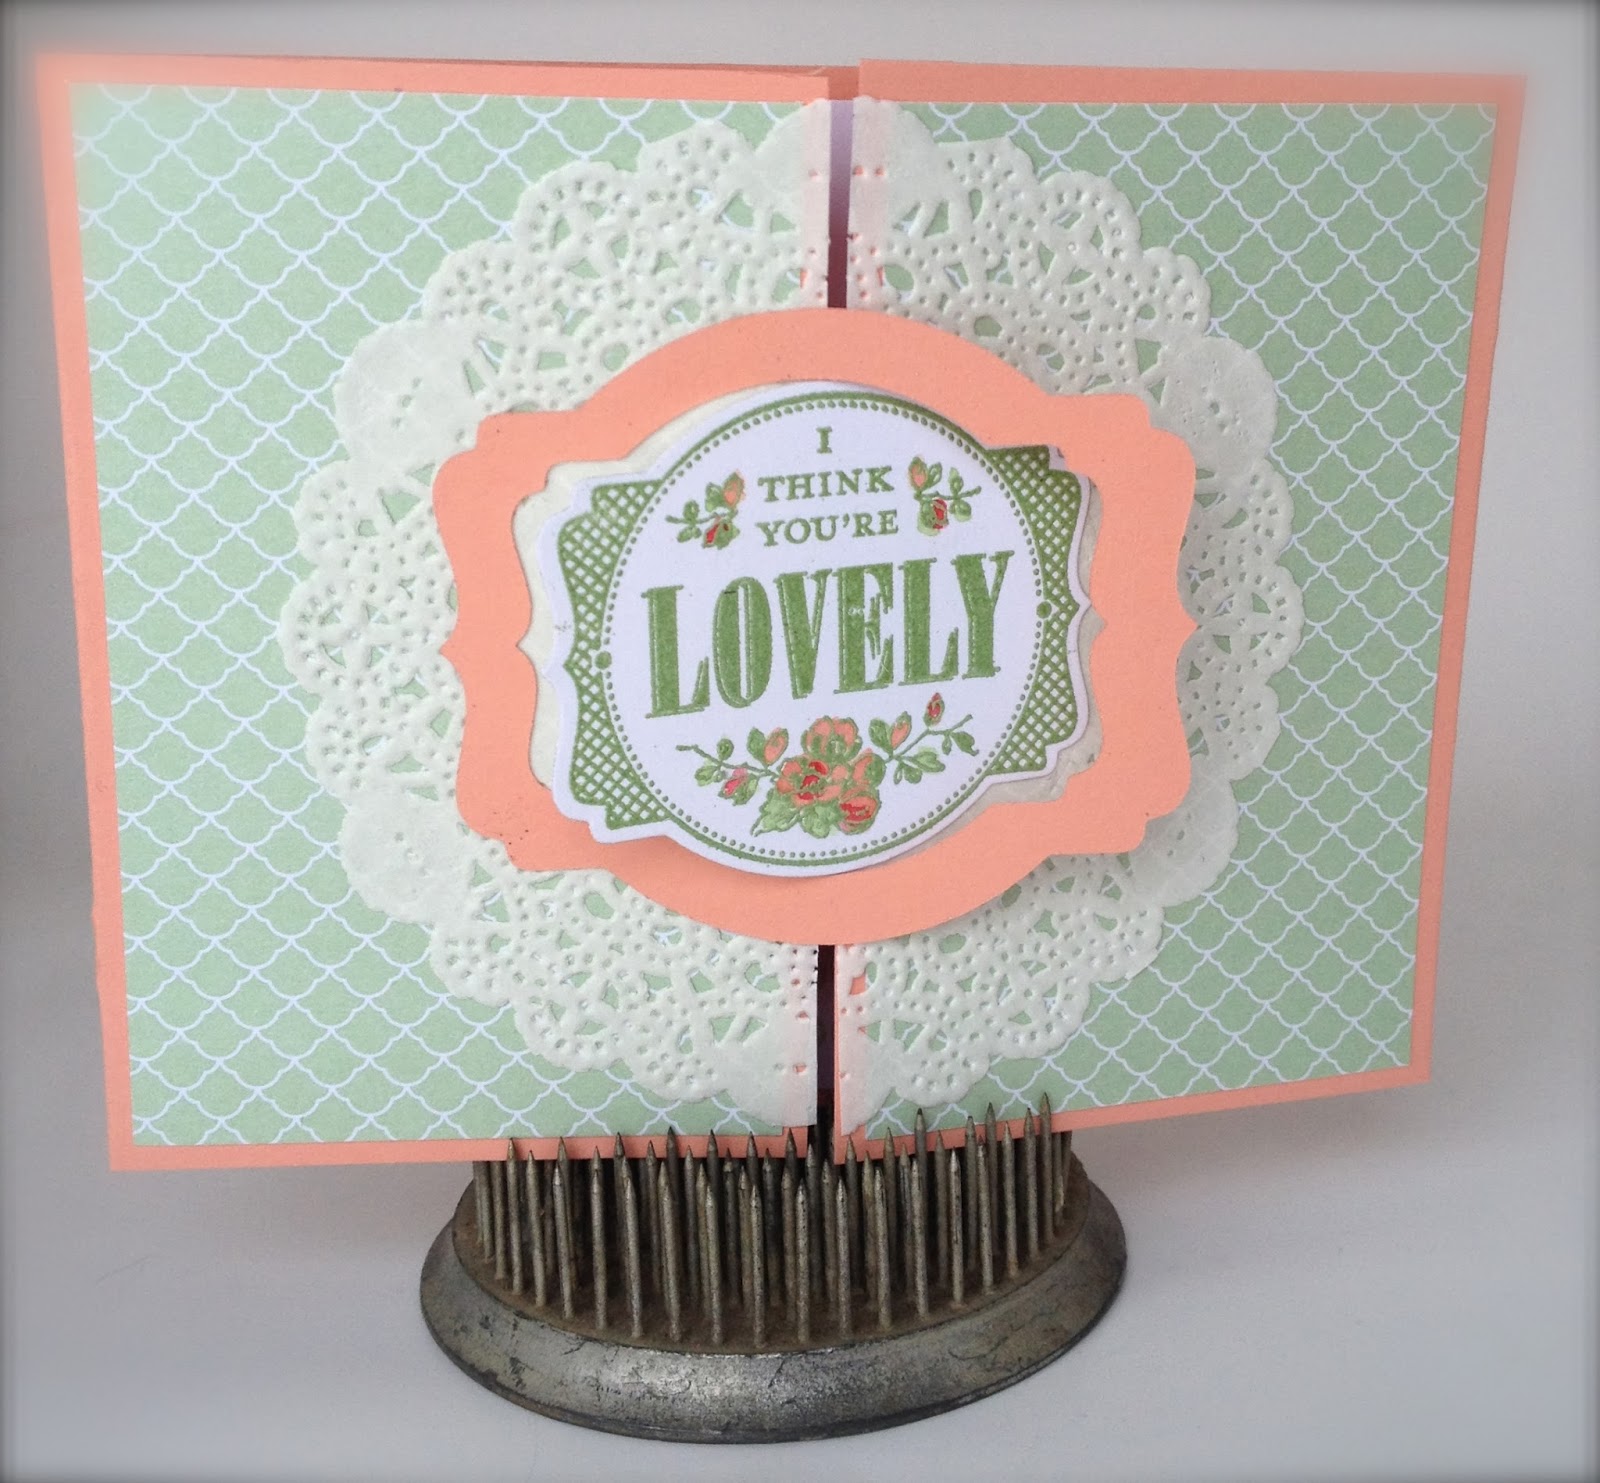
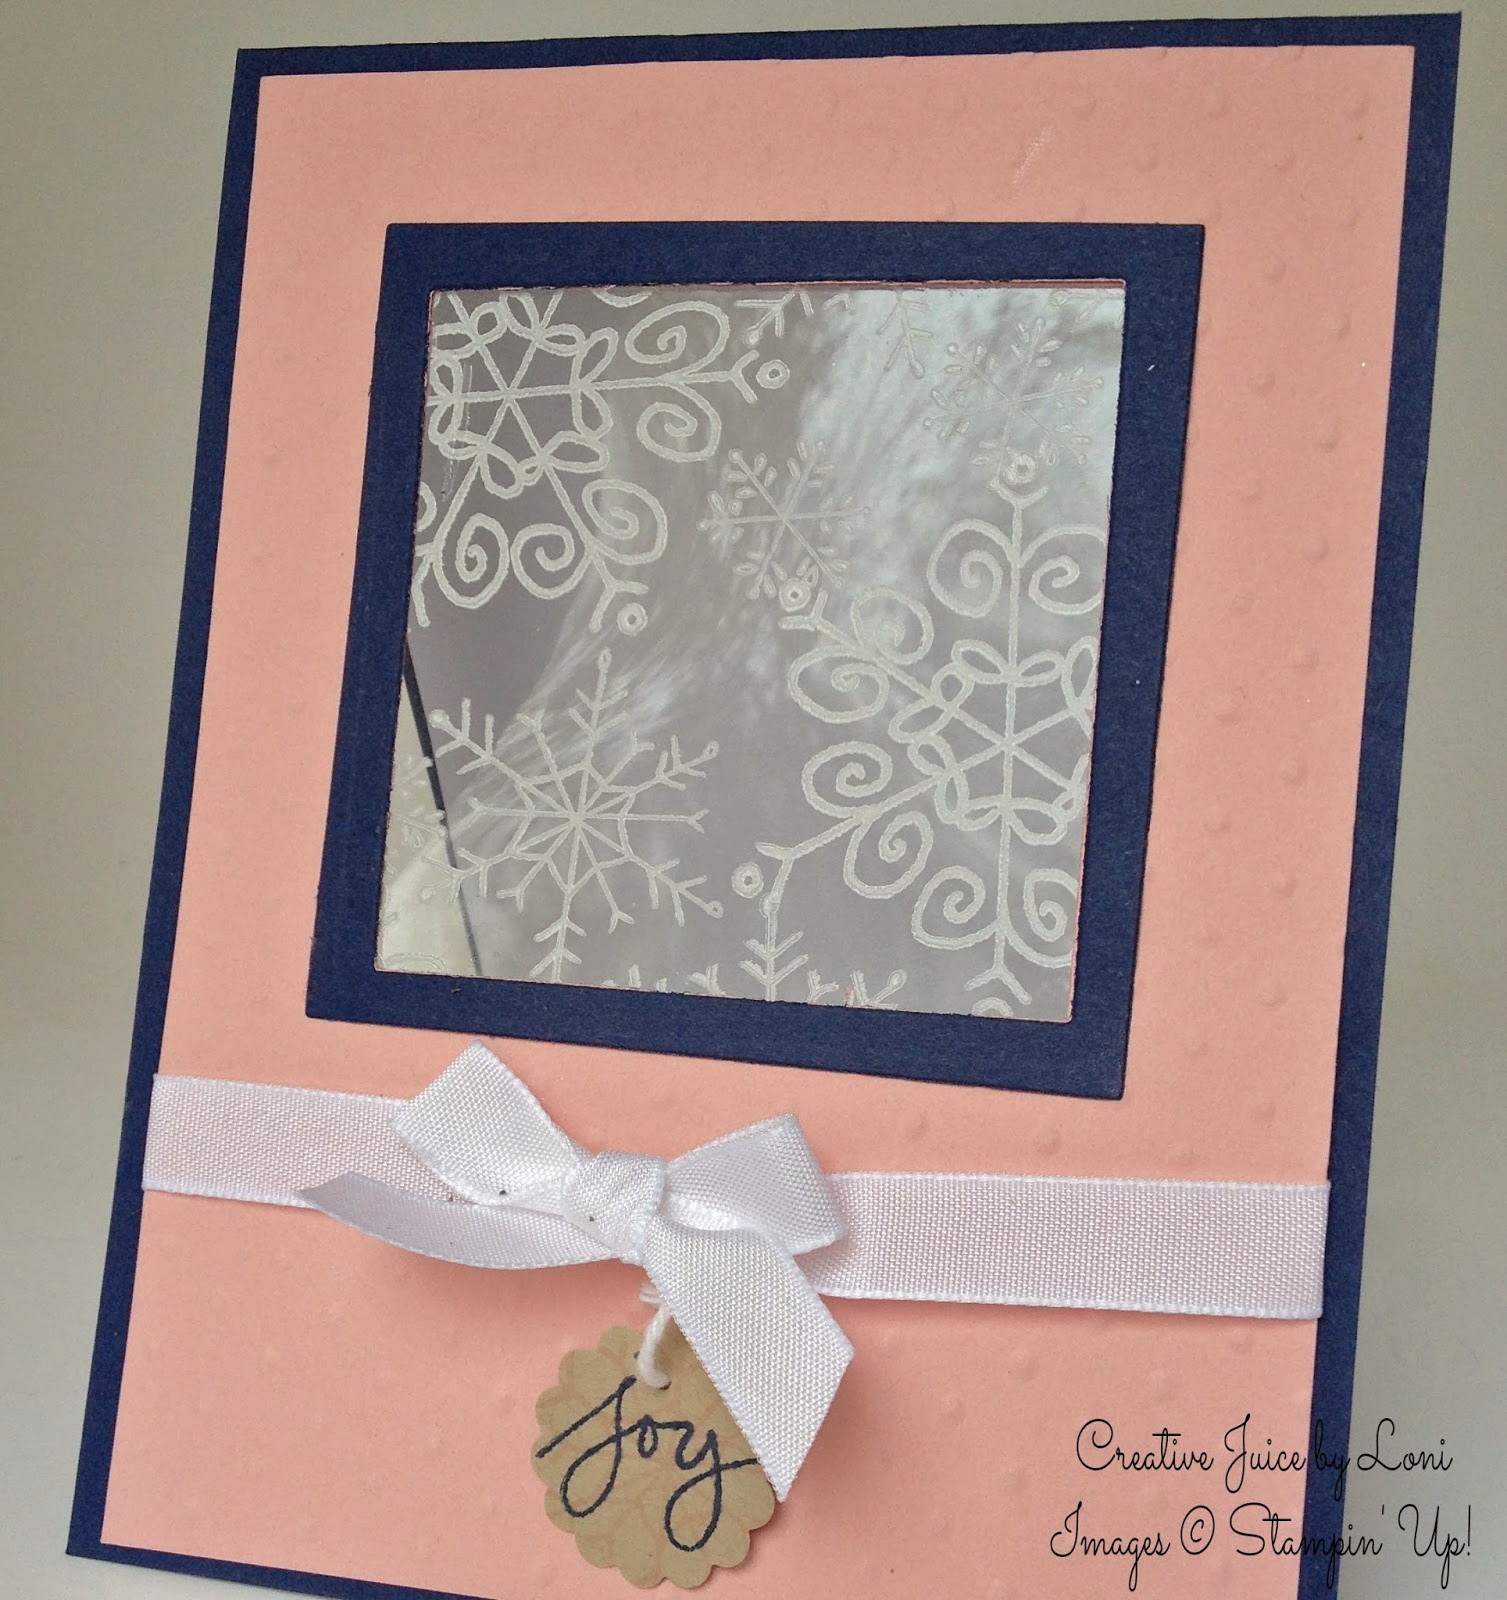
3. Make a Window. The Squares Collection Framelits (130921) and the Big Shot (113439) create perfect windows. I used a piece of a window sheet and stamped the snowflakes using the White Stazon ink pad (106960), then placed it between the Navy and (polka dot embossed) Blushing Bride layers to appear that you were gazing outside to a frost covered world.
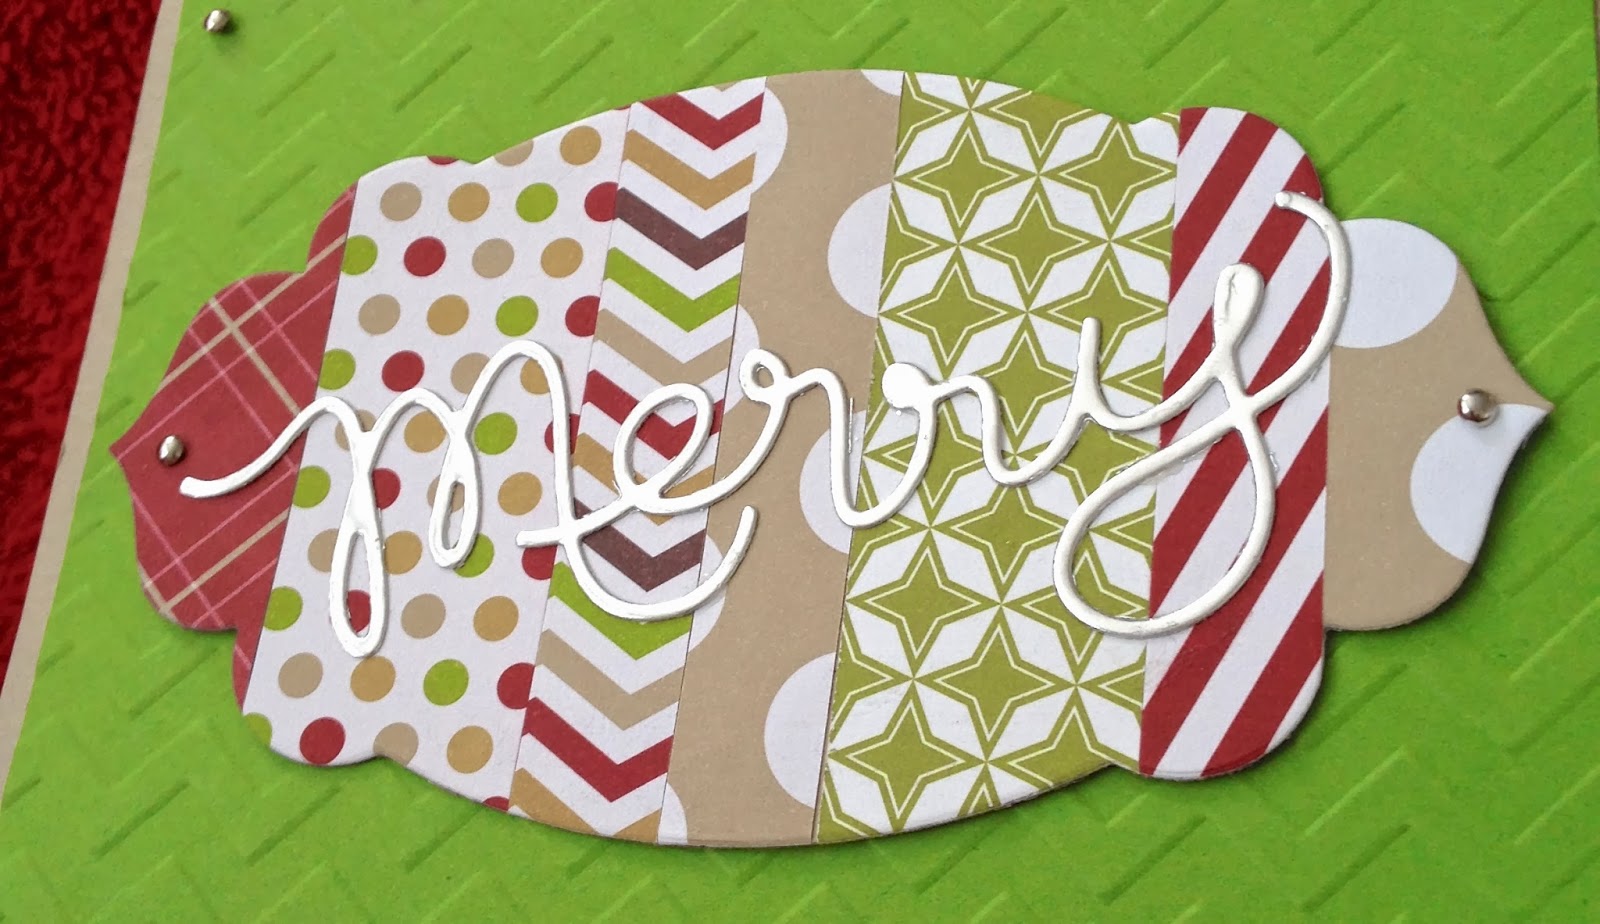
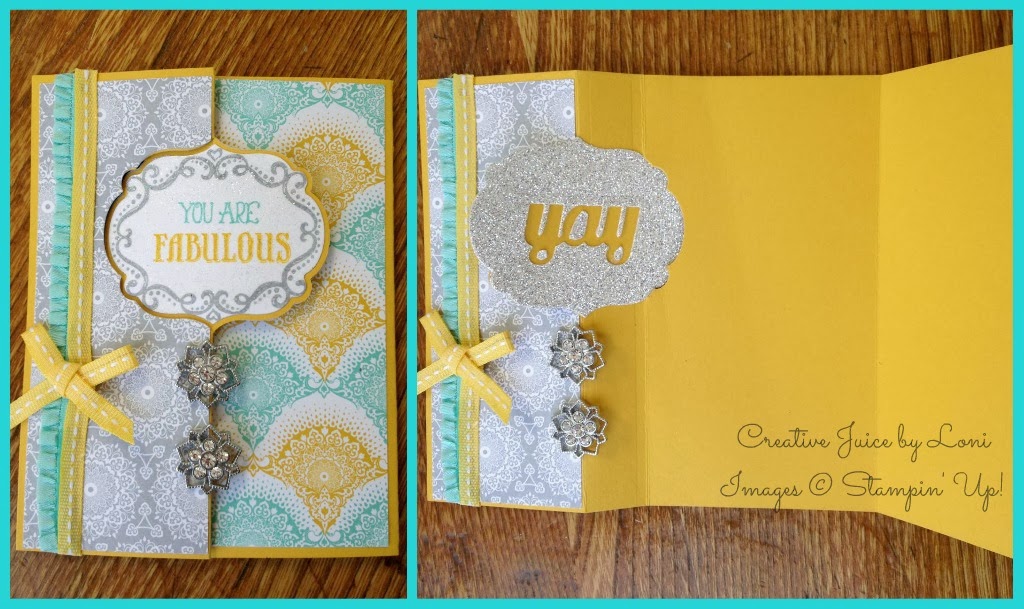
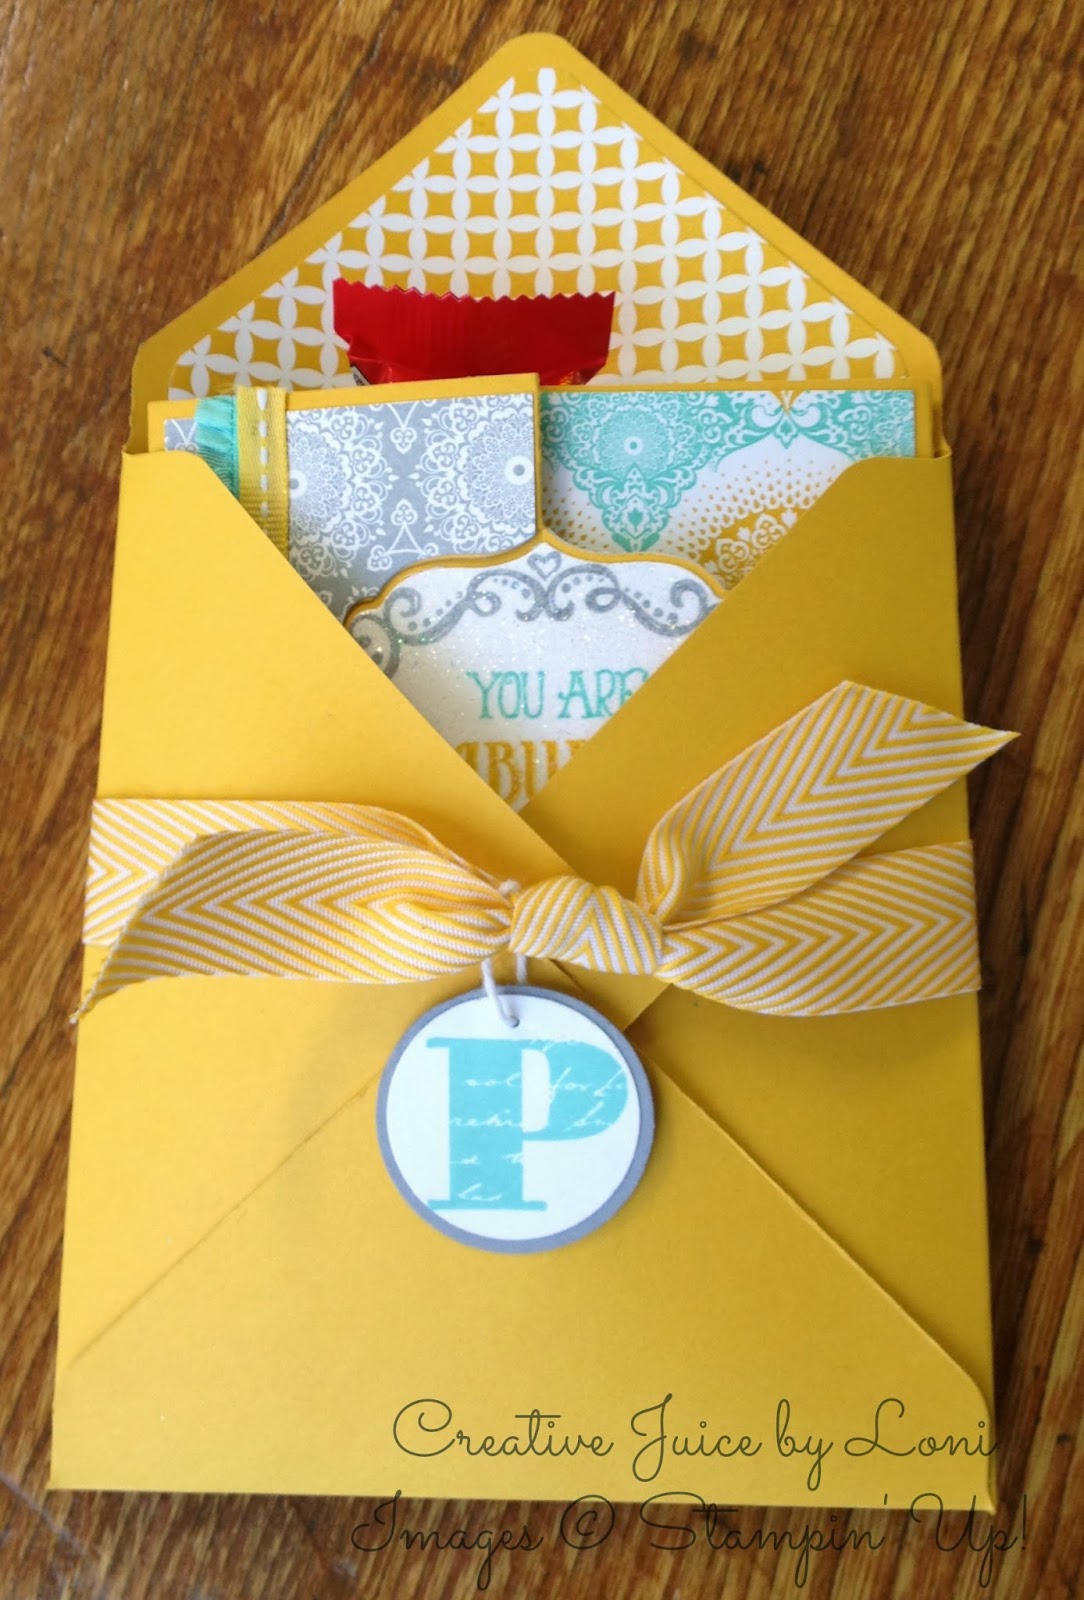
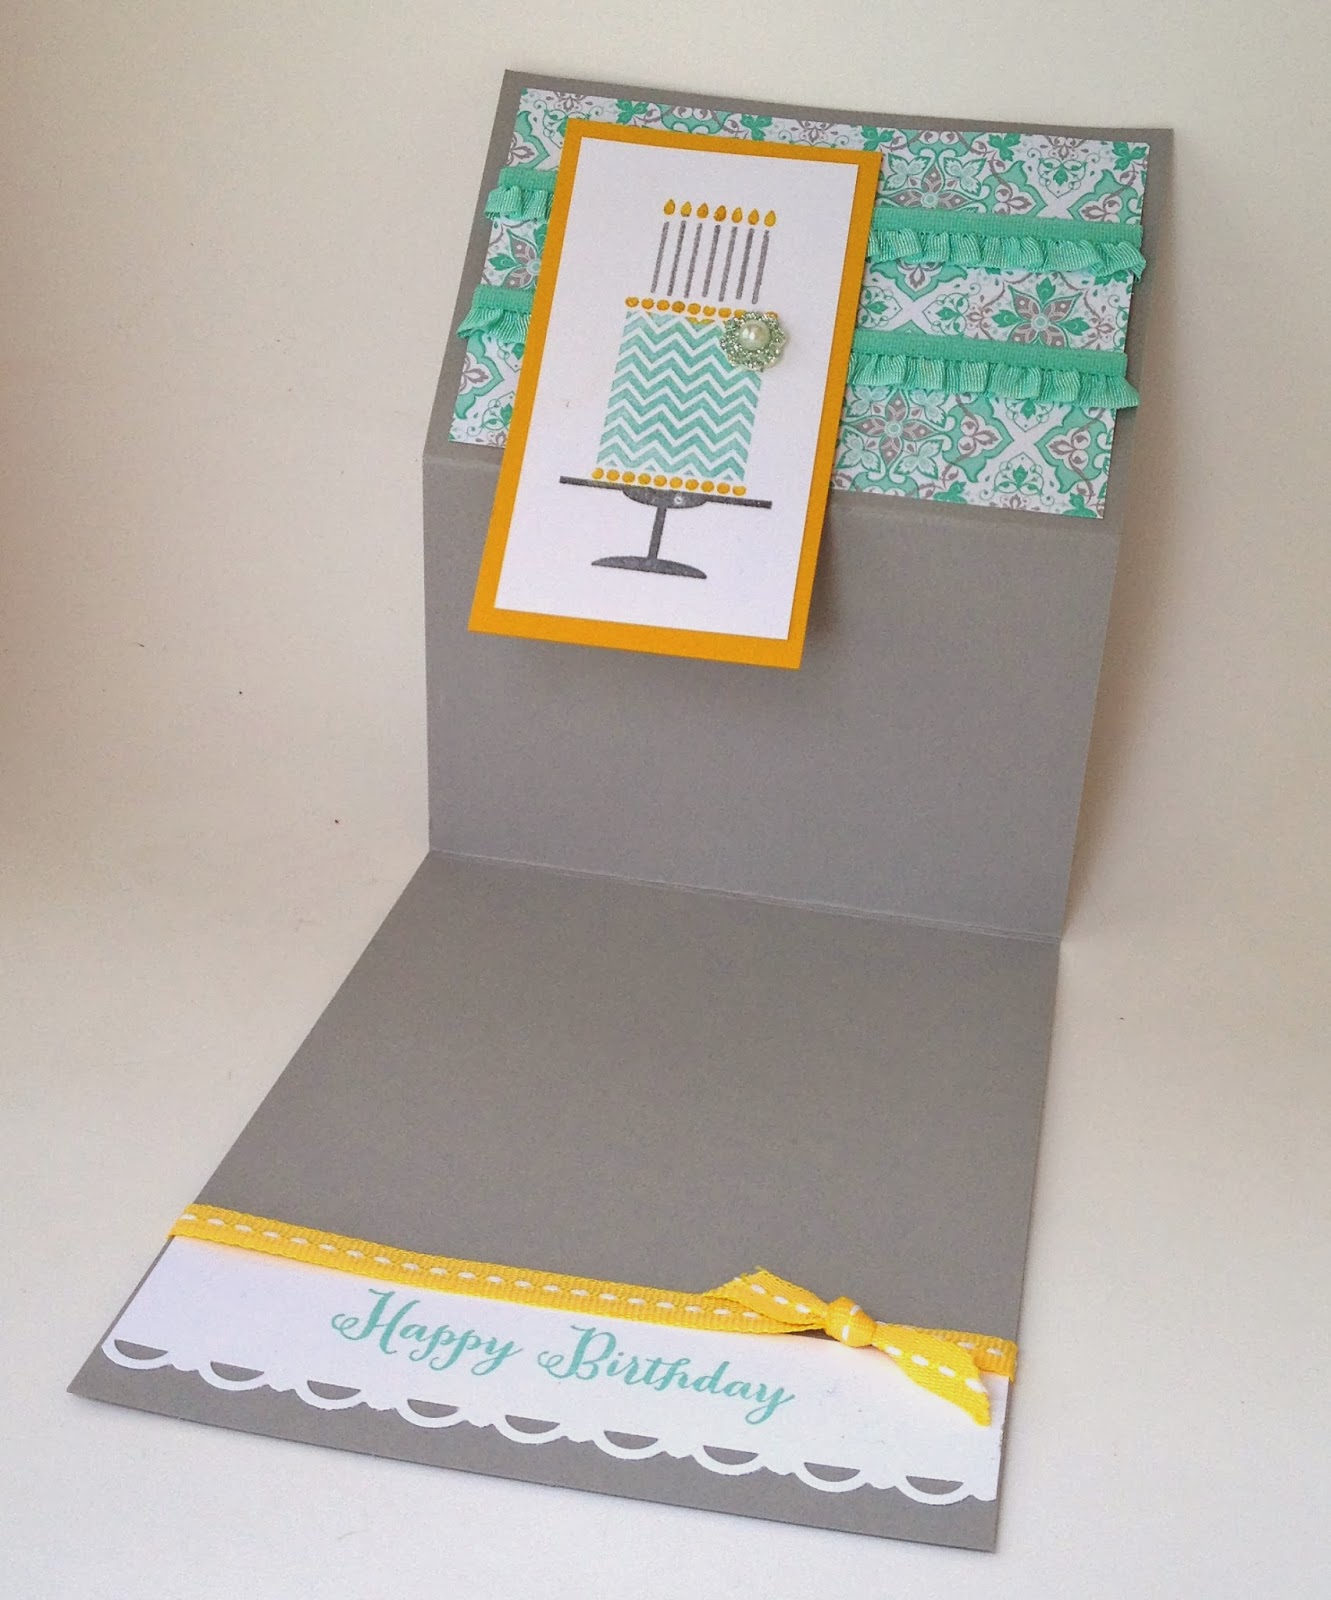
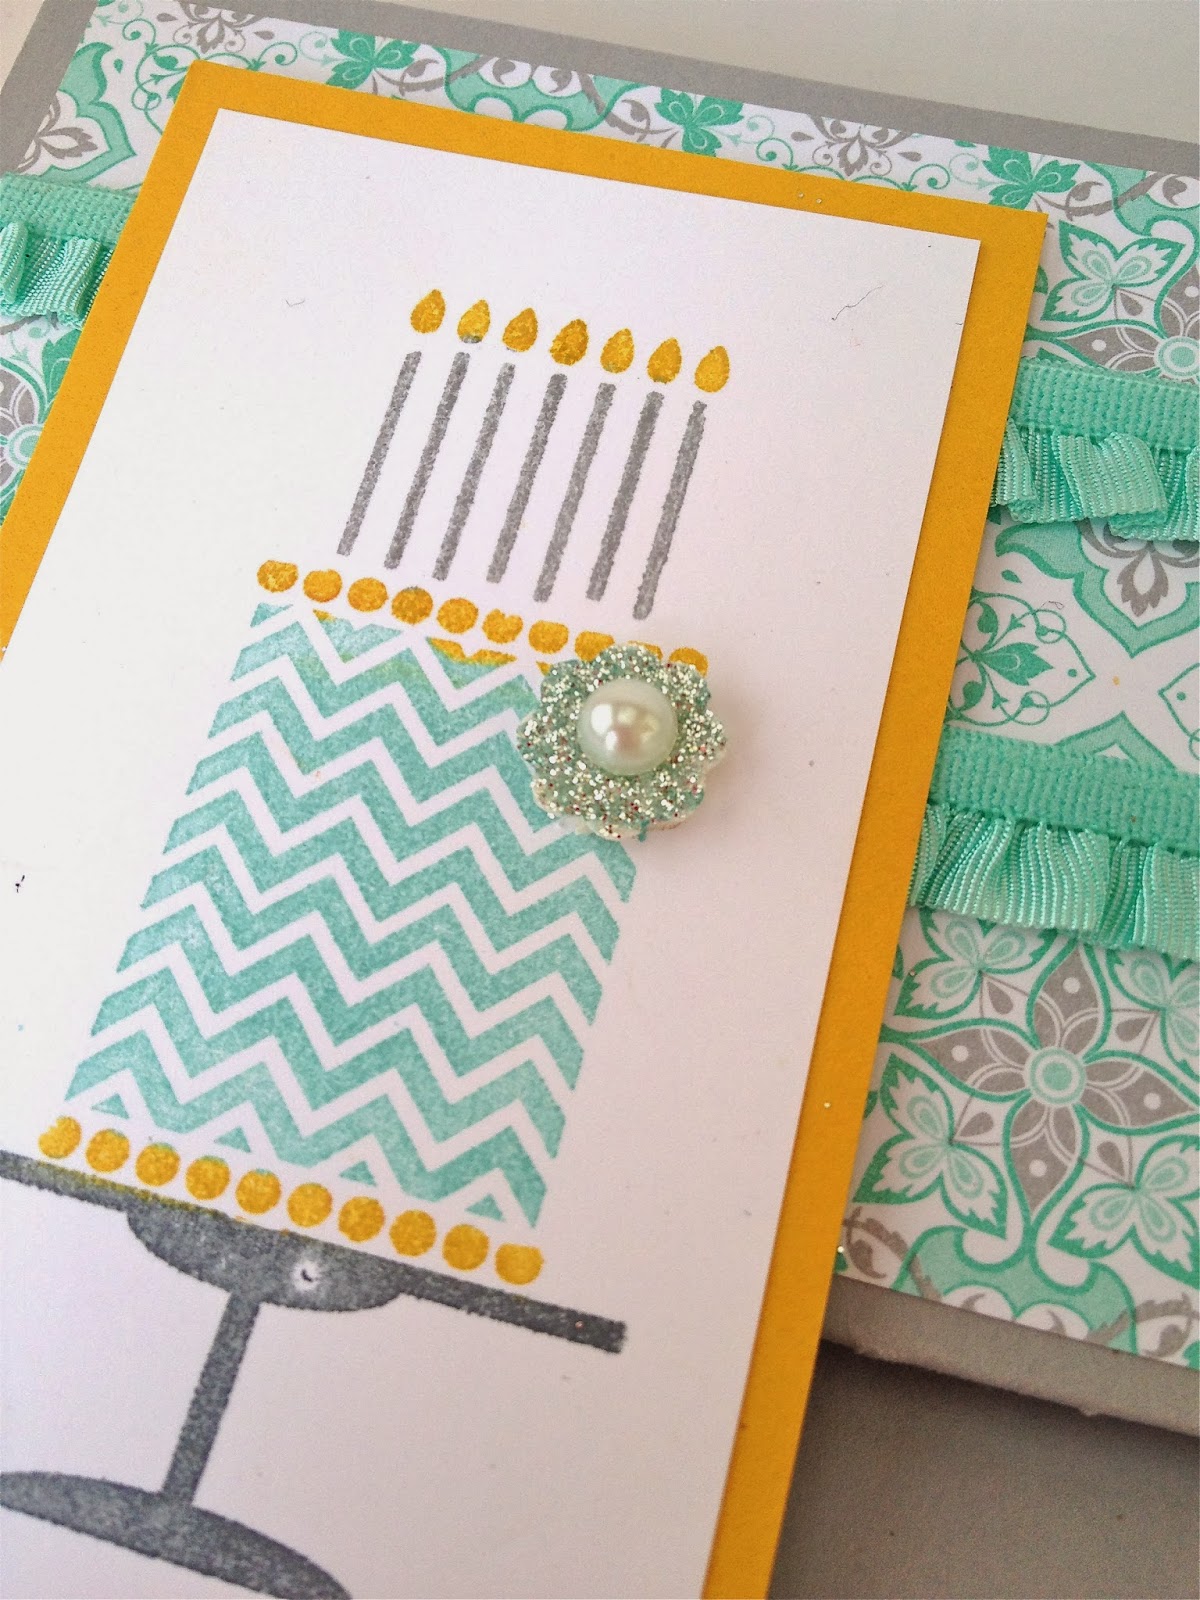
4. Use the Words. While the snowflakes are delicate and delightful, the words are what sold me on this set. It’s awesome to be able to mix up the script with the print and come up with dozens of greetings. So cute! I paired the greetings with some of the Season of Style Designer Series Paper (132340), the 1″ Cherry Cobbler Grosgrain ribbon (132135) and Cherry Cobbler Baker’s Twine (123125) and a Vintage Faceted Designer Button (127555).
5. Monochrome Embossing. The words & snowflakes on the white were simply stamped using the Silver Encore pad (132141) and I embossed in silver on the Silver Foil Sheet (132178). This card is stunning in person, though the photo doesn’t do it justice (sorry…I tried). Just because it needed MORE bling, I added the Silver Glimmer paper (124005) as a layer, too!
Stamped snowflakes are much warmer than the real thing, eh?


