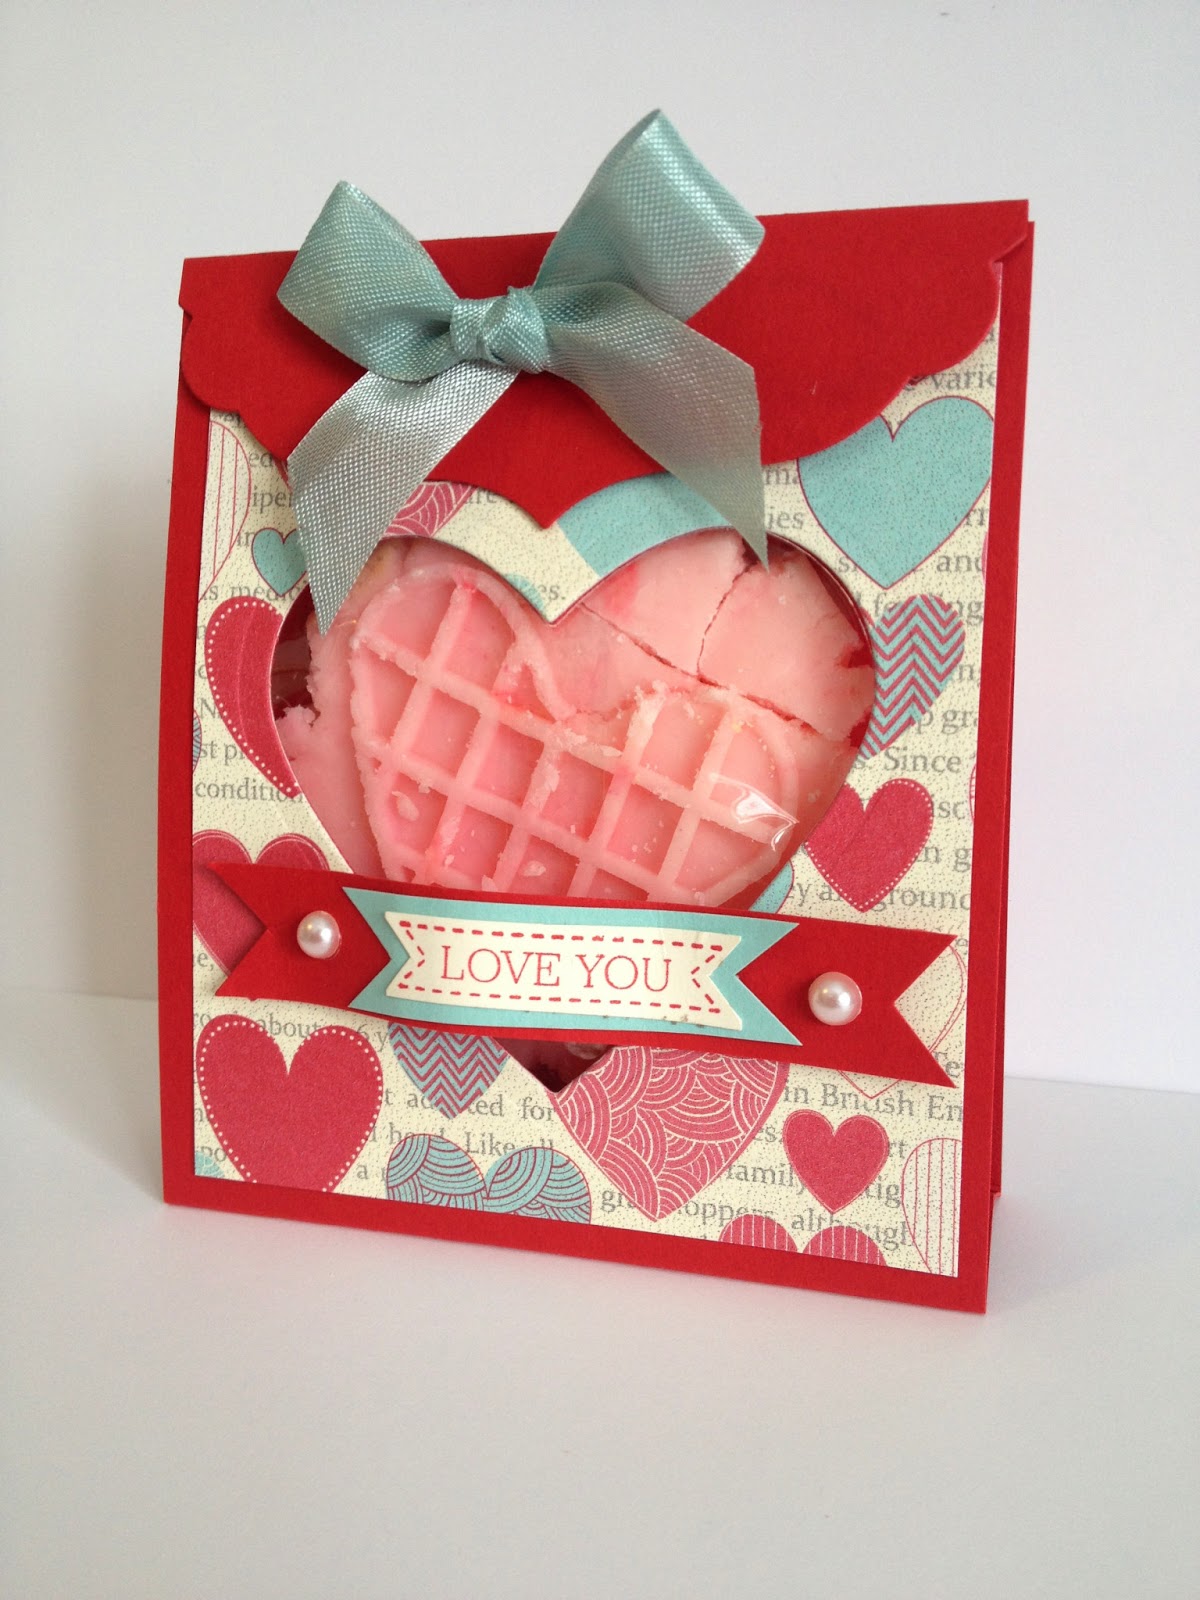
Sugar is the “other” food group and when you combine cream cheese and sugar, I am in love! When I found a Cream Cheese Mint recipe on Pinterest, I knew I had to try it with the SU! cookie stamps. It gets better: Over at Create with Connie & Mary, the creative challenge was to make a treat holder, AND Valentine’s Day is just 48 hours away, so let’s start with the finished product, then I’ll walk you through it 🙂
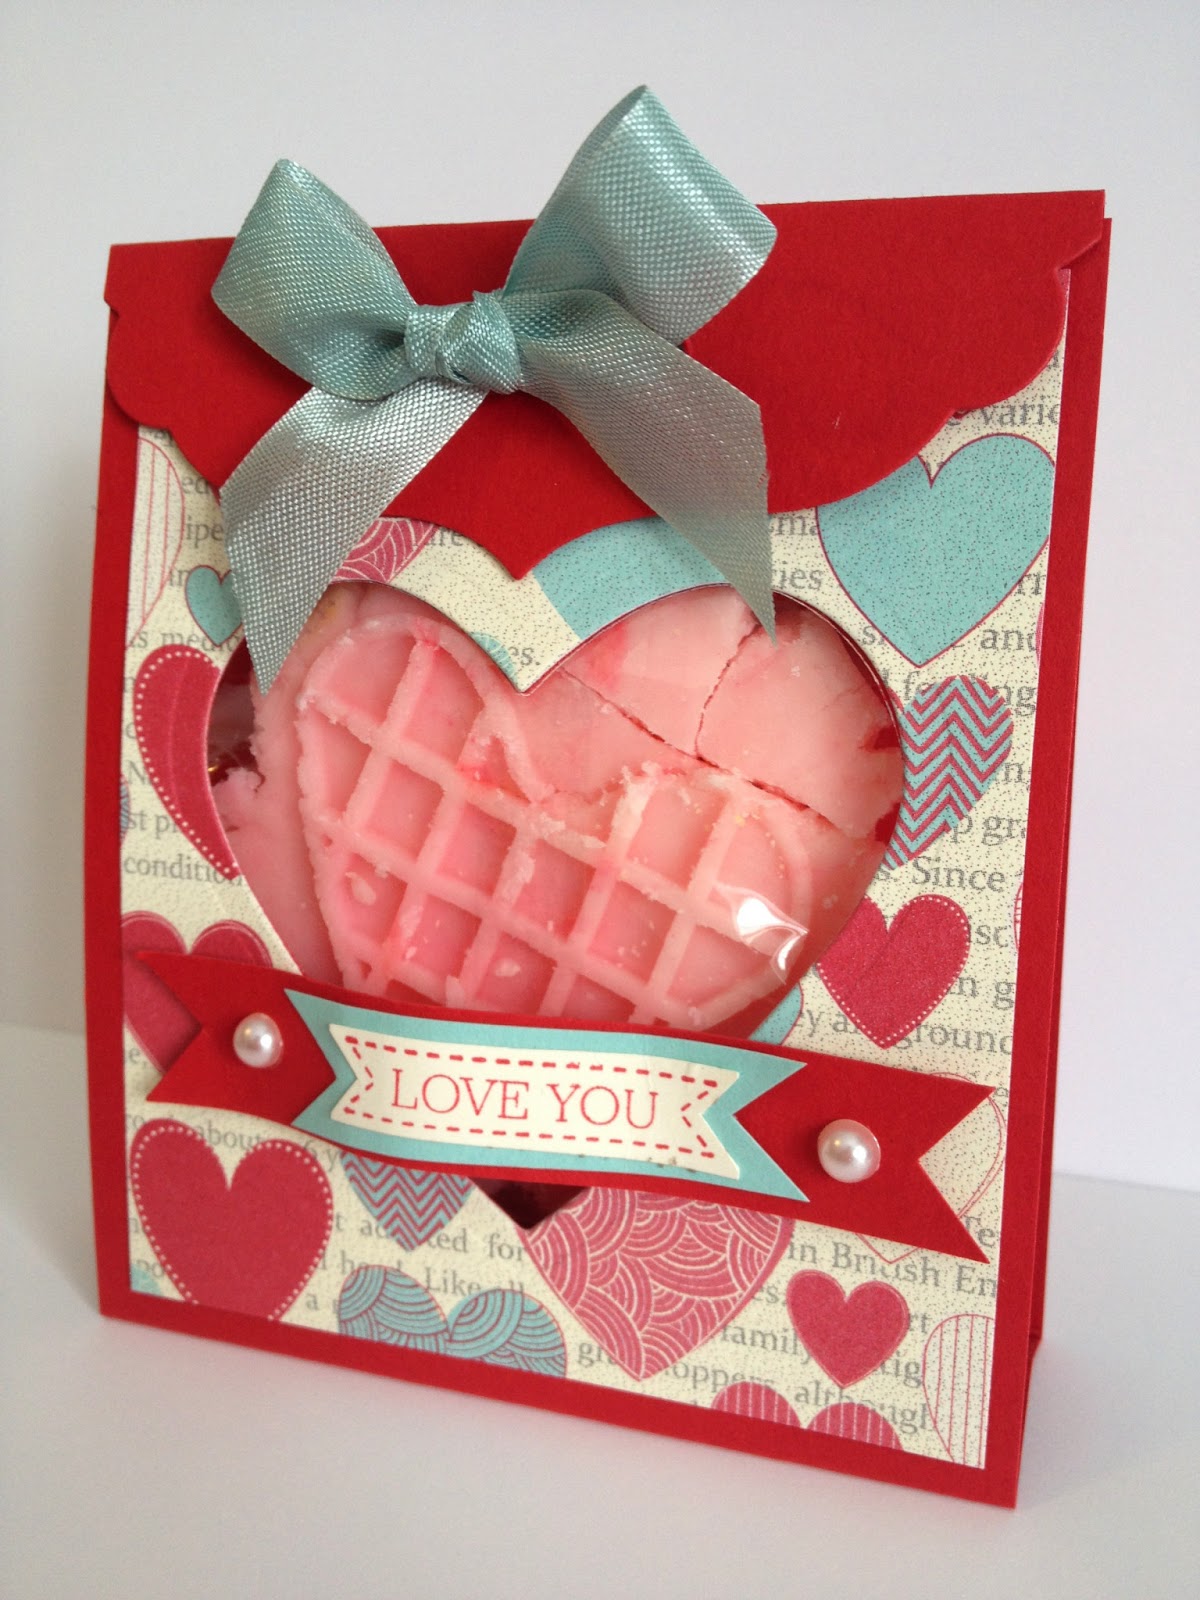
Adorable, huh? My mint cracked after I got it all finished, but that’s okay because I have more pictures of the mints along with the recipe, so just hang on…
First, the treat holder recipe (all supplies from Stampin’ Up!):
- Card stock: Real Red, Pool Party, Very Vanilla
- Designer Series Paper: More Amore (129309)
- Ink: Real Red (126949)
- Stamps: Itty Bitty Banners (Catalog pg. 134)
- Ribbon: Pool Party 1/2″ Seam Binding (125582)
- Pearl Basic Jewels (119247)
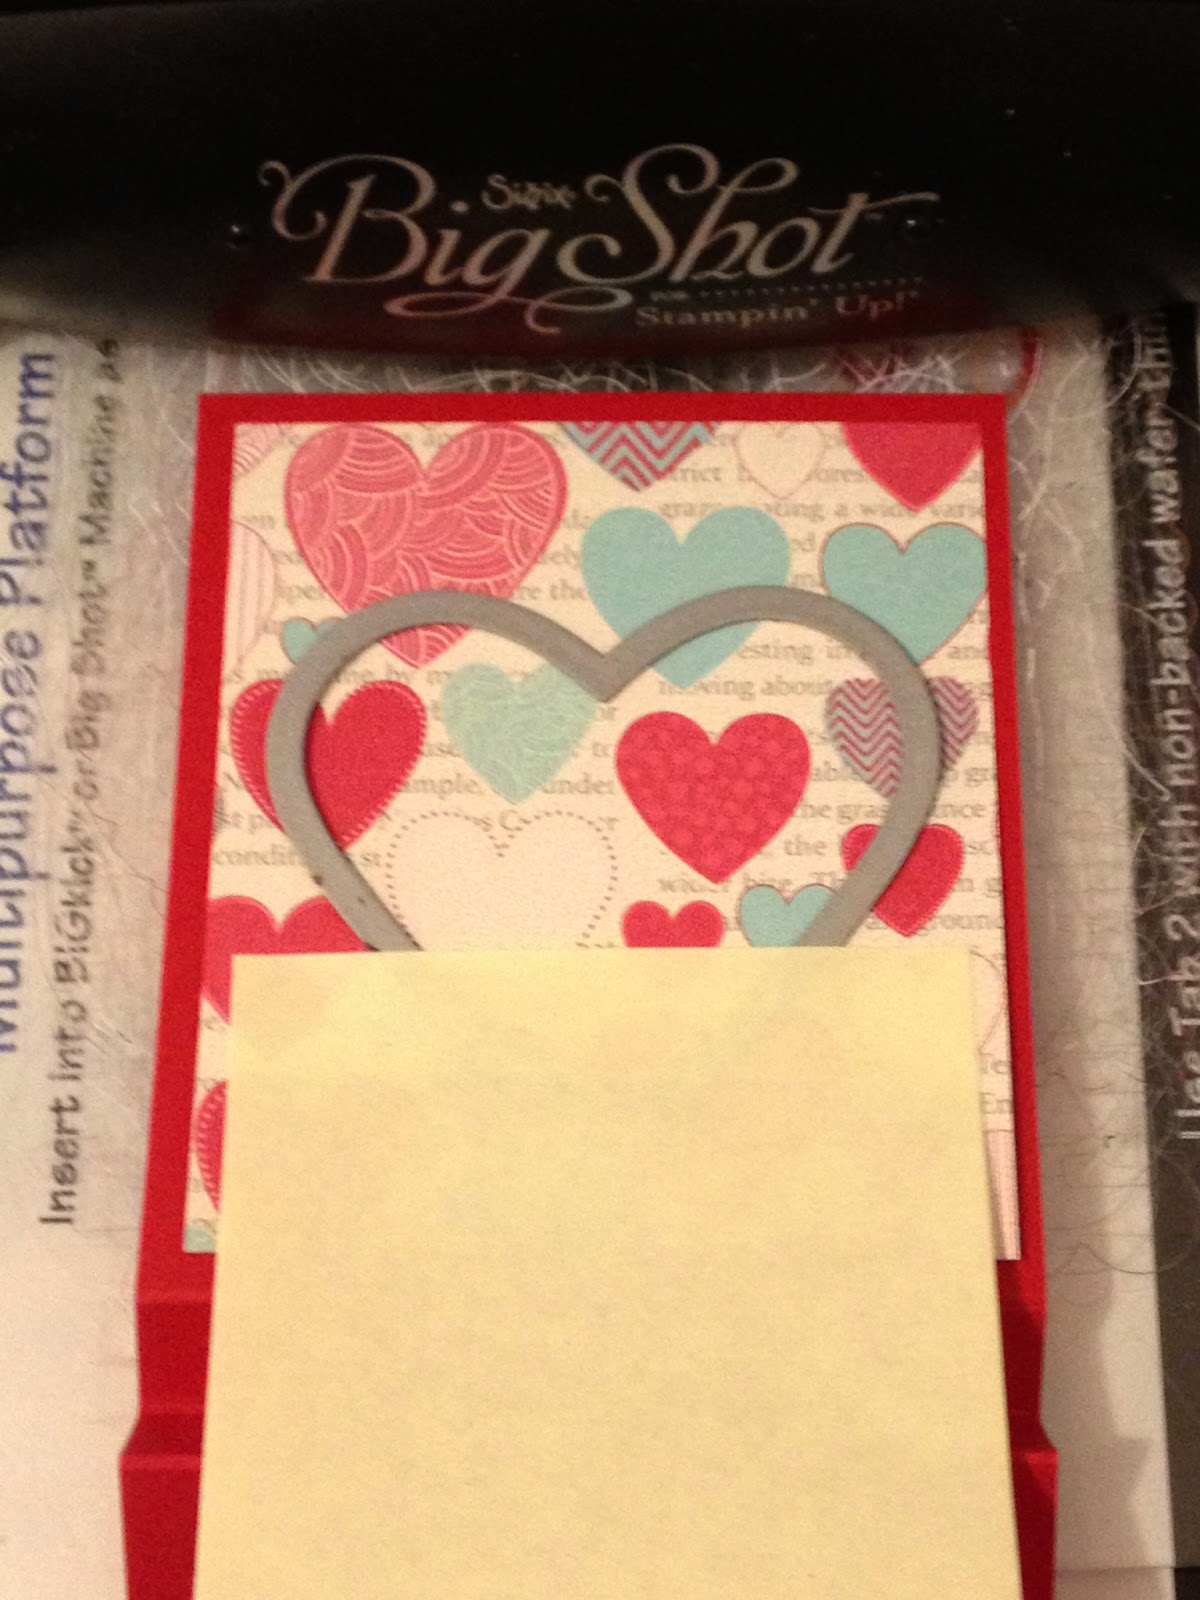
- Labels Collection Framelits (125598), Hearts Collection Framelits (125599) and Big Shot Machine (113439)
- Simply Scored Tool (122334)
And here’s a simple tutorial:

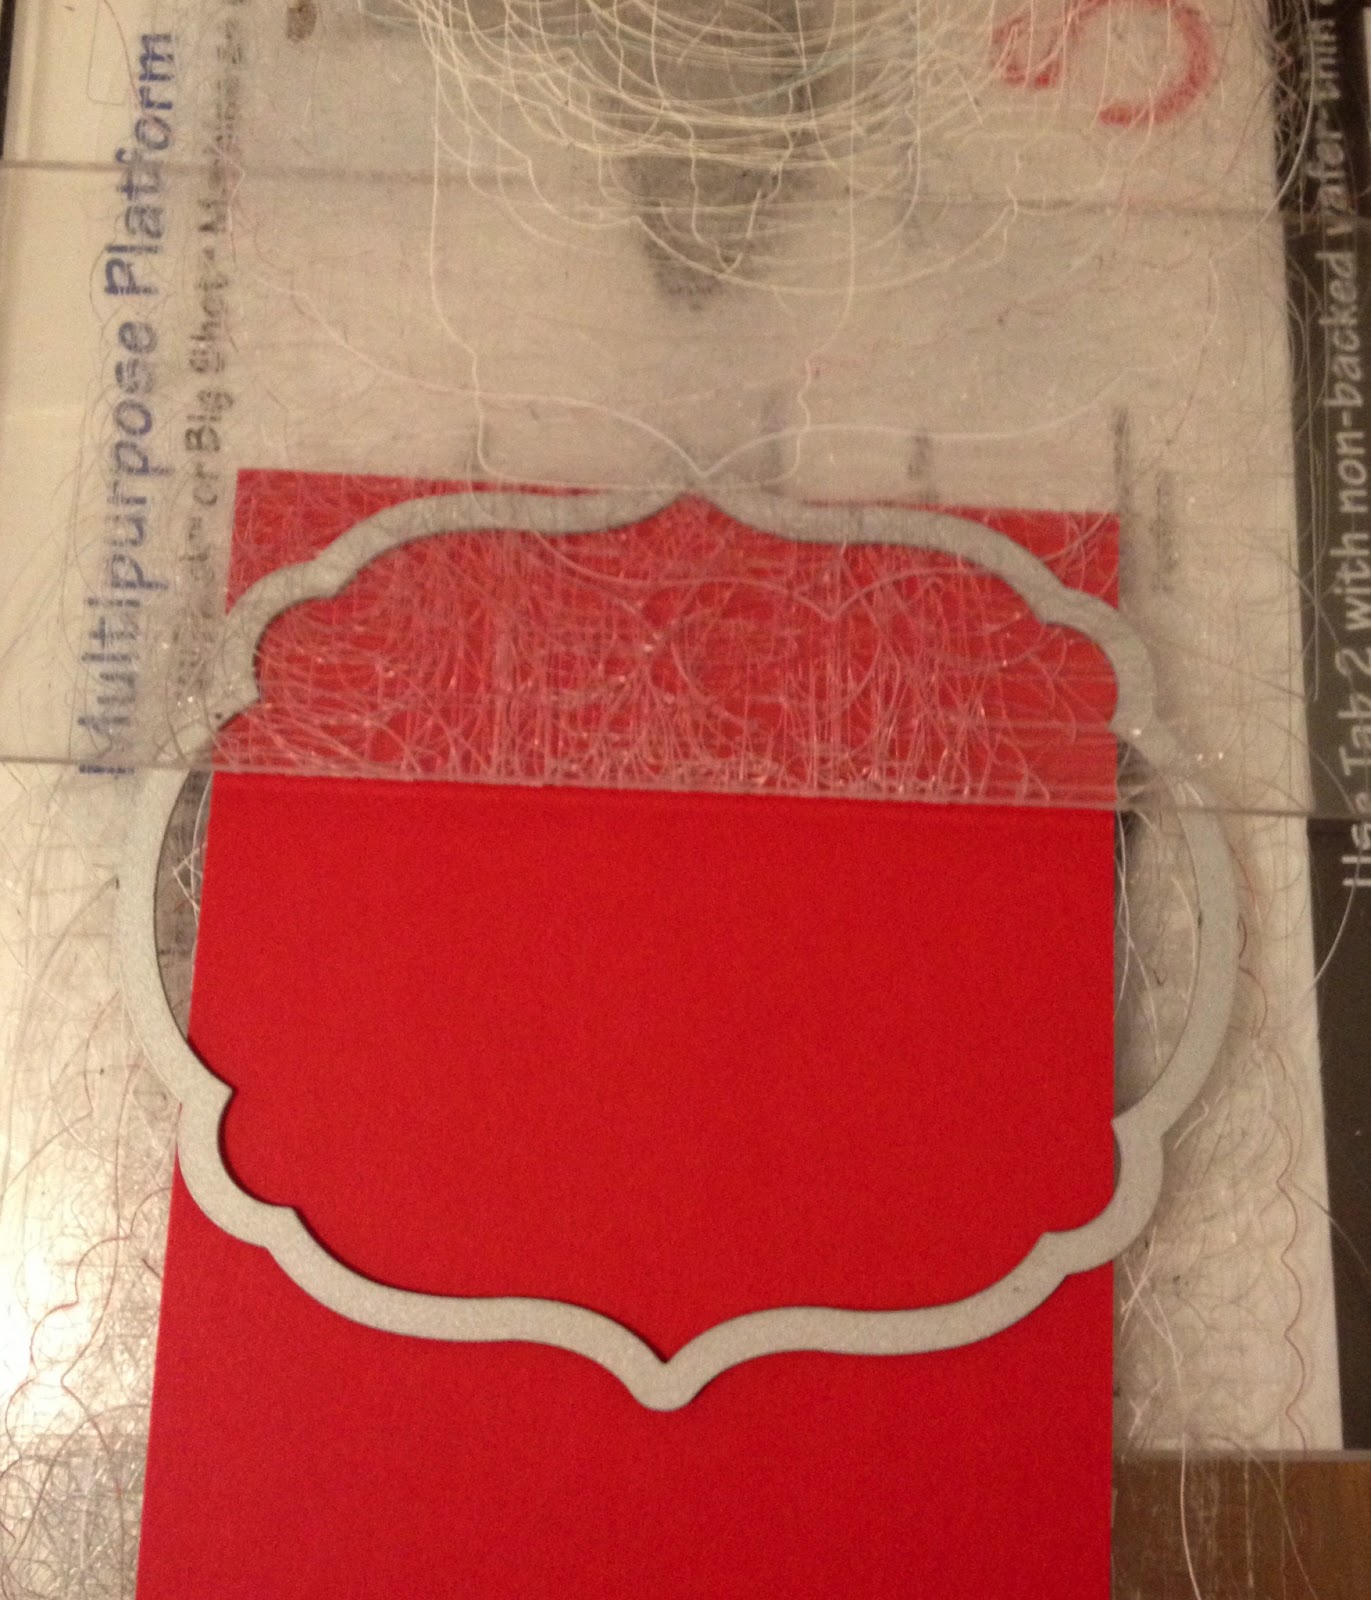
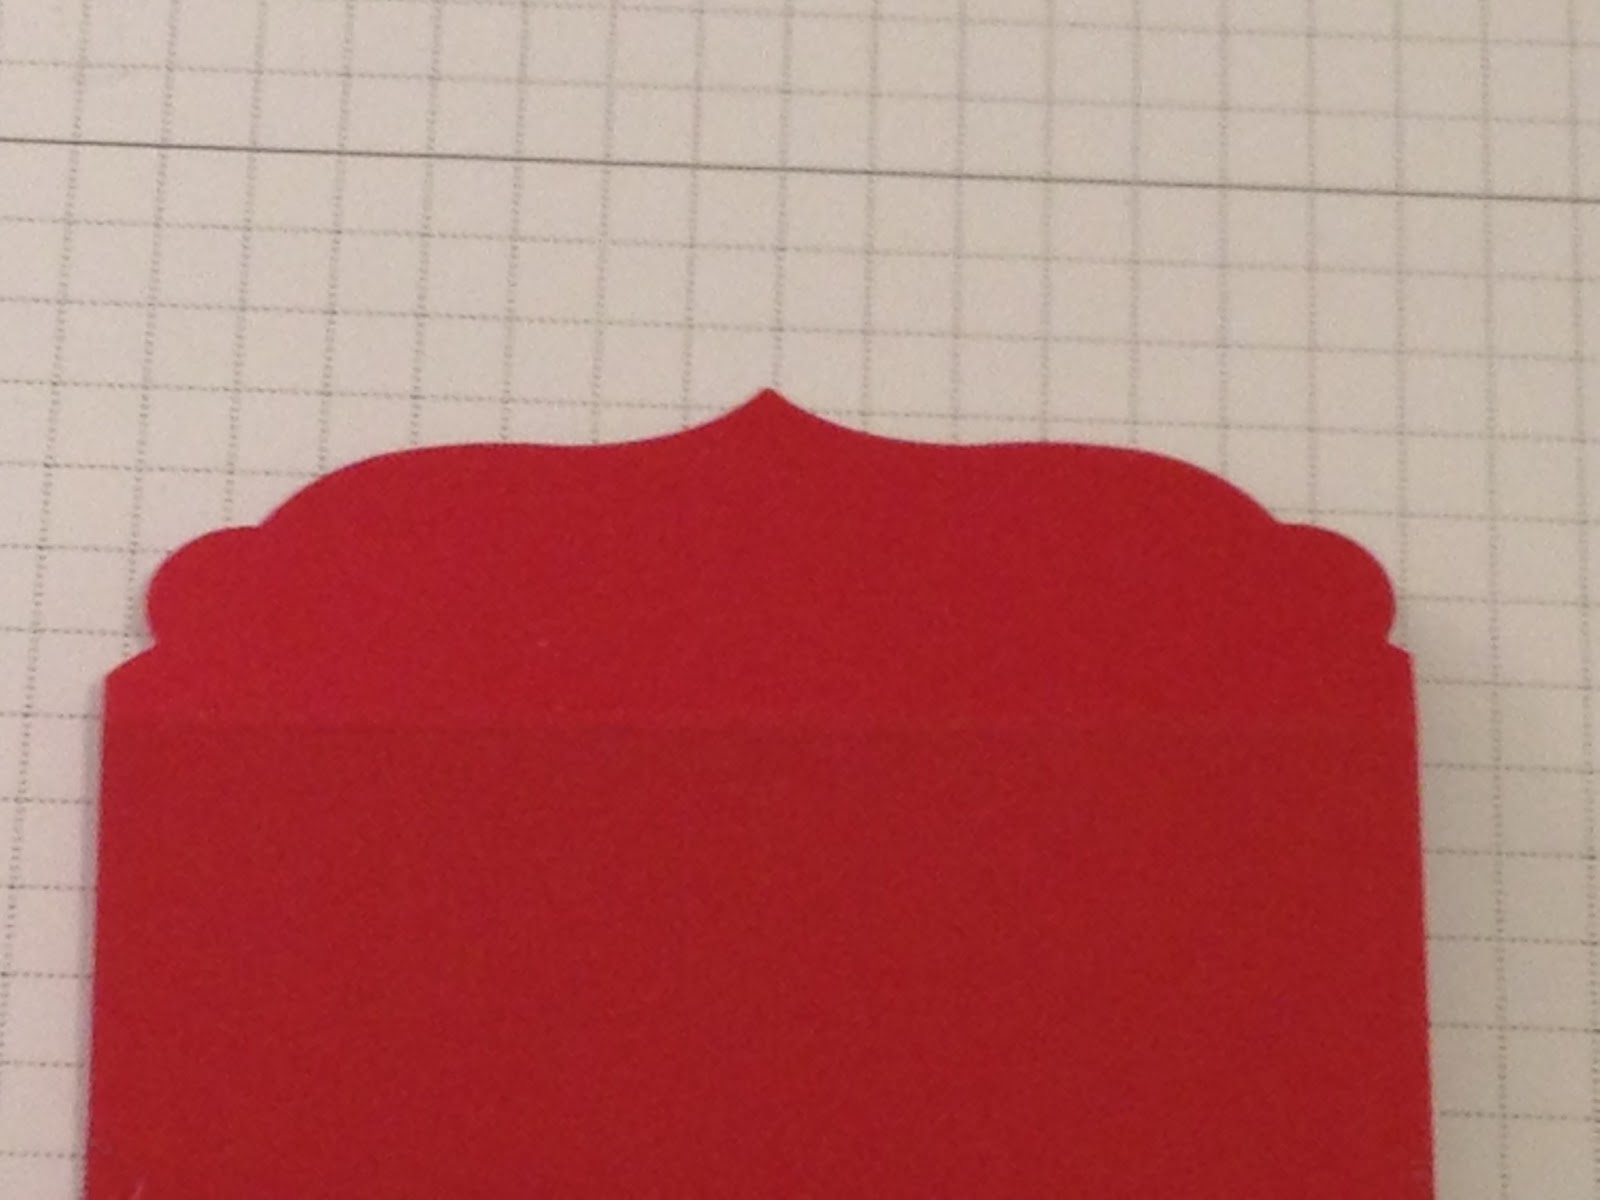
3. Adhere a 3 1/4″ x 3 3/4″ piece of More Amore DSP to the front (the 4″ flap without a score mark) and fold along the other score marks, with the center bottom score folding up inside the treat holder. Fold the shaped flap over the top and place your heart framelit under the flap. 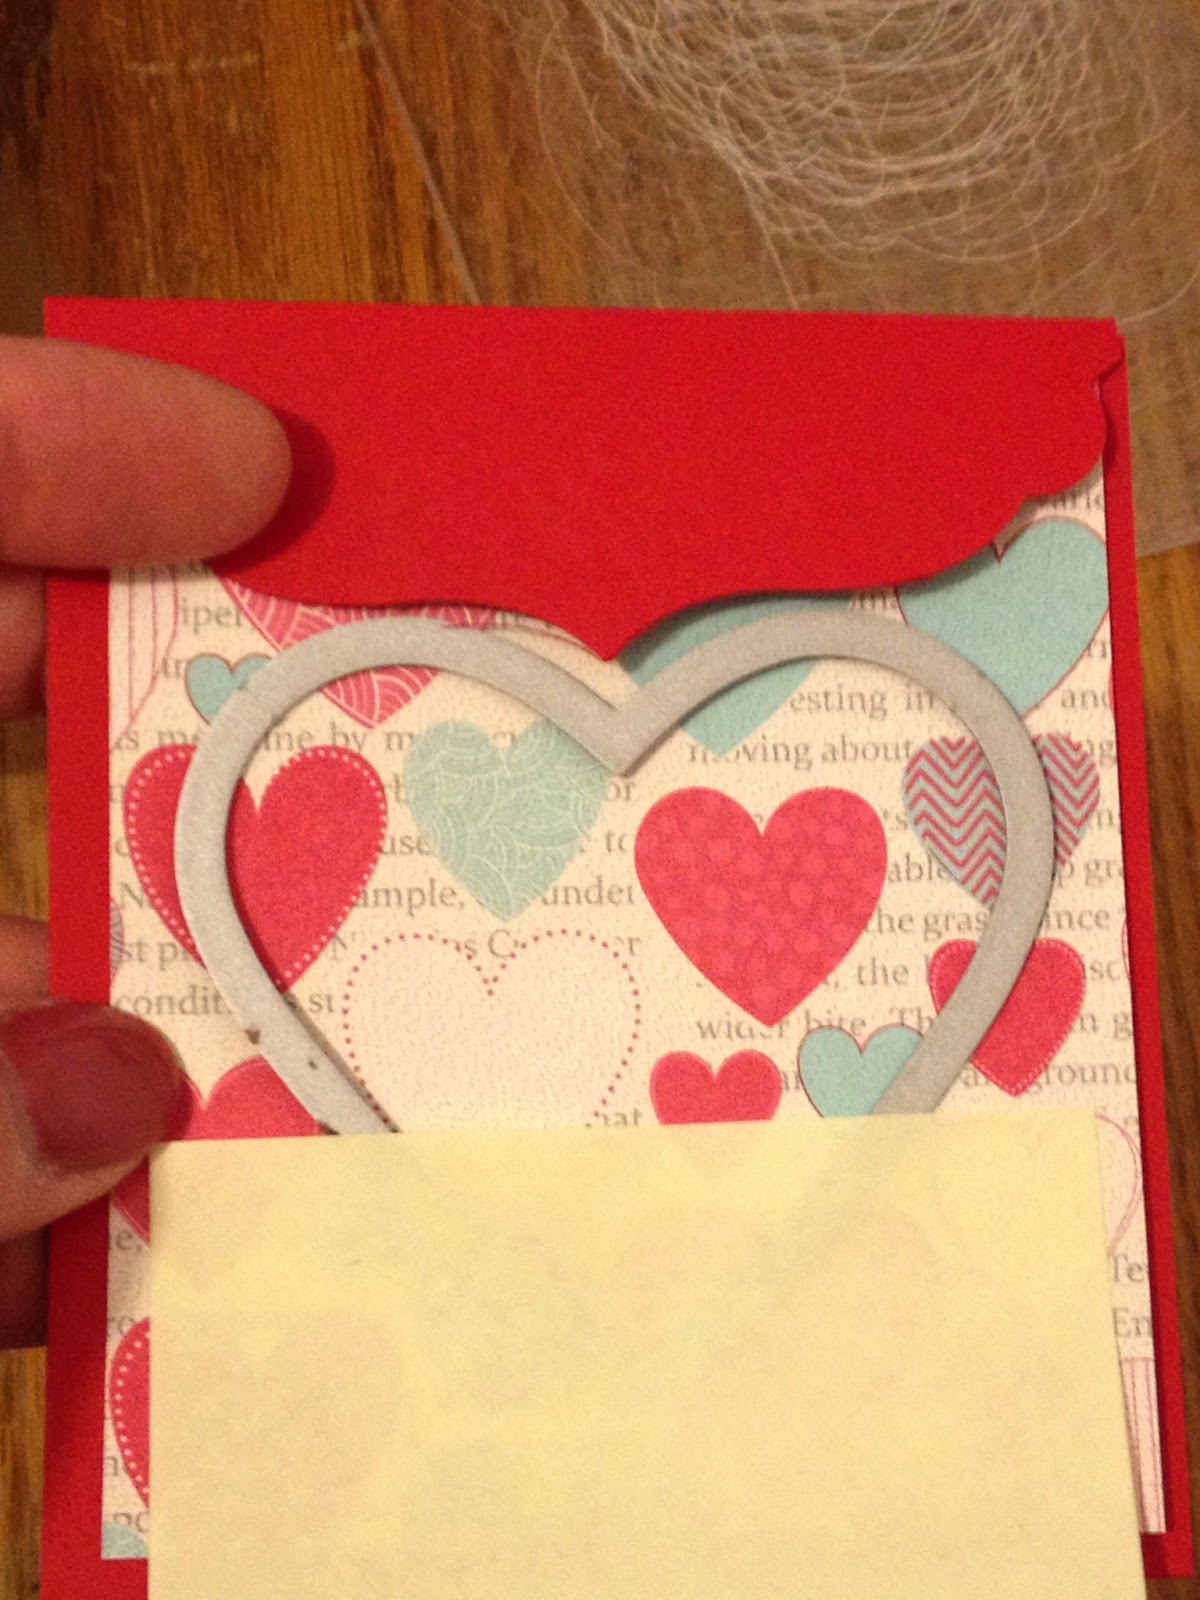
- 8 oz. Cream Cheese
- 1/4 c. Butter (softened)
- 2 lbs. Powdered Sugar (plus extra for rolling and stamping)
- Food Coloring (gel food coloring works best)
- Extract flavorings of your choice.
Preparation: In heavy pan, combine cream cheese and butter. Stir over low heat until mixture is soft and blended well. Remove from heat and add powdered sugar. Blend well.
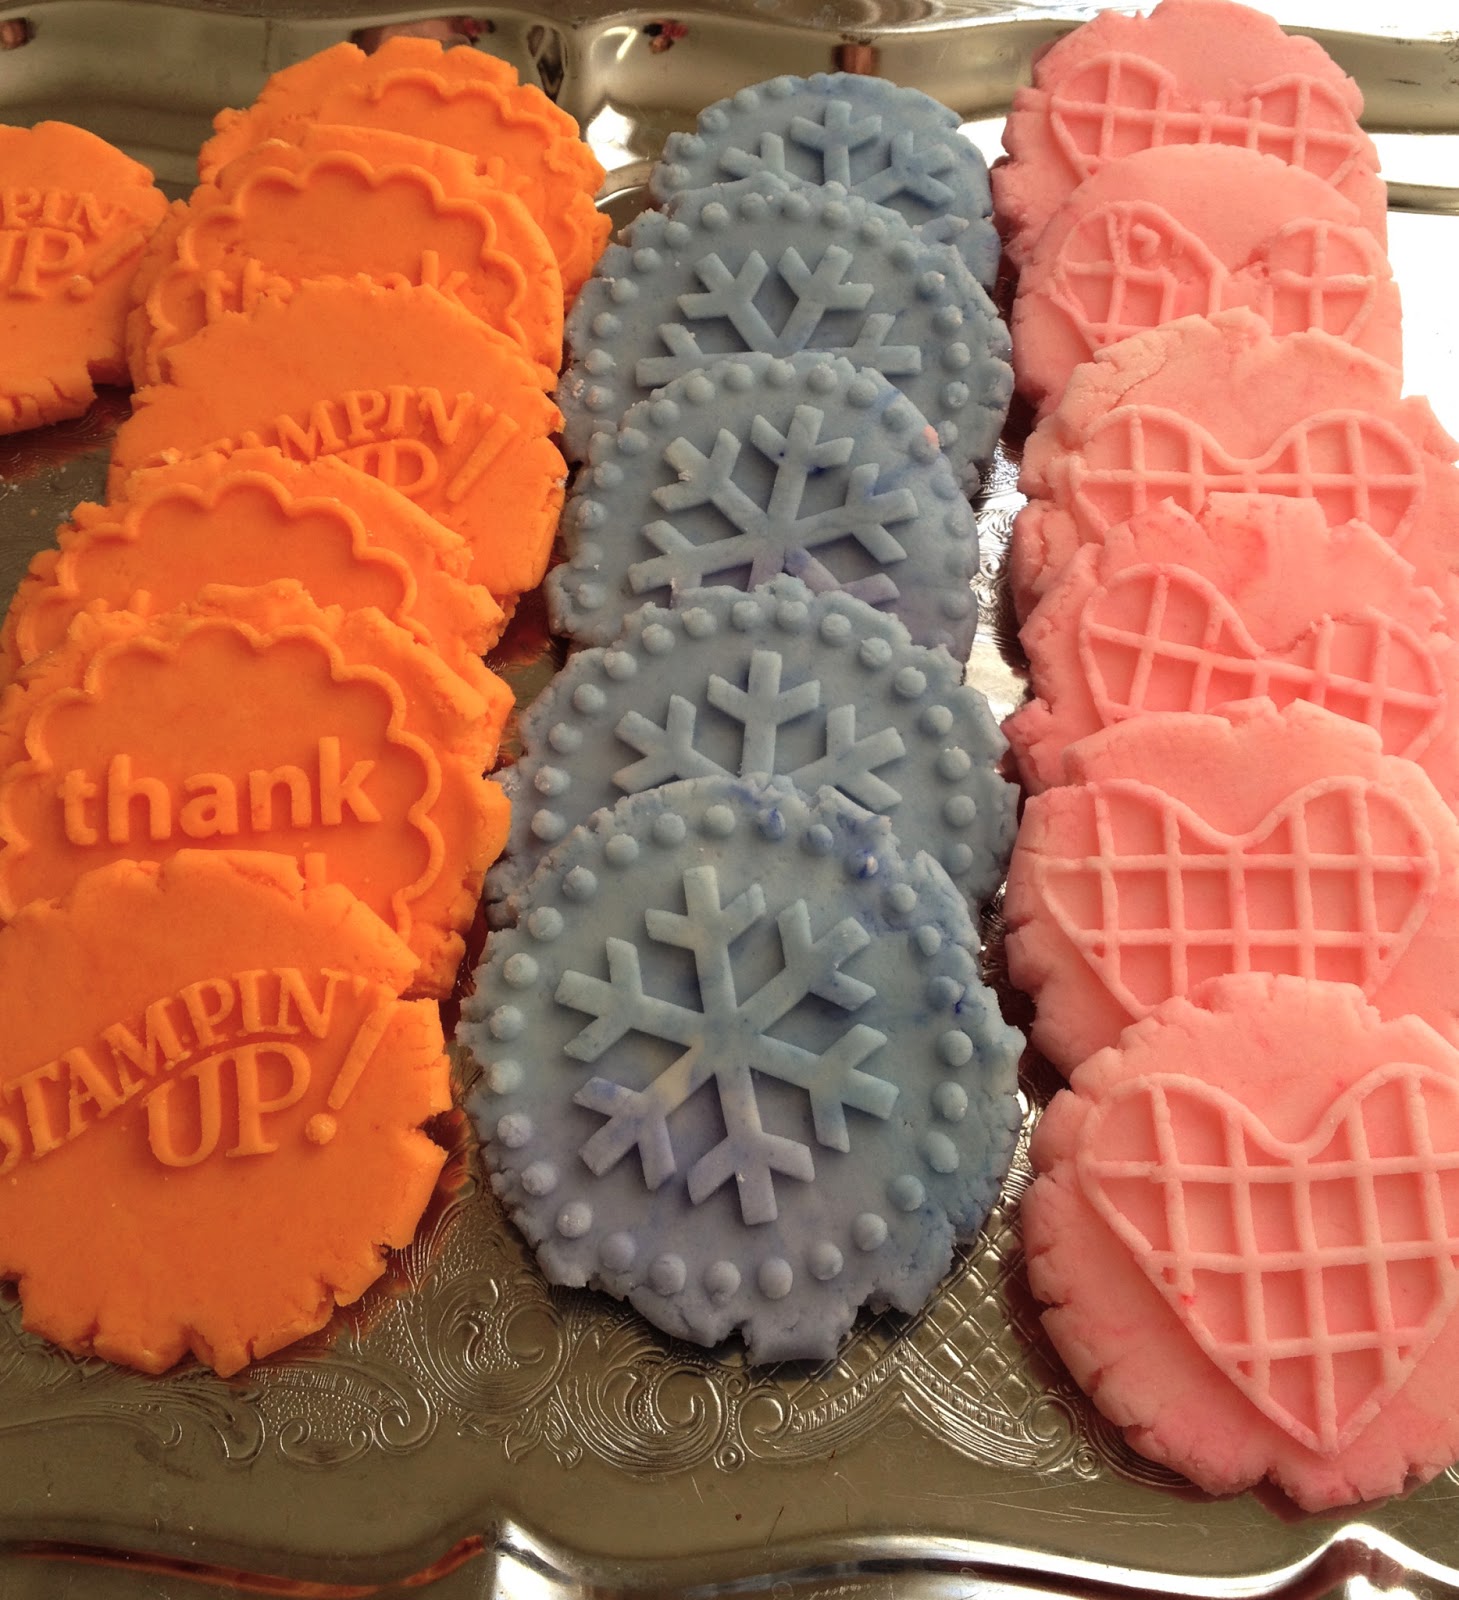
Divide dough into smaller bowls (depending on how many colors/flavors you desire). Add coloring and flavoring to taste. I used Orange extract/orange color, Vanilla/purple and Almond/pink, but you could use lemon, mint, root beer, etc. Mix each bowl with separate utensil so you don’t transfer flavors or colors. I found it easiest to mix with my hands, washing in between each kneading. Cover bowls with damp towel when you aren’t mixing them.
Line a cookie sheet with wax or parchment paper. Working with one bowl at a time, roll the dough into small balls (about 1 1/2″ if using the SU! cookie stamps). If the dough is sticky, mix in a little more powdered sugar. Dust cookie stamp with sugar (to prevent sticking) and press into each ball. Work quickly, as dough can dry & crack…ask a friend or child to help!
Let dry on cookie sheets for 24-48 hours, turning once to let the other side dry, too.
FYI: Original recipe found here.
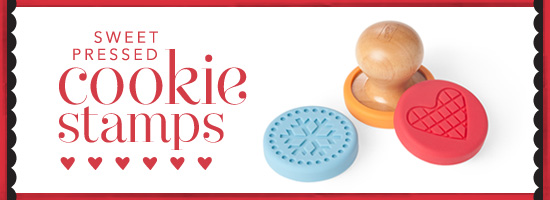
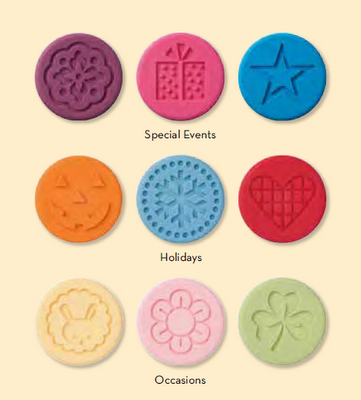
The cookie press stamps come in three different sets and each set includes 3 silicone stamps and a wooden handle for just $16.95. Visit my store to purchase any of the Stampin’ Up! supplies listed in today’s post and open your pantry to find the rest of the ingredients!


My mother and her mother would always make cream cheese mints for family Christmas gatherings. I made some a couple years ago. I used my mom's little rubber molds which took forever to fill (the rose flower with pink-colored mint “dough”, and the leaves with green-colored mint “dough”). The cookie press would have been SO much faster and easier. Plus, I always thought the pretty pastel colors were more appropriate to Spring, anyway 🙂 Once you figure out what size ball you need for your cookie press, you can just roll a mint “dough” ball in granulated sugar right before stamping down. That's the technique we've always used for filling the rubber molds, anyway…and they never stick that way.
LikeLike
Oh my goodness – these are adorable! I love the little flap you created with the framelit! Thanks for playing along in the Treat Challenge this week @ Create with Connie and Mary!
LikeLike
I keep meaning to make the cookies but haven't yet. Perhaps candies are in my future, instead. TFS
LikeLike
This is a darling treat holder – and the candies are perfect! Thanks for the recipe and instructions!
LikeLike
I have been wanting to try the cookie stamps for this. I have a recipe pinned for cream cheese mints. I'm so excited to see yours – now I really need to go try it. Cute project!
Monika
LikeLike
Very darling treat holder. Love how the cookie matches too! Thanks for playing with us during our Saturday Challenge at Create with Connie & Mary!
LikeLike
WOW…how wonderful is this! LOVE the idea of the mints instead of cookies and great tutorial! Thanks for playing along in the Create with Connie and Mary Saturday Challenge!
LikeLike