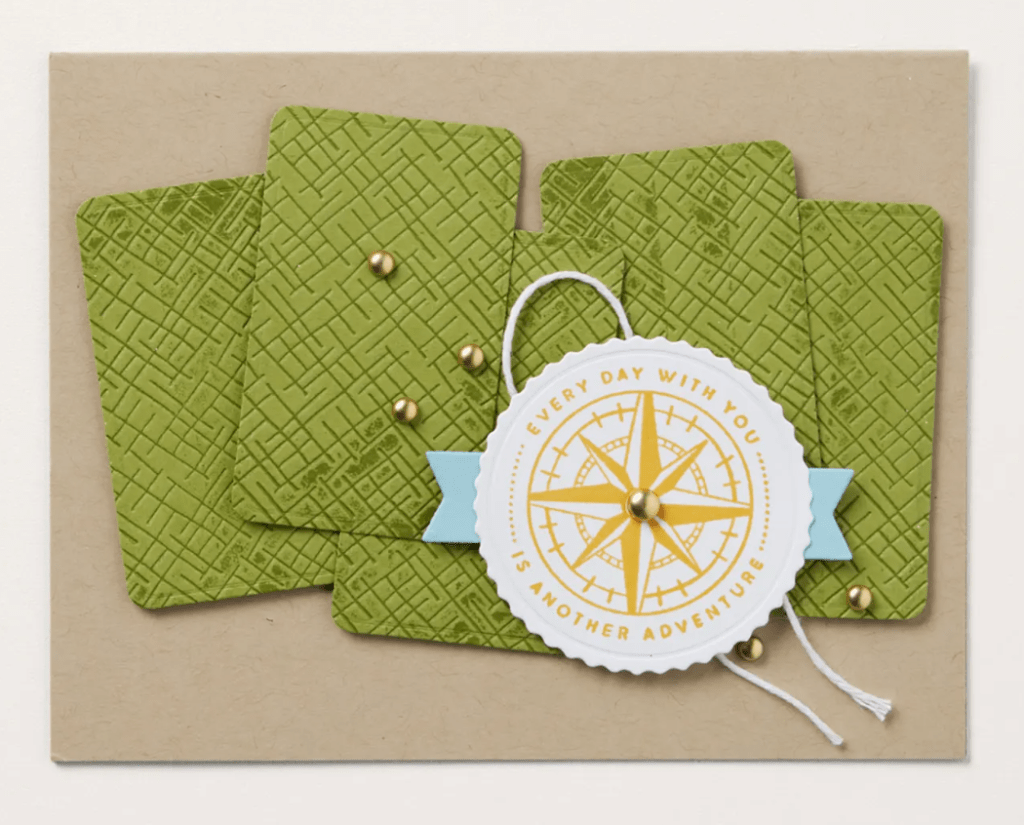
Welcome back to day 2 of my embossing folder series! Today we are looking closer at the Crosshatch 3-D Basic embossing folder (one of a trio in my online store).

For a textured background like this, stamp your images first, then run it through the embossing folder. I used the texture OUTDENTED (it’s a real word) on my floral background, but you can also turn your paper over to get an INDENTED texture like this as an alternative:
If you missed the video teaching TIPS & TECHNIQUES for embossing folders, you can watch it here!
This texture is extremely versatile and you’ll be reaching for it often. I’ve listed the supplies for my “You Inspire Me” card below, and please visit tomorrow for the third 3-D Basics embossed card!
Product List")


 Bordered Ribbon")


A “recipe” of the correct way to layer the 3-D Basics Crosshatch embossing folder into your Cut & Emboss “Sandwich”:

