Fans of fun-fold cards, you’ll love the simplicity of this idea, which I call a Diagonal-Lock card, because of the way the front of the card locks into the back of the card. Don’t miss the video tutorial in this post!

For this first version, I paired a muted piece of the Sweet Days of Autumn Designer Series Paper pattern that I could write a message on for the INSIDE of the card, while using the fun forest friends on the front of the card. The leaves and sentiment adorning the front are from the Changing Leaves bundle.
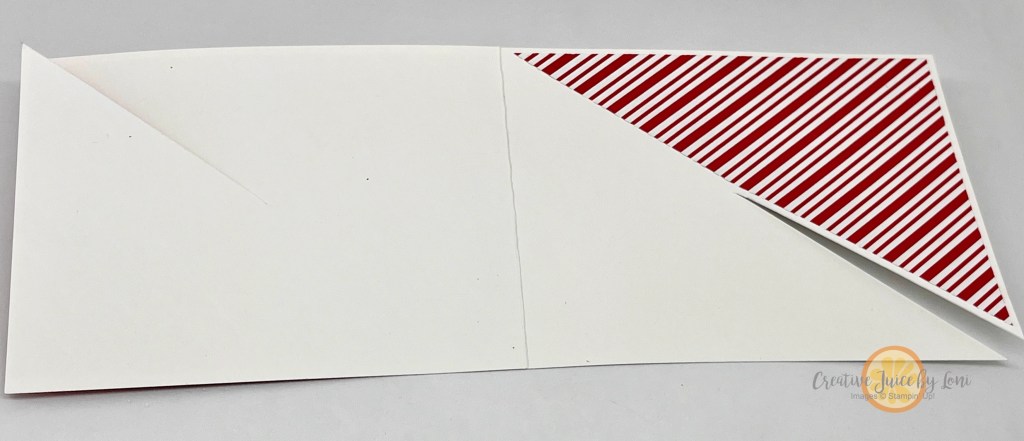
The recipient will “unlock” the card to open and this is what the inside looks like:

Basic card instructions:
- Start with an 11″ x 4.25″ card, scored in half at 5.5″.
- Adhere a 5.5″ x 4.25″ piece of Designer Series Paper to the front AND inside of the card.
- Make a small mark in the center of the front and BACK of the card (at 3.5″ for this A2 card size).
- Cut diagonally from opposite corners of the open card in to the mark.
The next version for any holiday celebration (this would be a sweet December birthday card) has a 5.25″ x 4″ Designer Series Paper layer for the front, and a diagonally cut HALF piece for the inside, which leaves a mat around the card which frames it nicely. This time I used my beloved More Than Autumn bundle with the Take A Bow patterned paper:

By using half a sheet on the inside, there is still room to write, even when the pattern is bold. PLUS, you can use the other half for a second card:
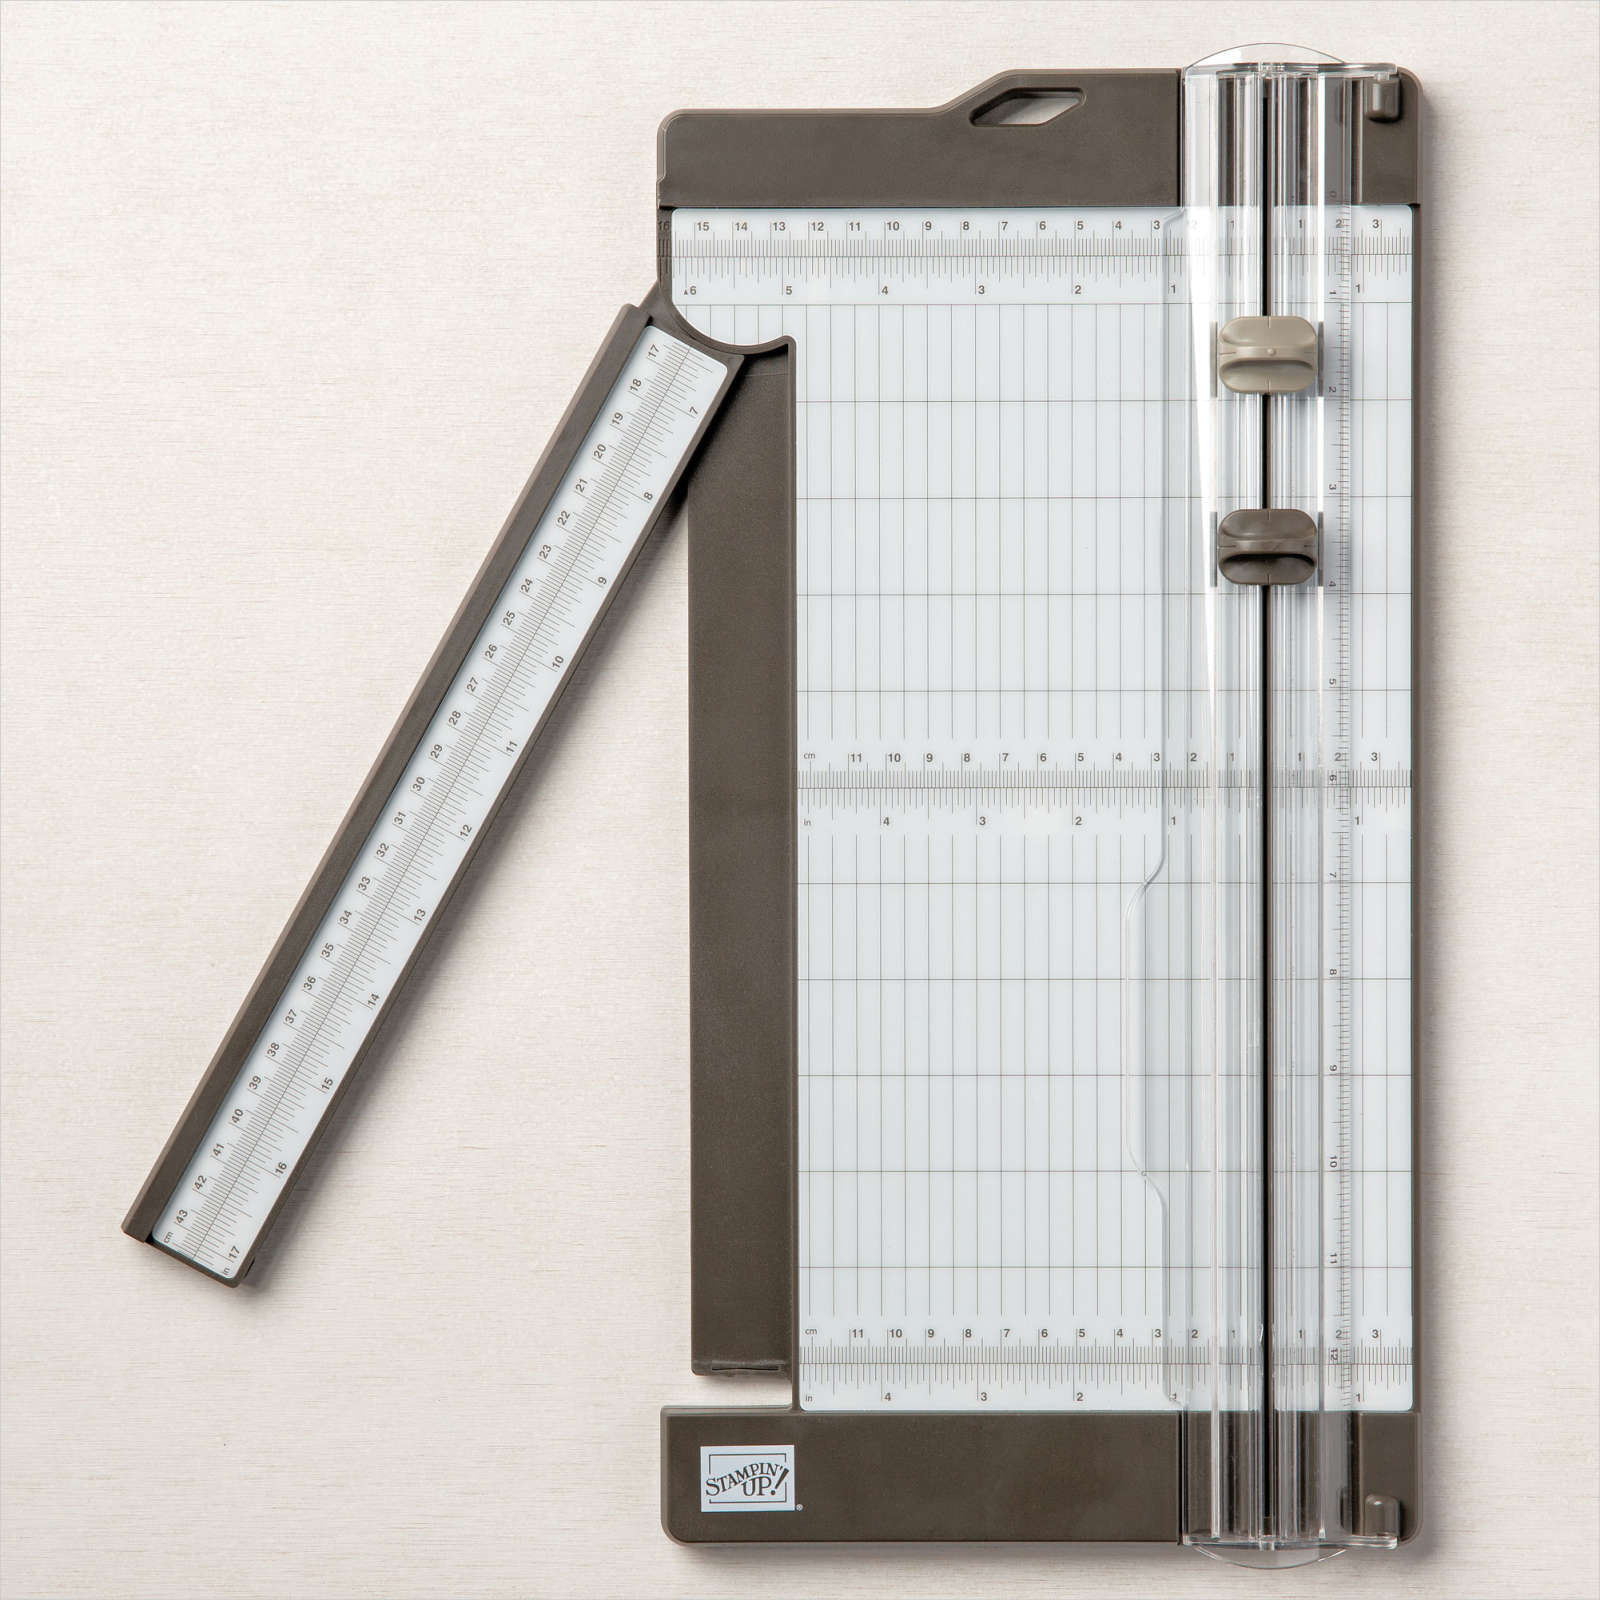
Grab a sheet of card stock and paper trimmer to craft along with this video tutorial to make a template for this card to keep in your “fun-fold” file:
Finally, since the Nests of Winter paper was sitting on my table, I used the Winterly Tree Top Dies to die cut the bird duo and fussy cut the small bird to craft this version:


Click any link to order supplies and create cards of your own!
I love hearing from you~ scroll to top to leave me a comment.
Don’t forget a Paper Trimmer, which also makes a wonderful gift for a teacher, a budding crafter or a student: